The quickest way to upload a large event schedule to your app in Grandstand is to use the Batch Upload tool. Whether you upload it yourself, or you are preparing your spreadsheet for Grandstand’s experts to do it for you, the following tips and tricks will help it go smoothly.
Create Event Spreadsheet
1. First step is to create the spreadsheet of your events. The file should be an Excel .xlsx or .xls file with one worksheet (CSV files are not supported).
- Remove the header row and limit the file to 1,000 events.
- Include every required field.
- Download the sample spreadsheet for an example.
The Fields available for inclusion in the batch upload are as follows:
Required fields
- Event Title (Required): The name of the event as you would like it to appear on the schedule.
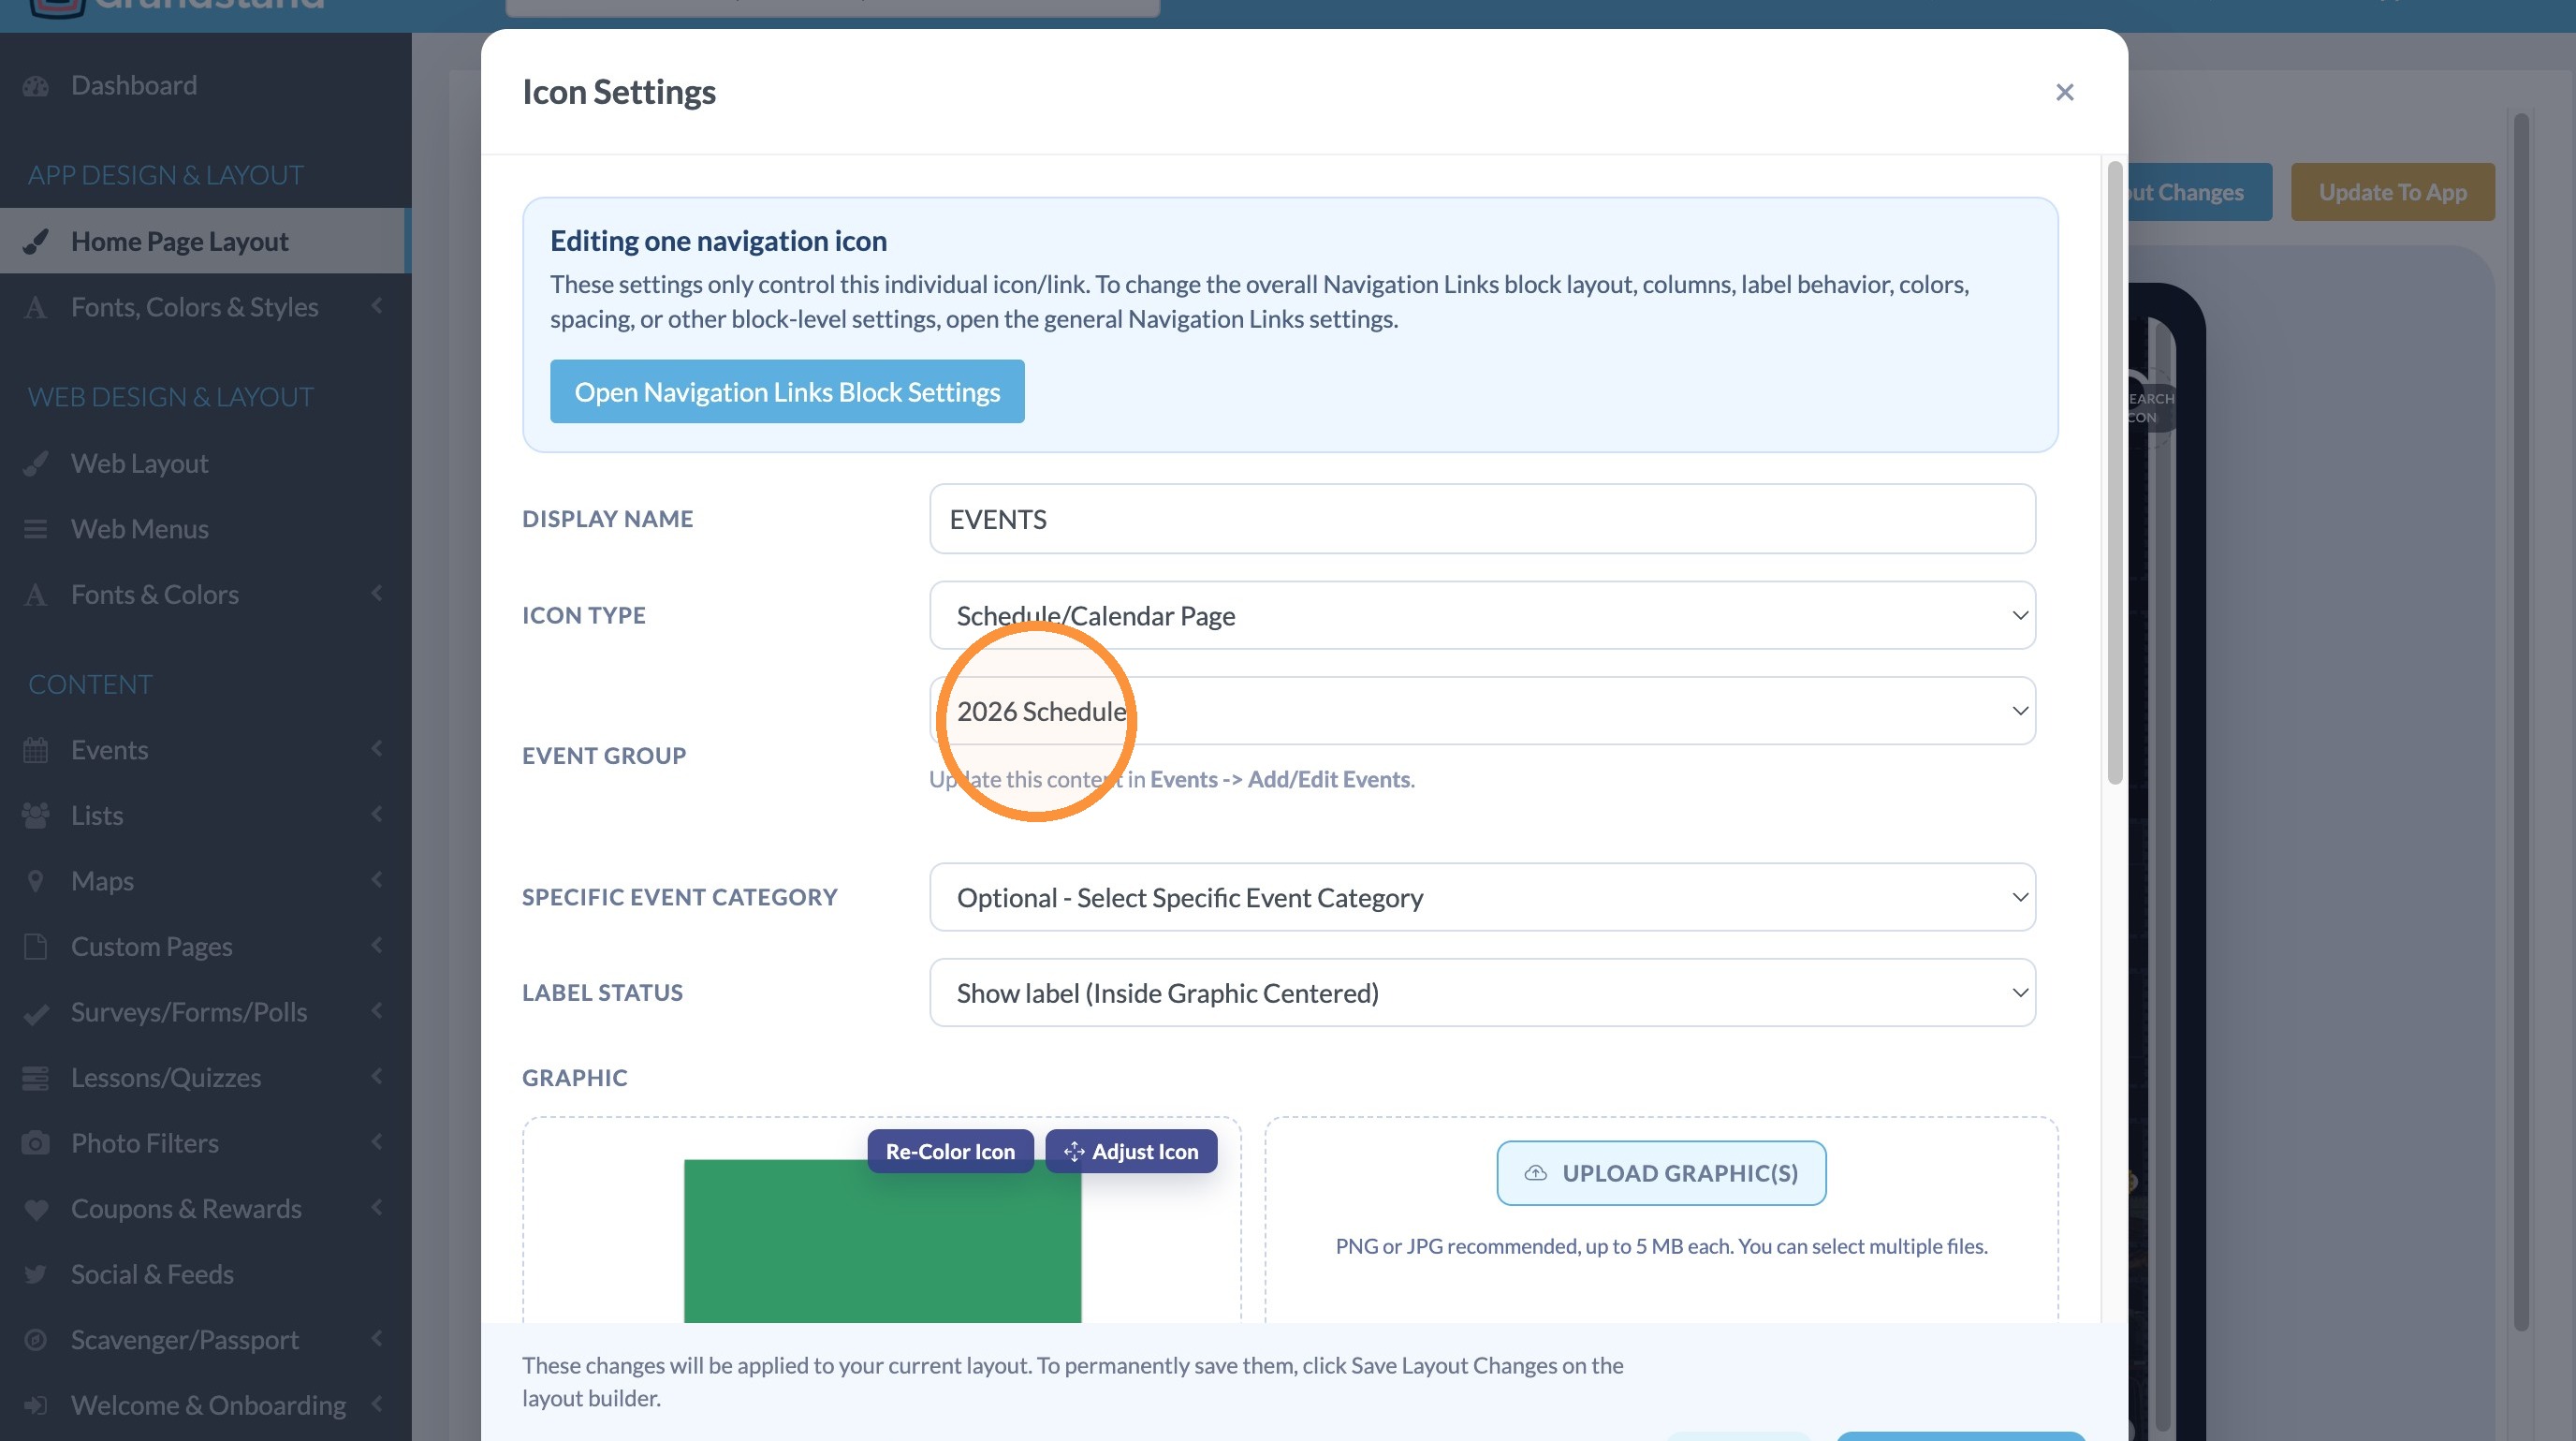
- Calendar Group (Required): This should be the name of the calendar group in the Admin. For the example below we are using 2026 Schedule.
- Category (Required): This name must exactly match the name of the event category you would like it to go into. You can enter more than 1 category separated by commas (Example: "Concert,Free Entertainment"). The category must be set up under Events >> Categories before uploading the schedule.
- Date (Required): Please make sure this is a valid date format similar to 9/29/2017. If you have an event that stretches for multiple days it will have to be entered once for each day or you could consider using the Recurrence feature.
- Start Time (Required): Enter the time in 24-hour time (ie: 5:35 pm would be 17:35). The other two options are 'ALL DAY' (all caps) and 'TBD' (all caps). Do not leave this blank.
- End Time: Enter the time in 24-hour time (ie: 5:35 pm would be 17:35). If you used ALL DAY or TBD in Start Time you should leave End Time blank.
Optional fields
- Description: Detail about the event entry.
- Location: Match the name/title of the map location exactly as they already appear on Maps -> Add/Edit Location. If the location does not match exactly, it will stop the upload and create an error.
- Location Name Override: Sometimes you want the text of the location to be different than the actual map spot. For example if you want to direct someone to Room 121 in the 'Thompson Building' you would mark the Location as 'Thompson Building' and the Location Name Override as 'Thompson Building Room 121'
- Remote Graphic URL: You must include http:// or https:// and be aware that event graphics will show up full screen width. Please note that Dropbox and Google Drive links will be ignored as they do not link directly to a photo.
- YouTube ID: Enter just the 11-digit embed id of the video from YouTube. Do not include the full YouTube link.
- Web Link: You must include http:// or https://
- Web Link Title: This could be a title like 'BUY TICKETS' or 'LEARN MORE'. If left blank or not included the link will display as 'VIEW WEBSITE'
- Event Highlight: Optional short line of text shown under the event title and above the location/category line.
- Recurrence Type: If an event occurs at the same interval daily, weekly or monthly you can use recurrance. Just have it added in one line in the sheet and under the column for recurrence type enter if it repeats "day", "week", or "month" (All lower case). then in the next column include the number of recurrences
- Recurrence Number: Number of times the event recurs (including the first event)
- Associated List Item: Match the name/title of a single list item exactly as they already appear in any one of your List Groups. Any list items that do not match exact will stop the upload allowing you to fix and restart the upload. Please note if you have more than one matching list item it will only match to the first active one it finds.
Create Calendar Group
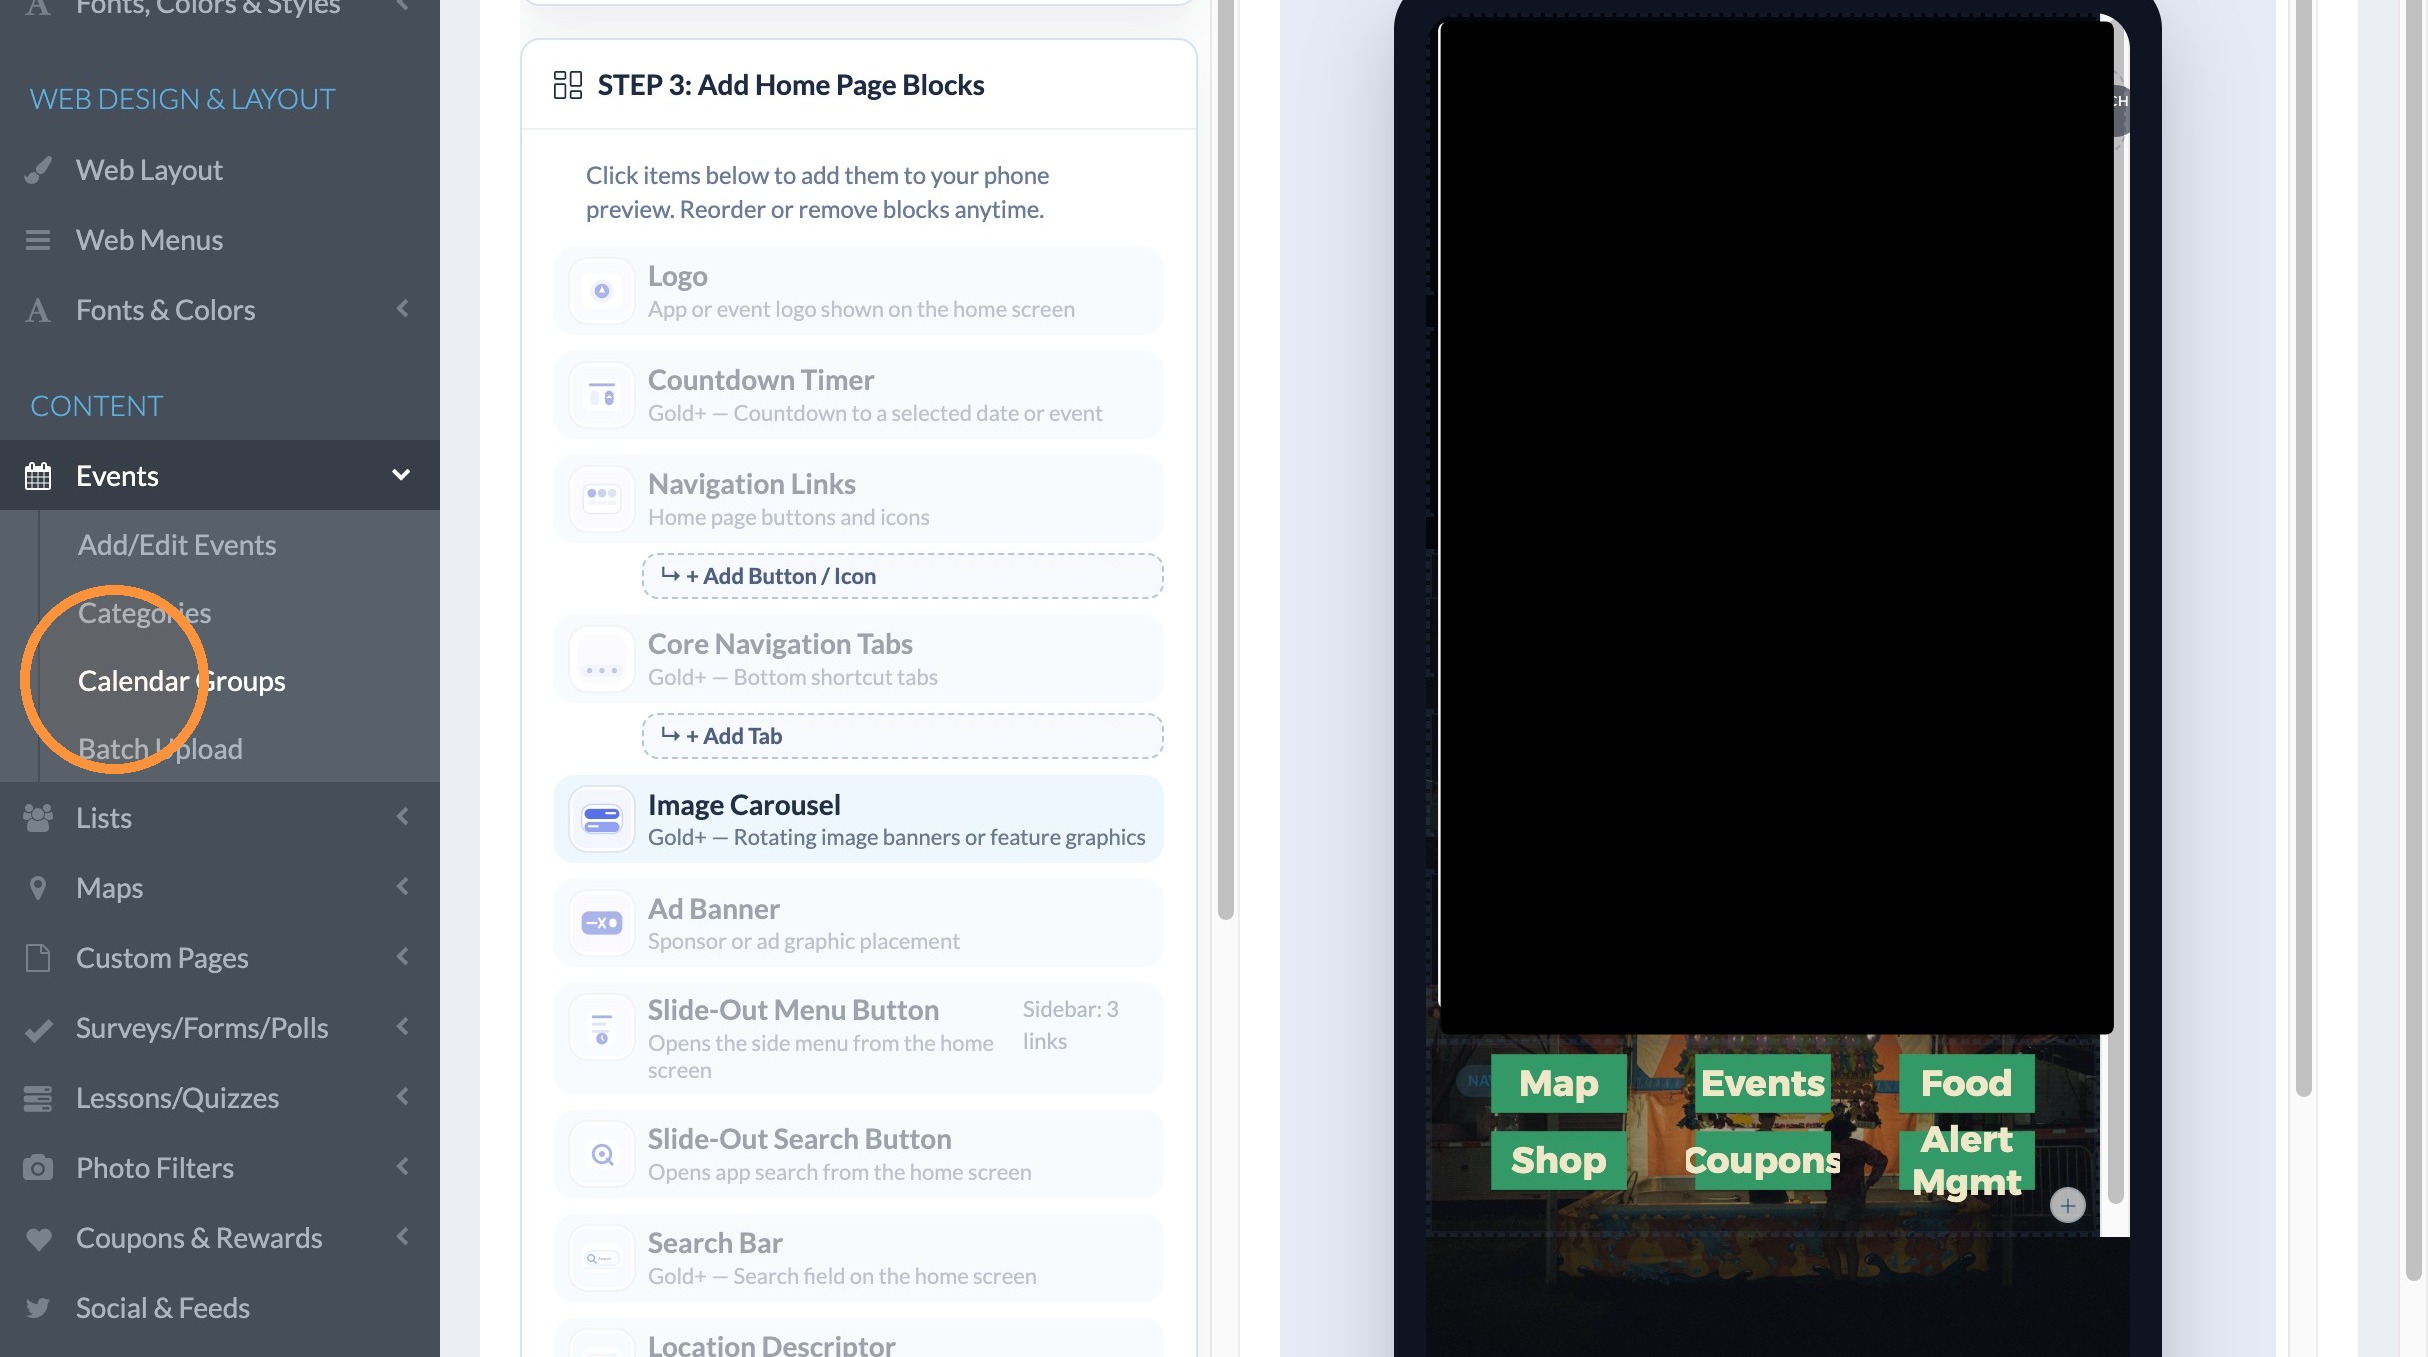
2. Click "Calendar Groups" under Events.
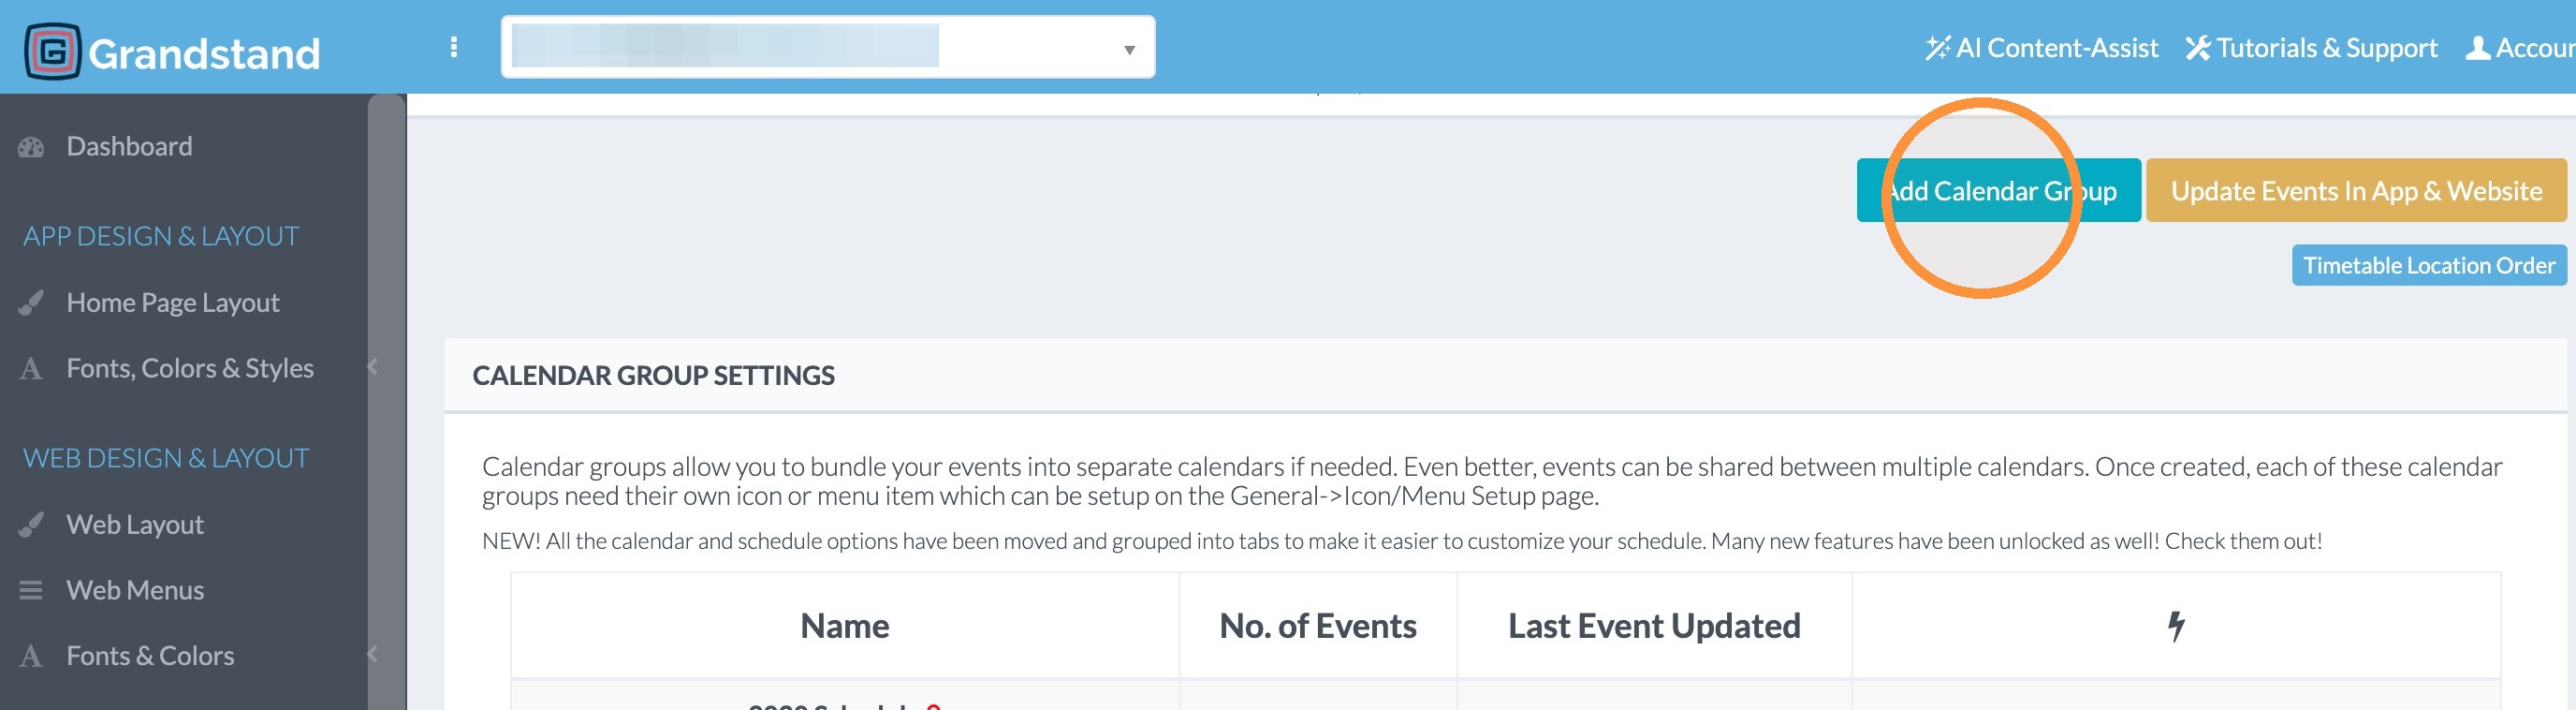
3. Click "Add Calendar Group"
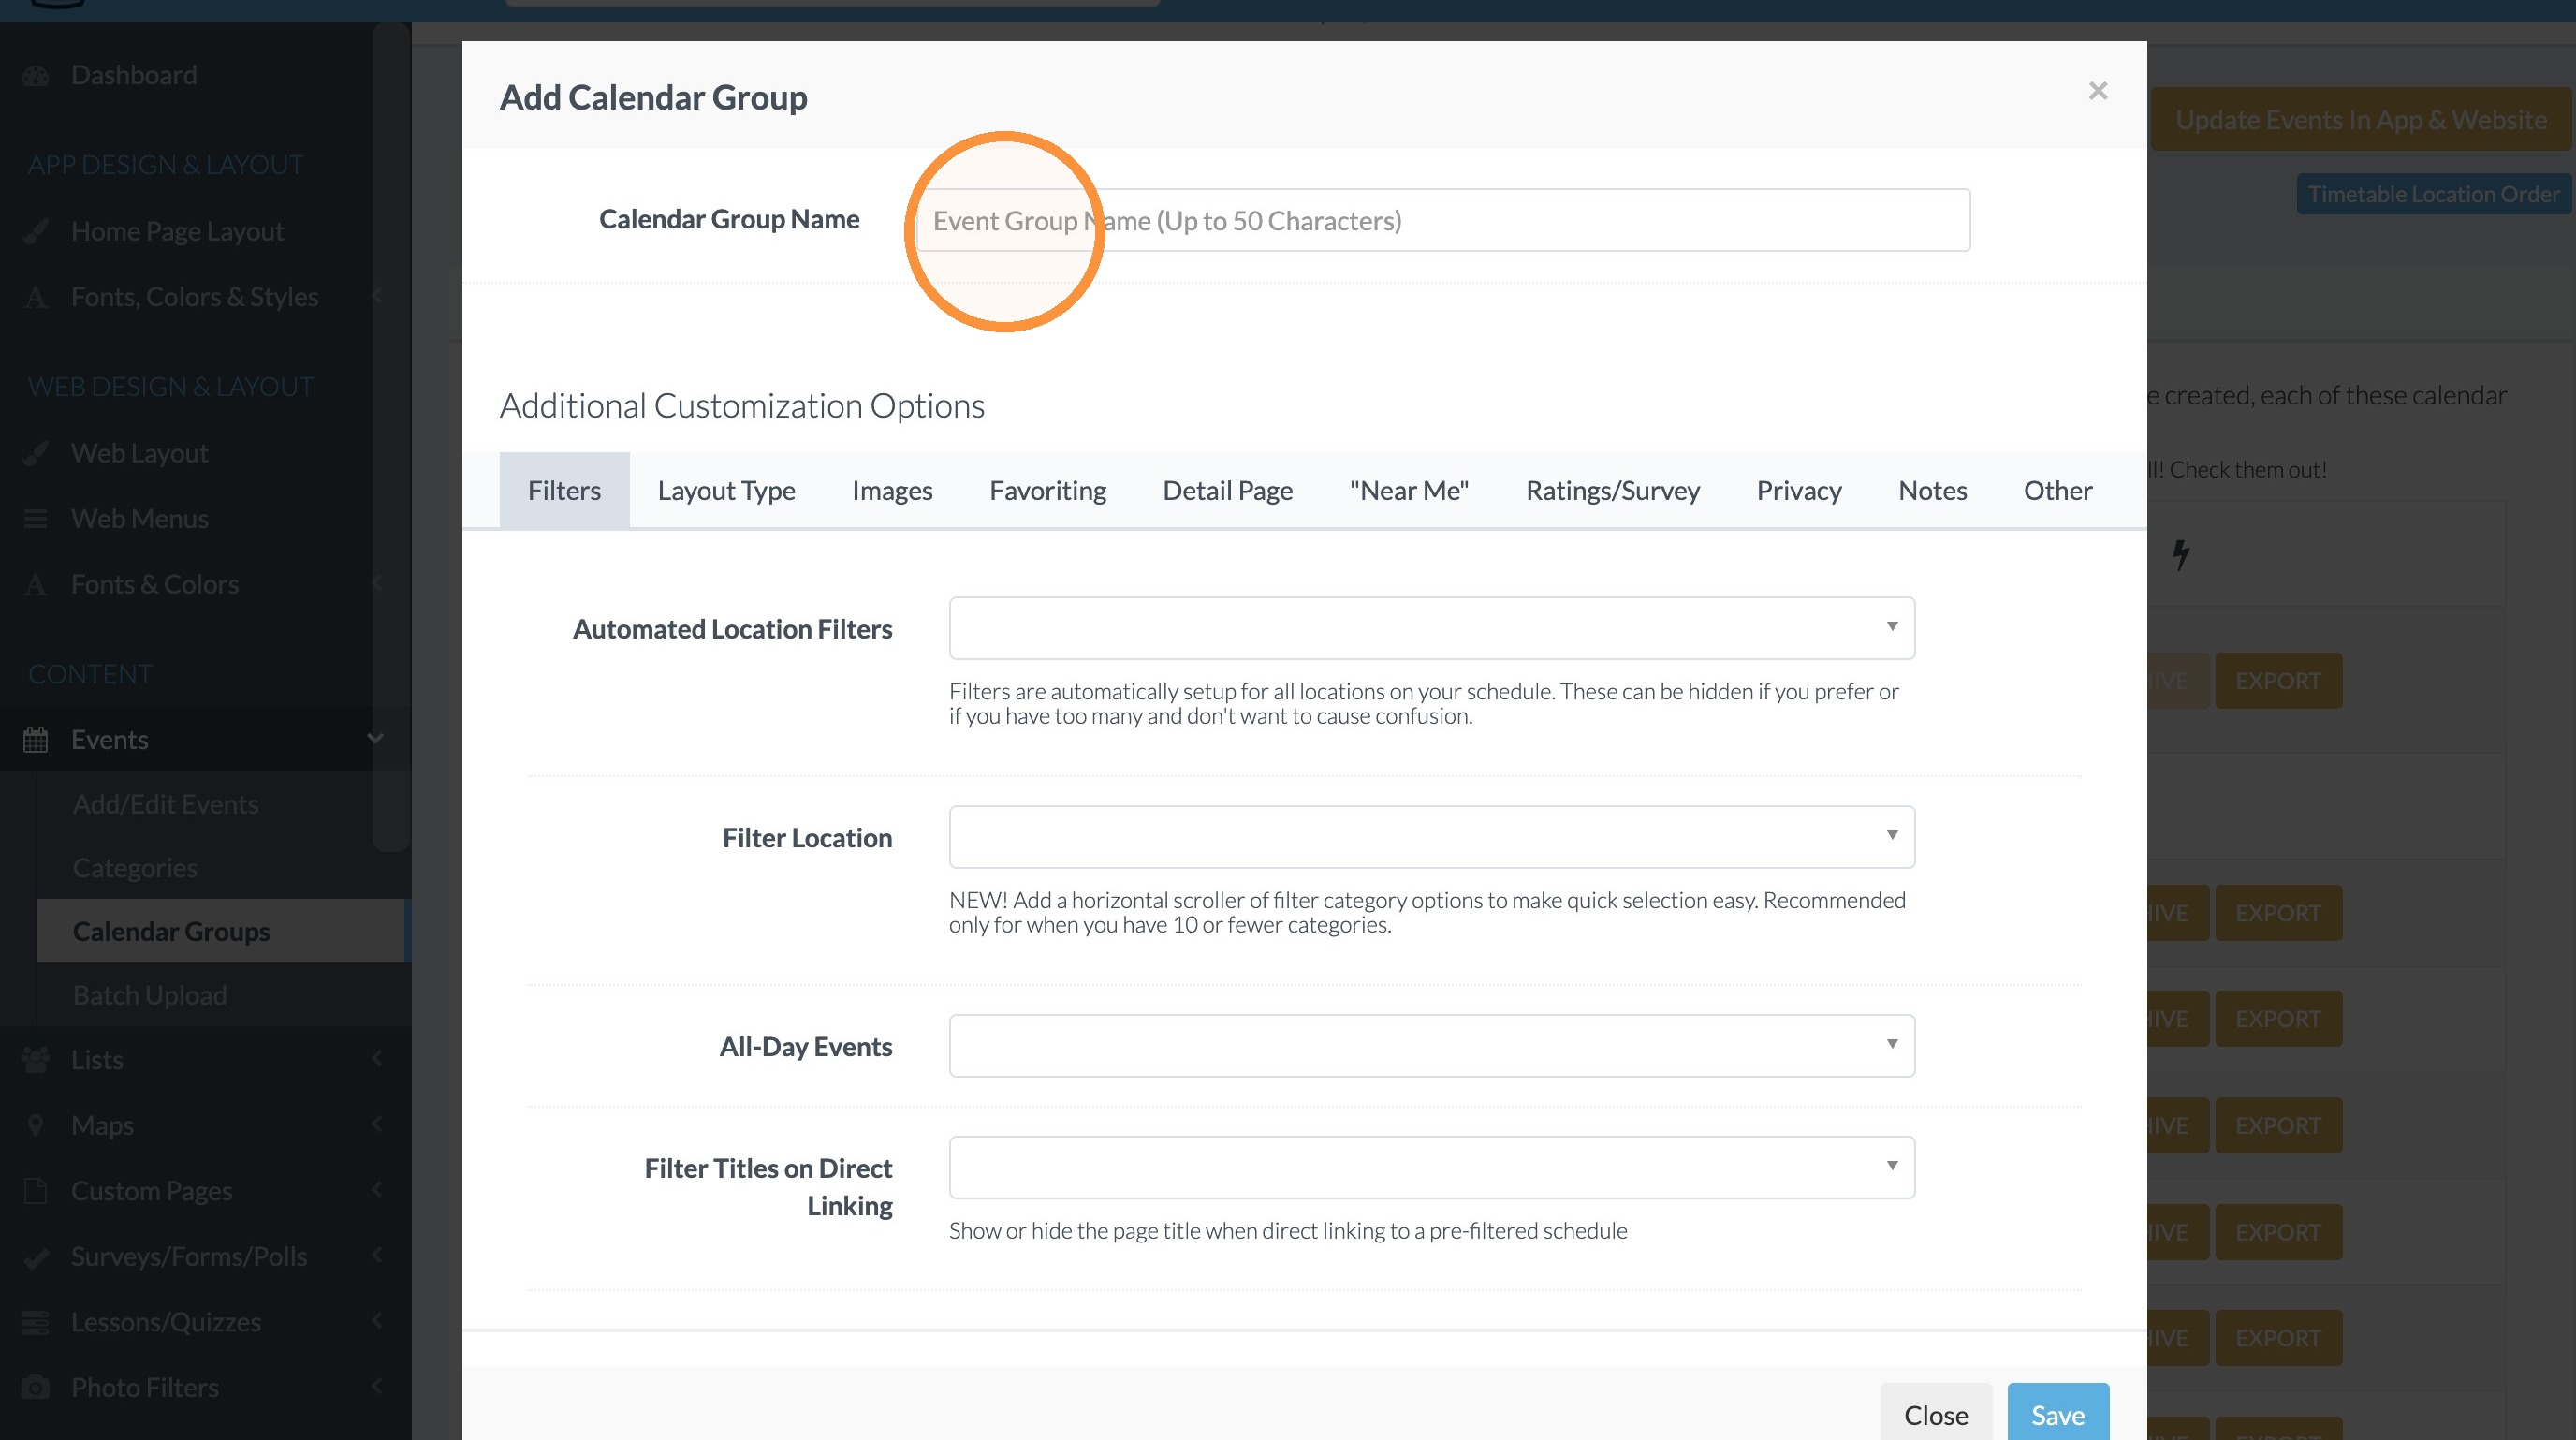
4. Enter the calendar group name & fill in the rest of the settings for the Calendar Group.
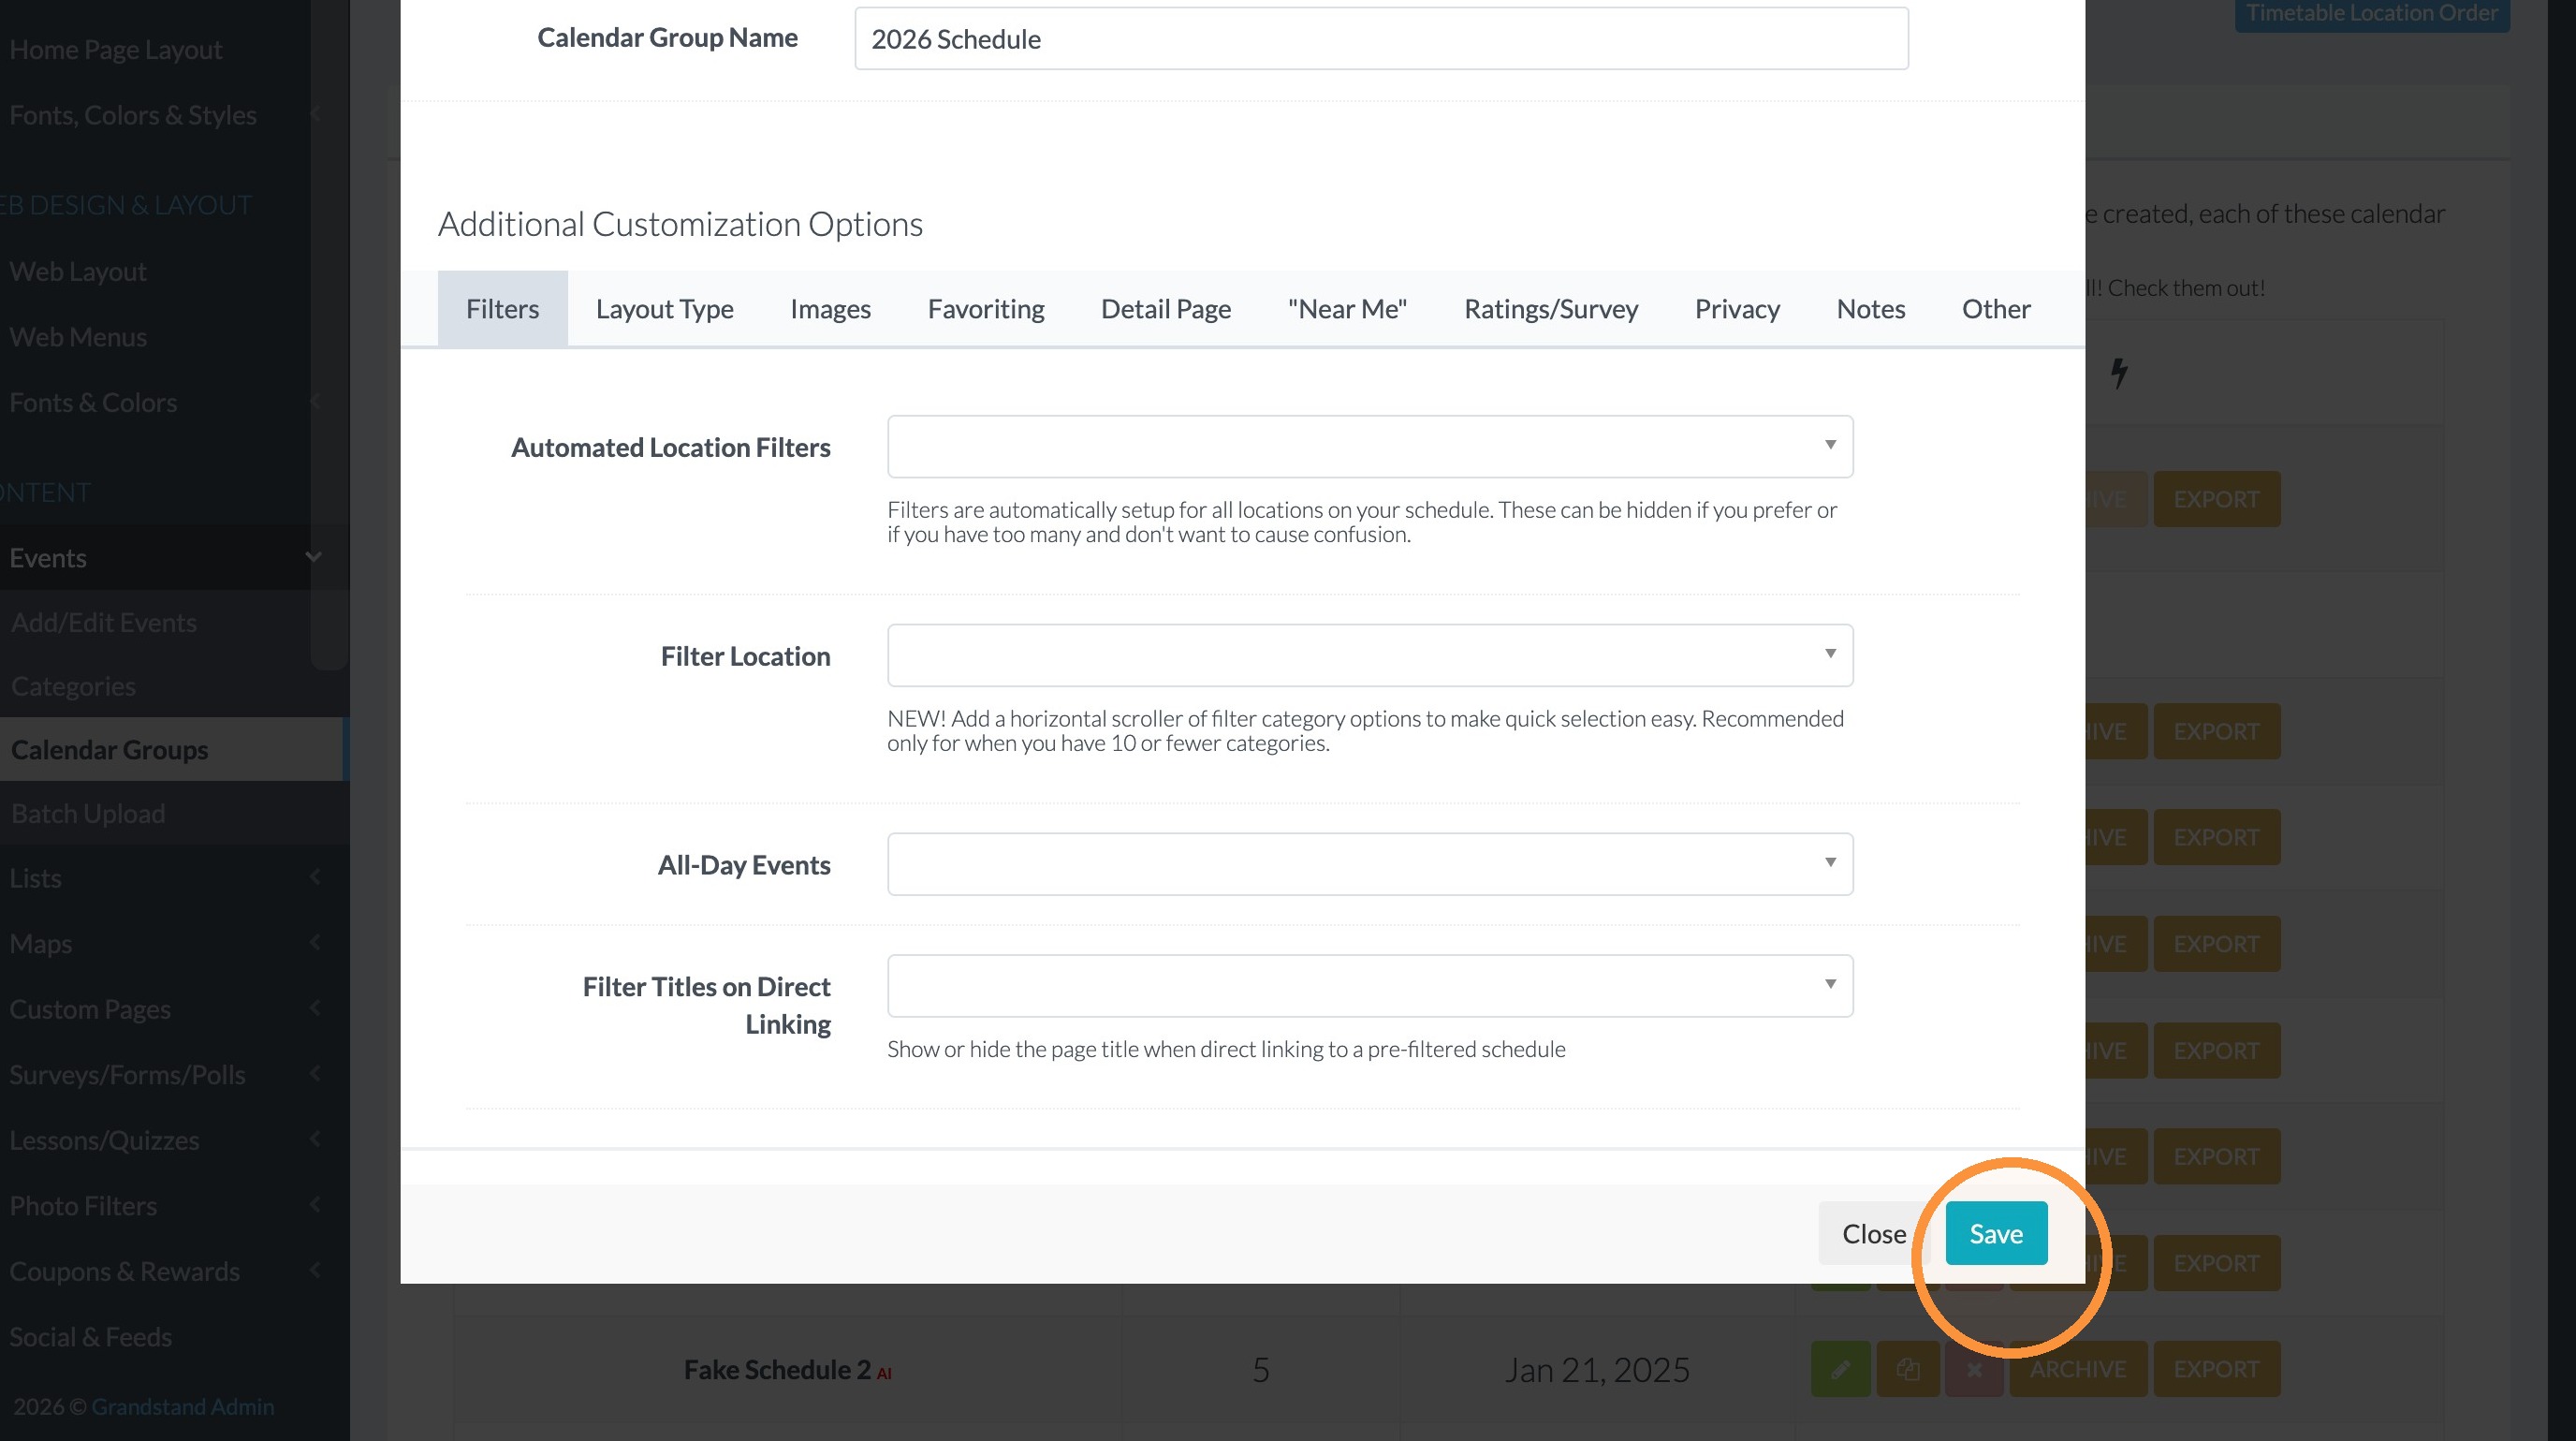
5. Click "Save"
Configure Navigation
Tip: Next you will update the link on the menu to the new Calendar Group.
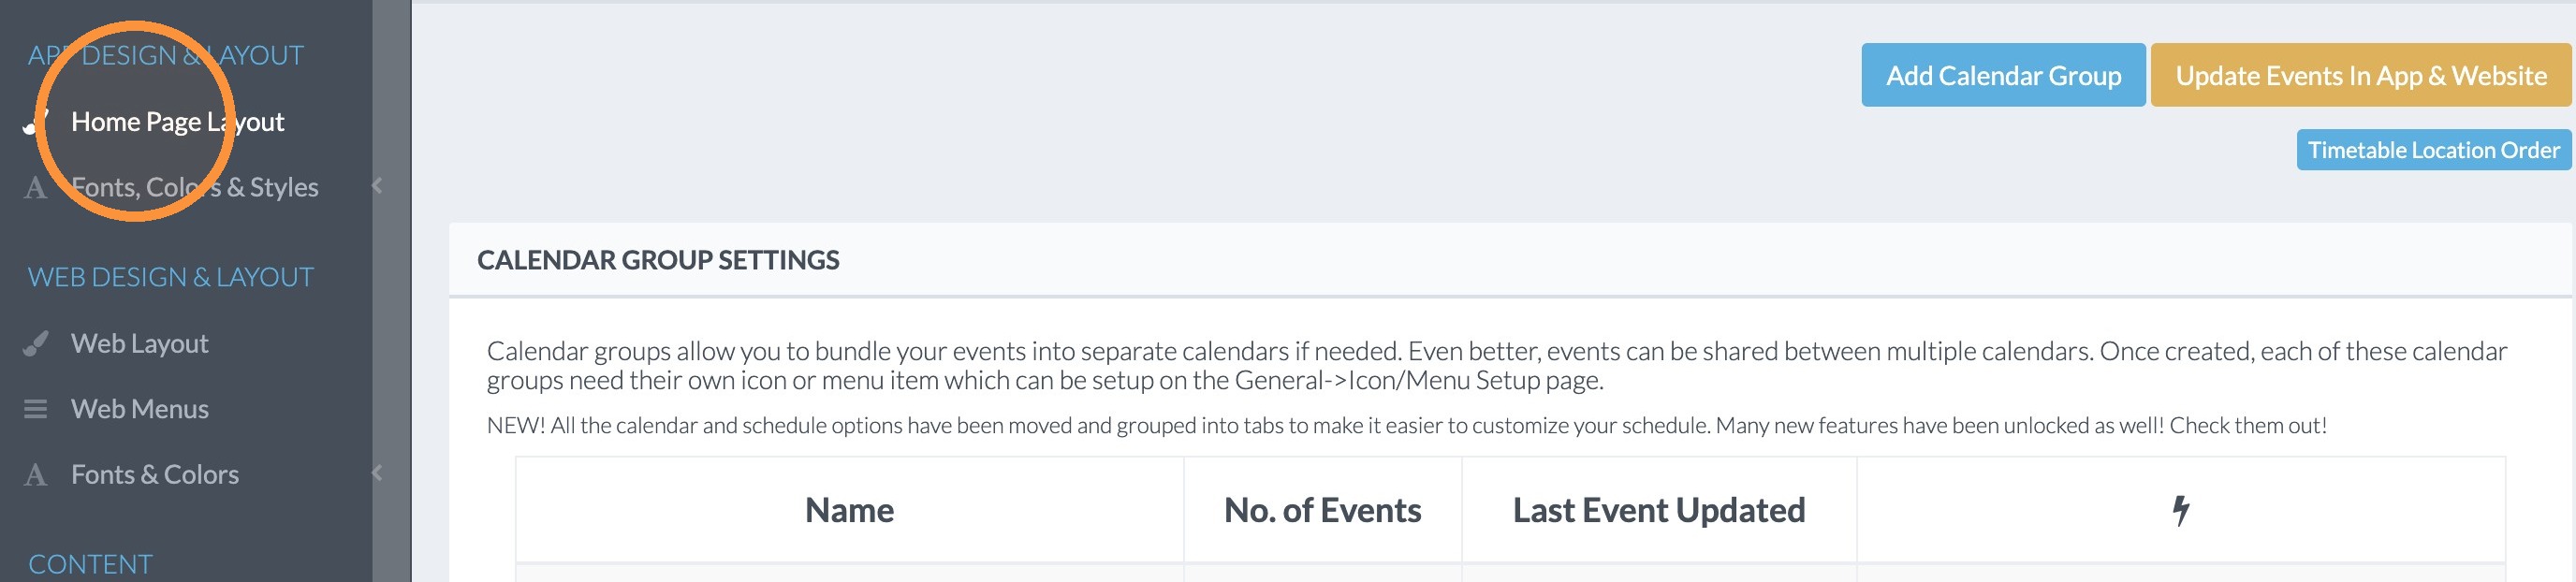
6. Click "Home Page Layout"
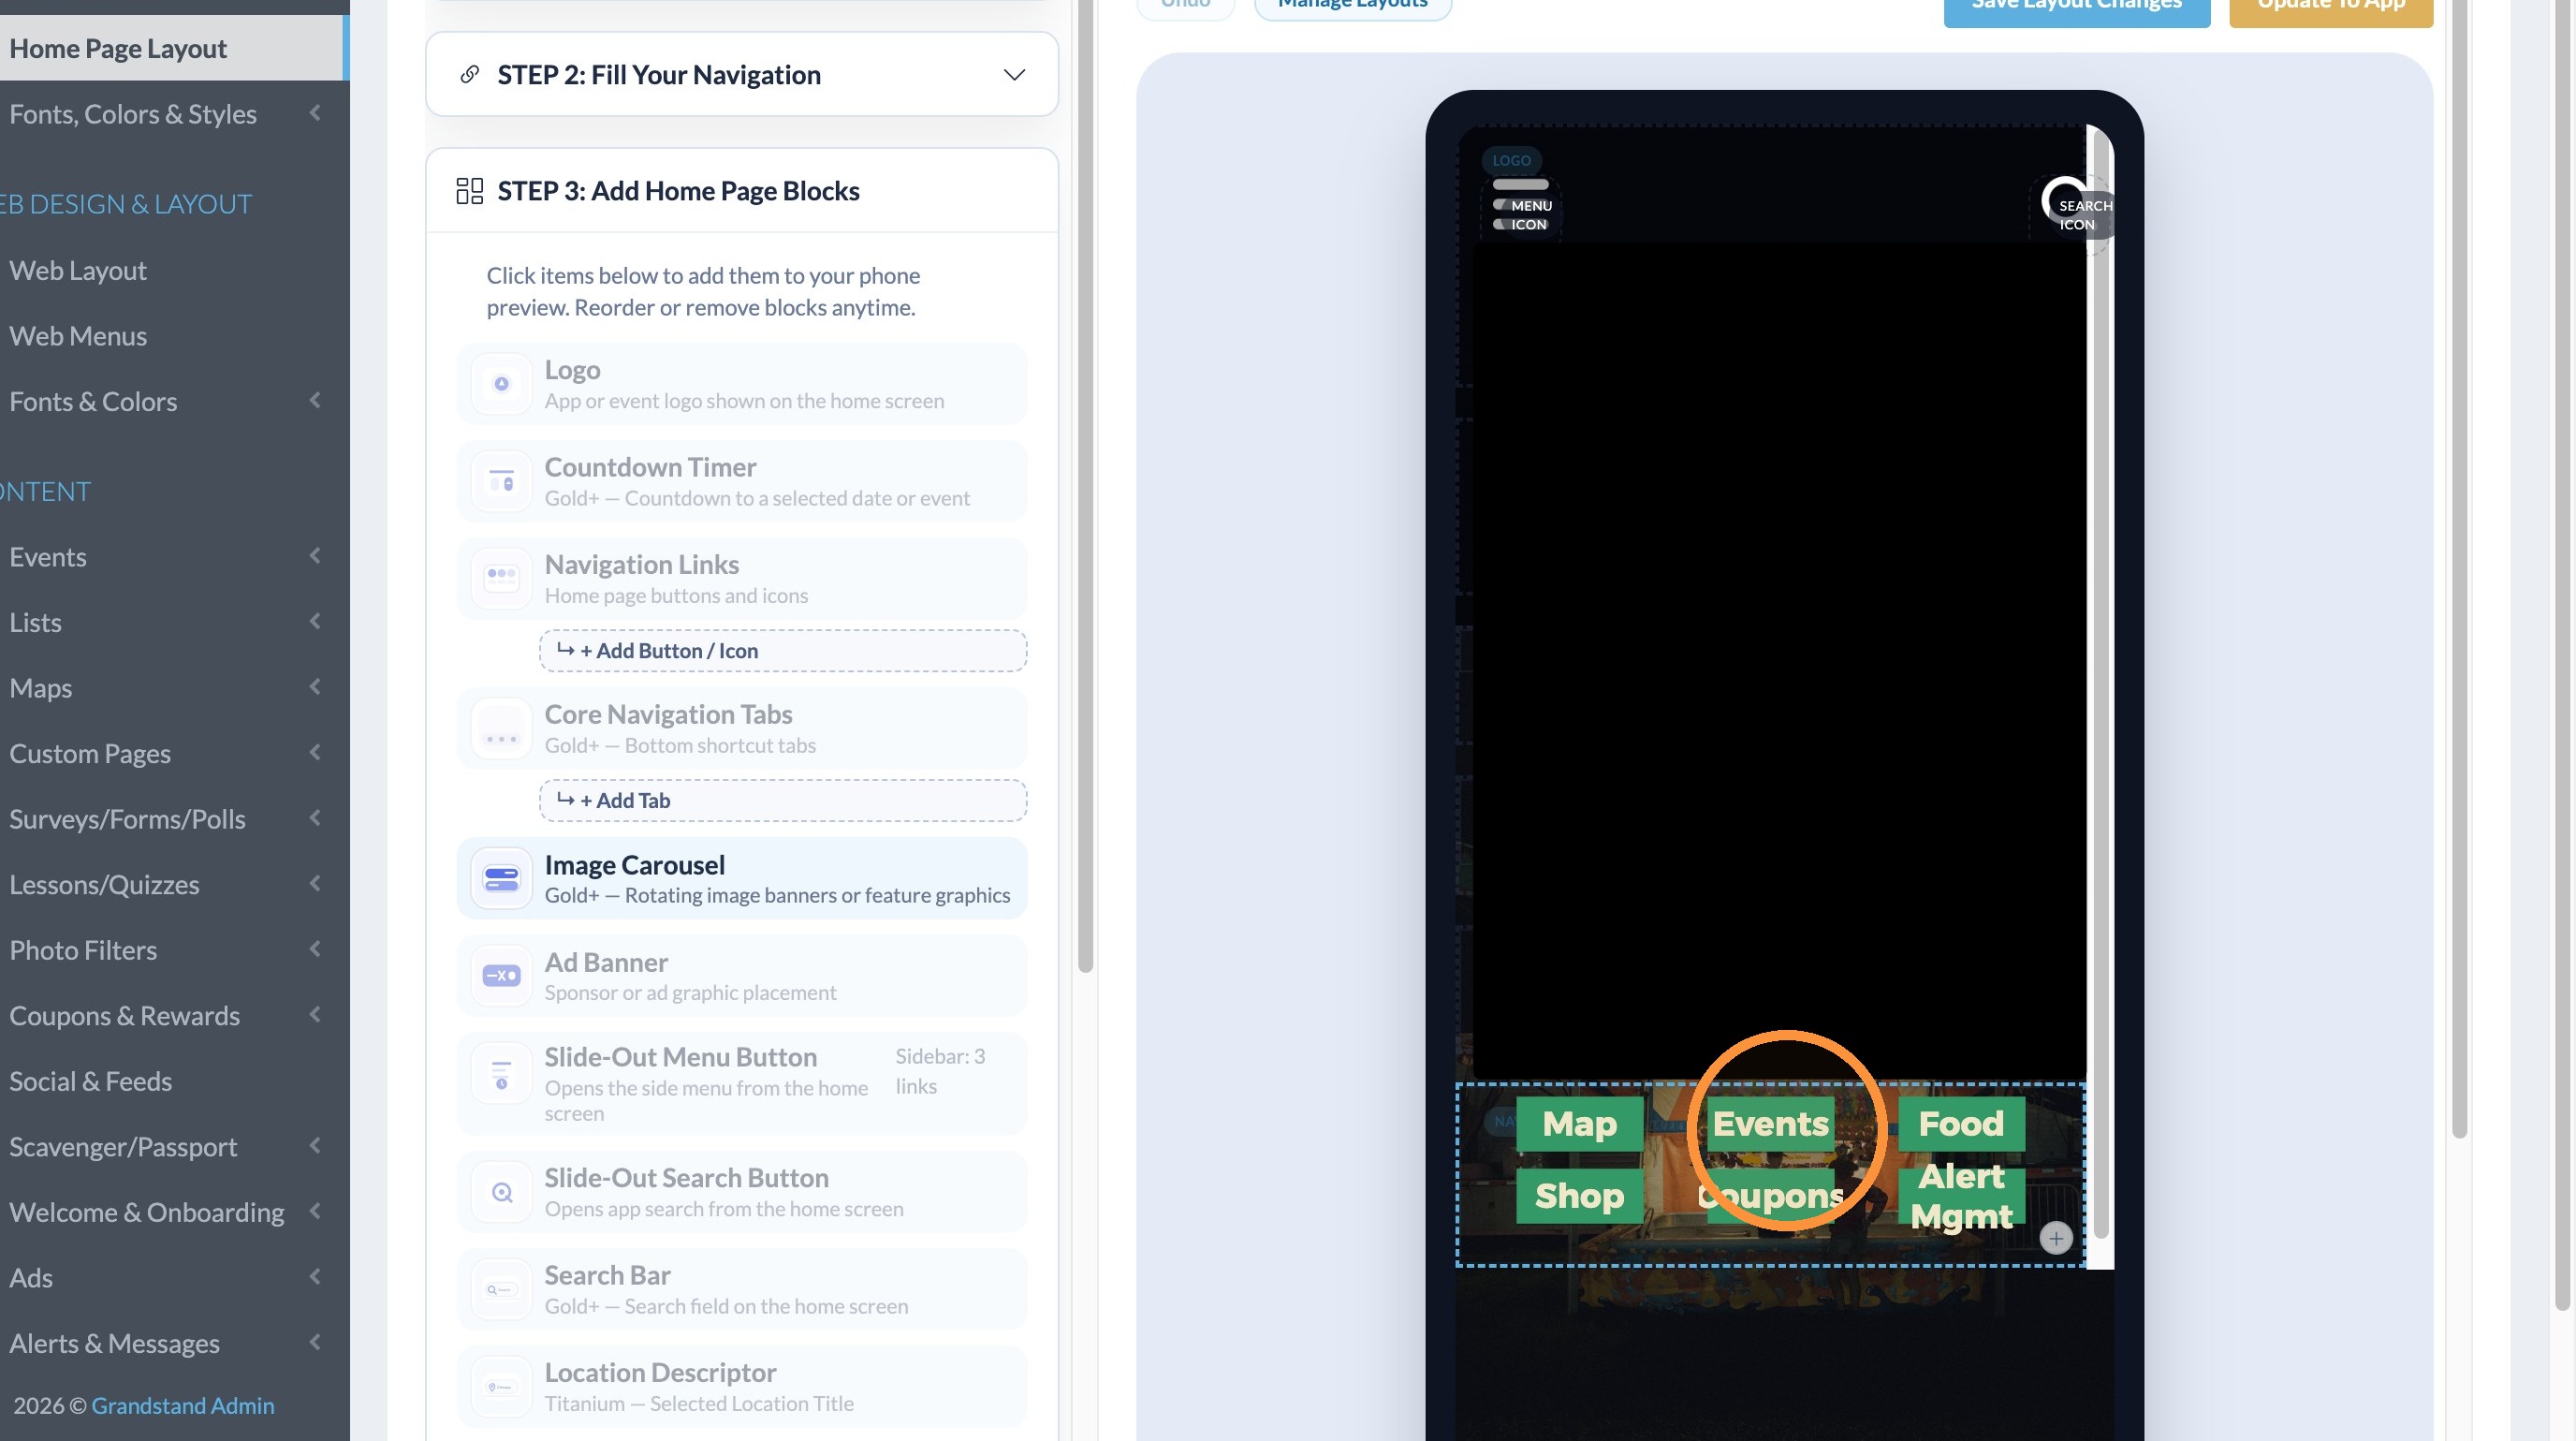
7. Click the menu item that you want to link to the new calendar group.
8. Under Event Group select the correct calendar option.
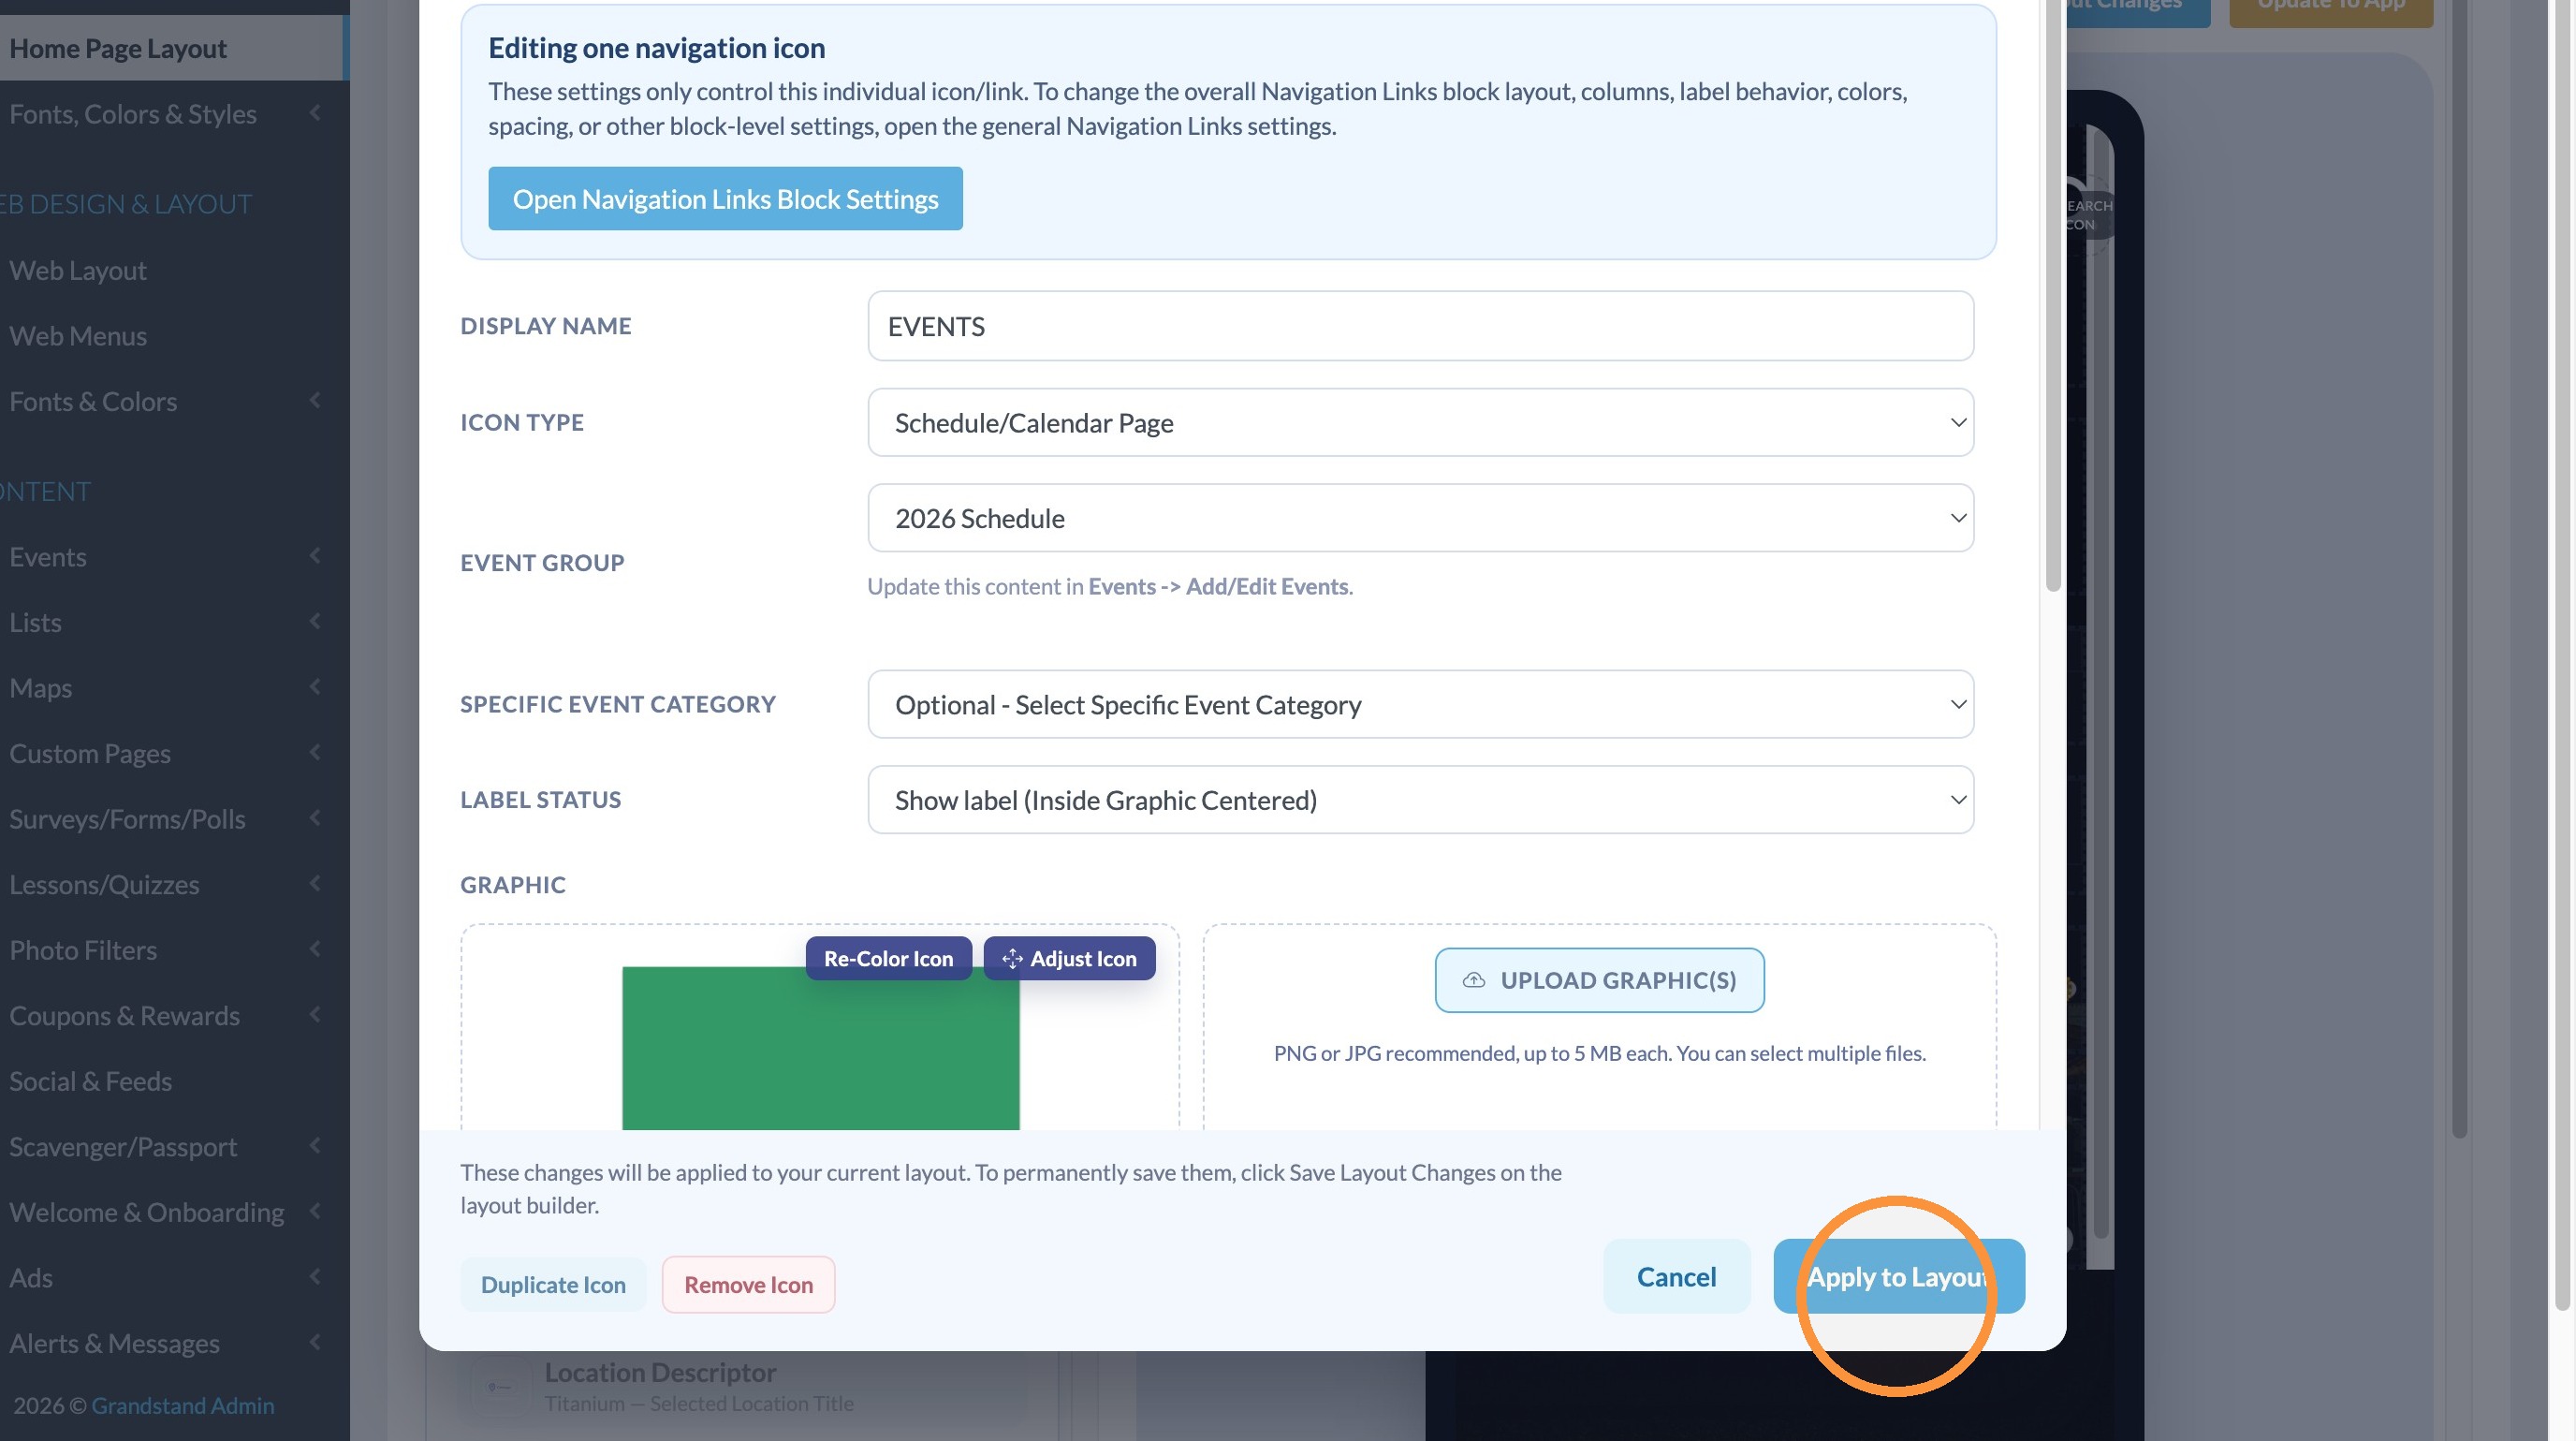
9. Click "Apply to Layout"
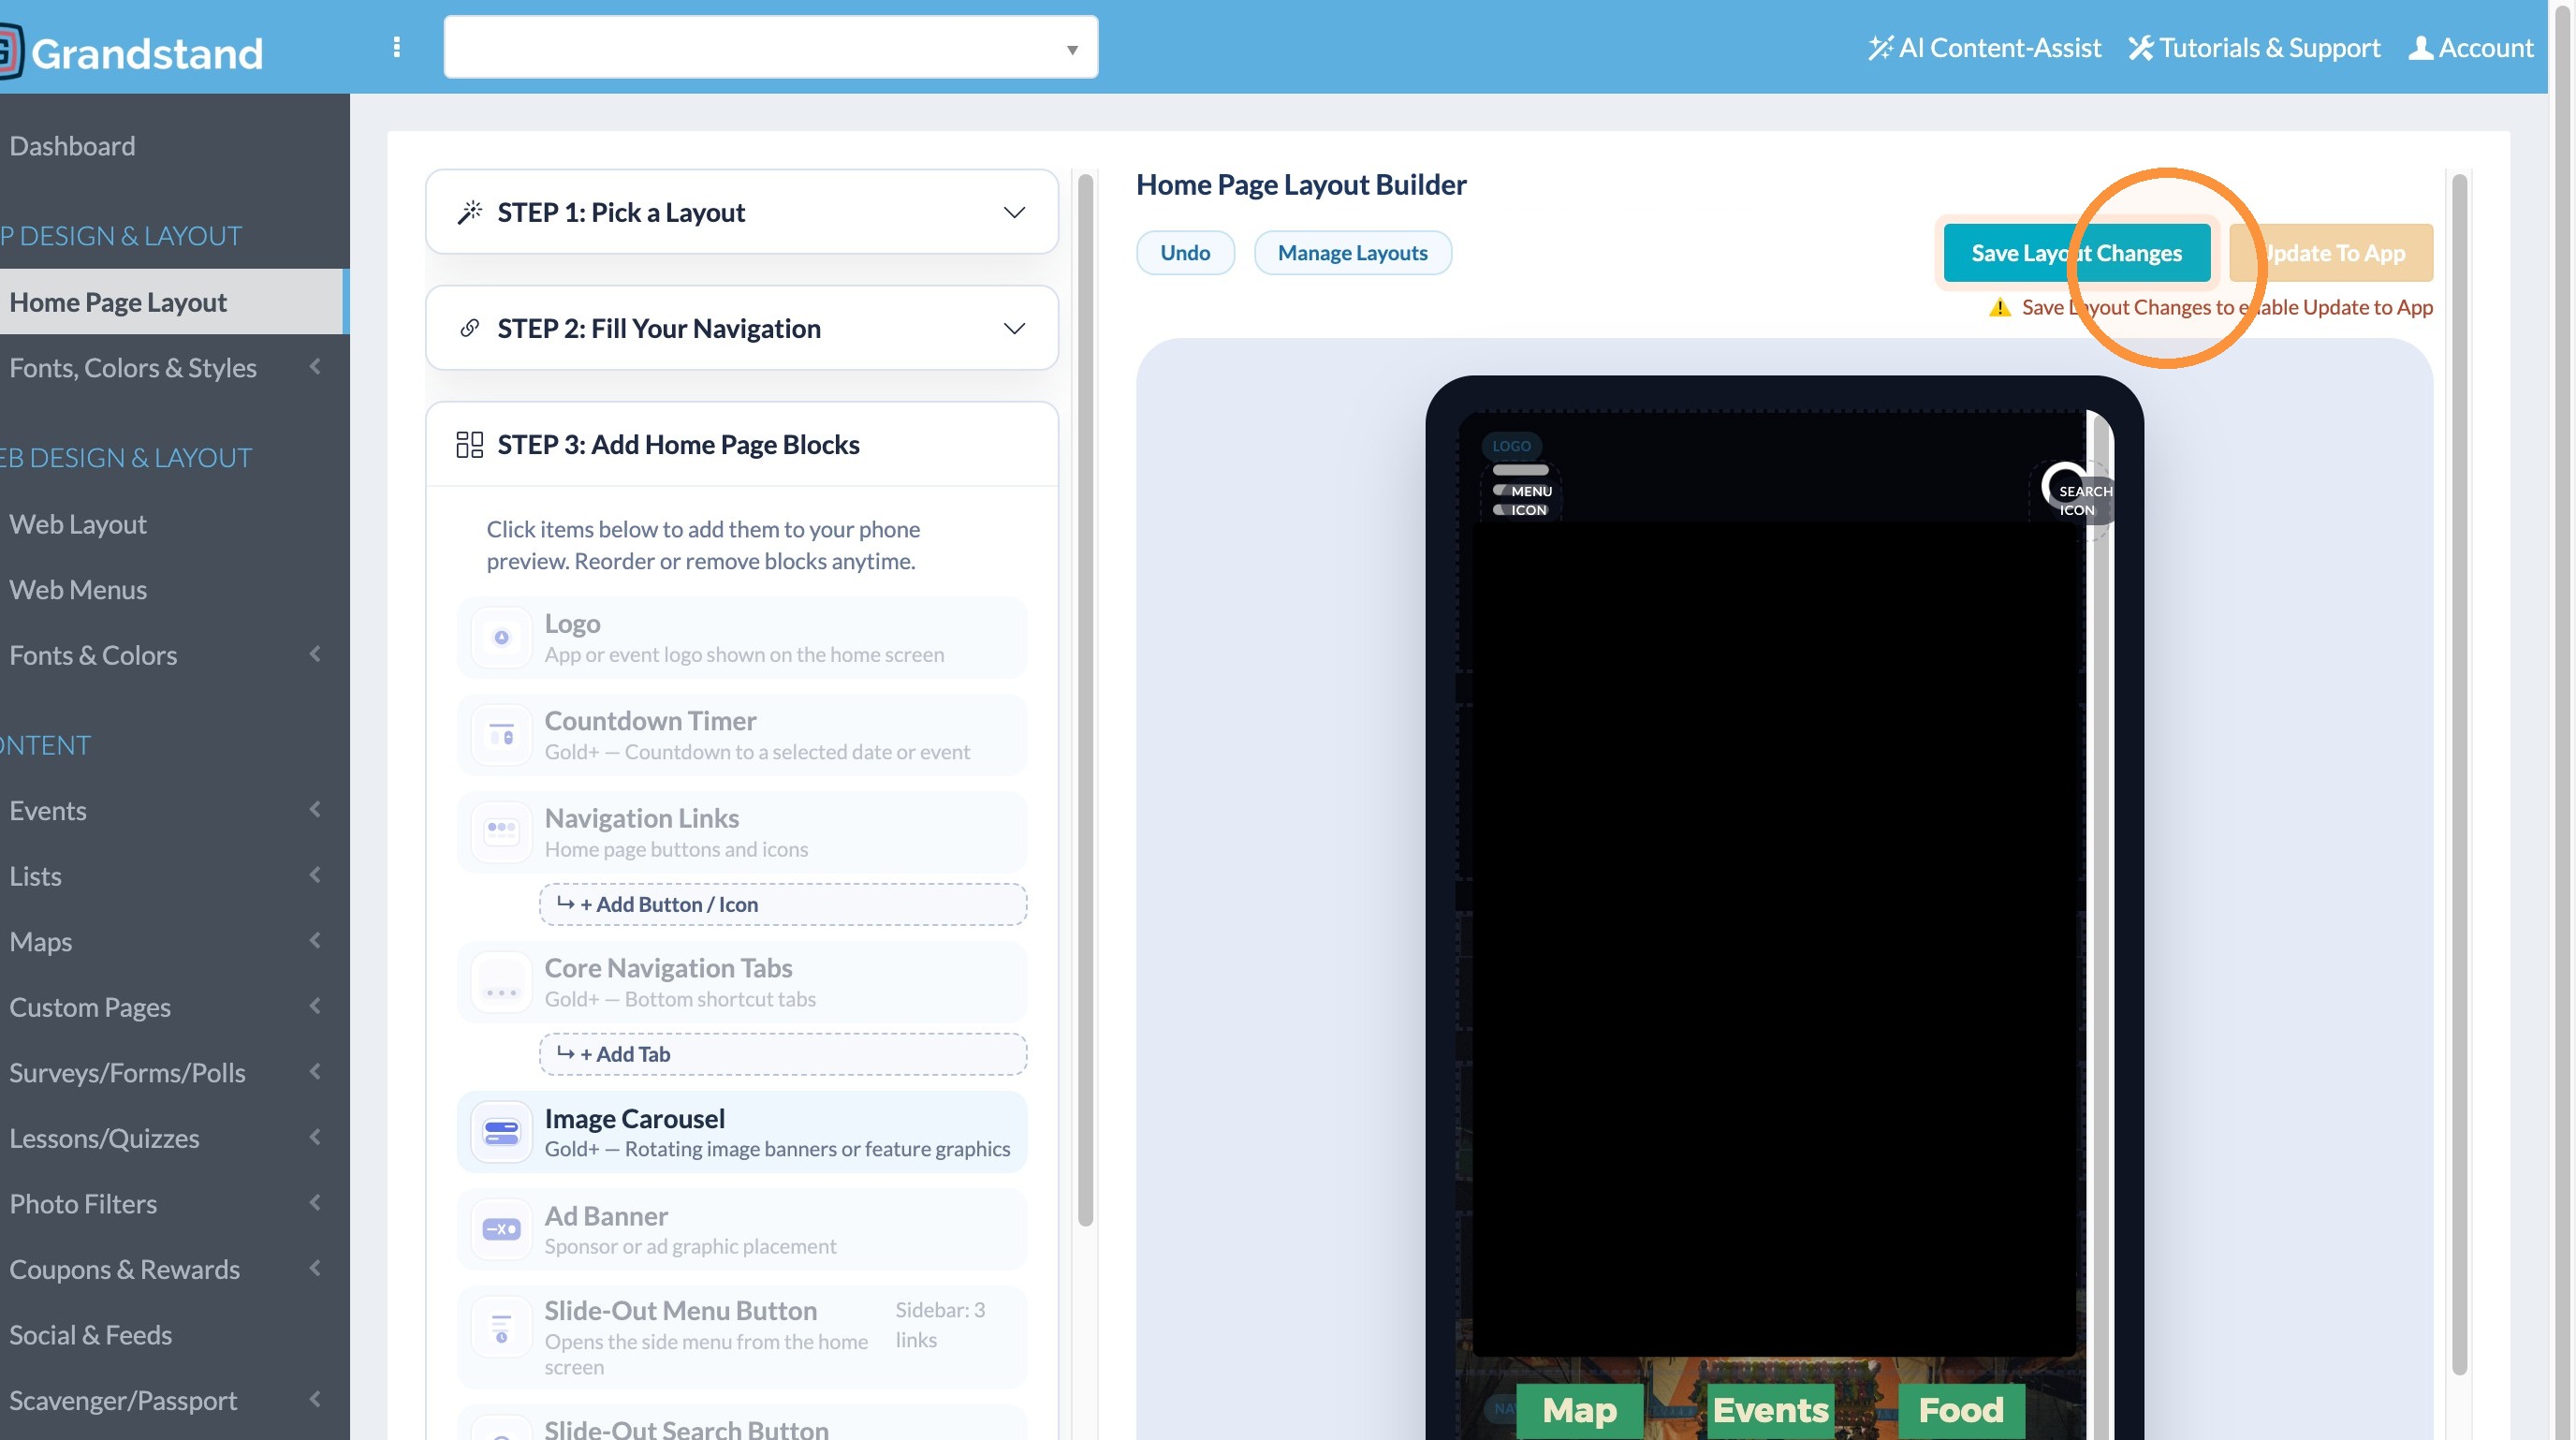
10. Click "Save Layout Changes"
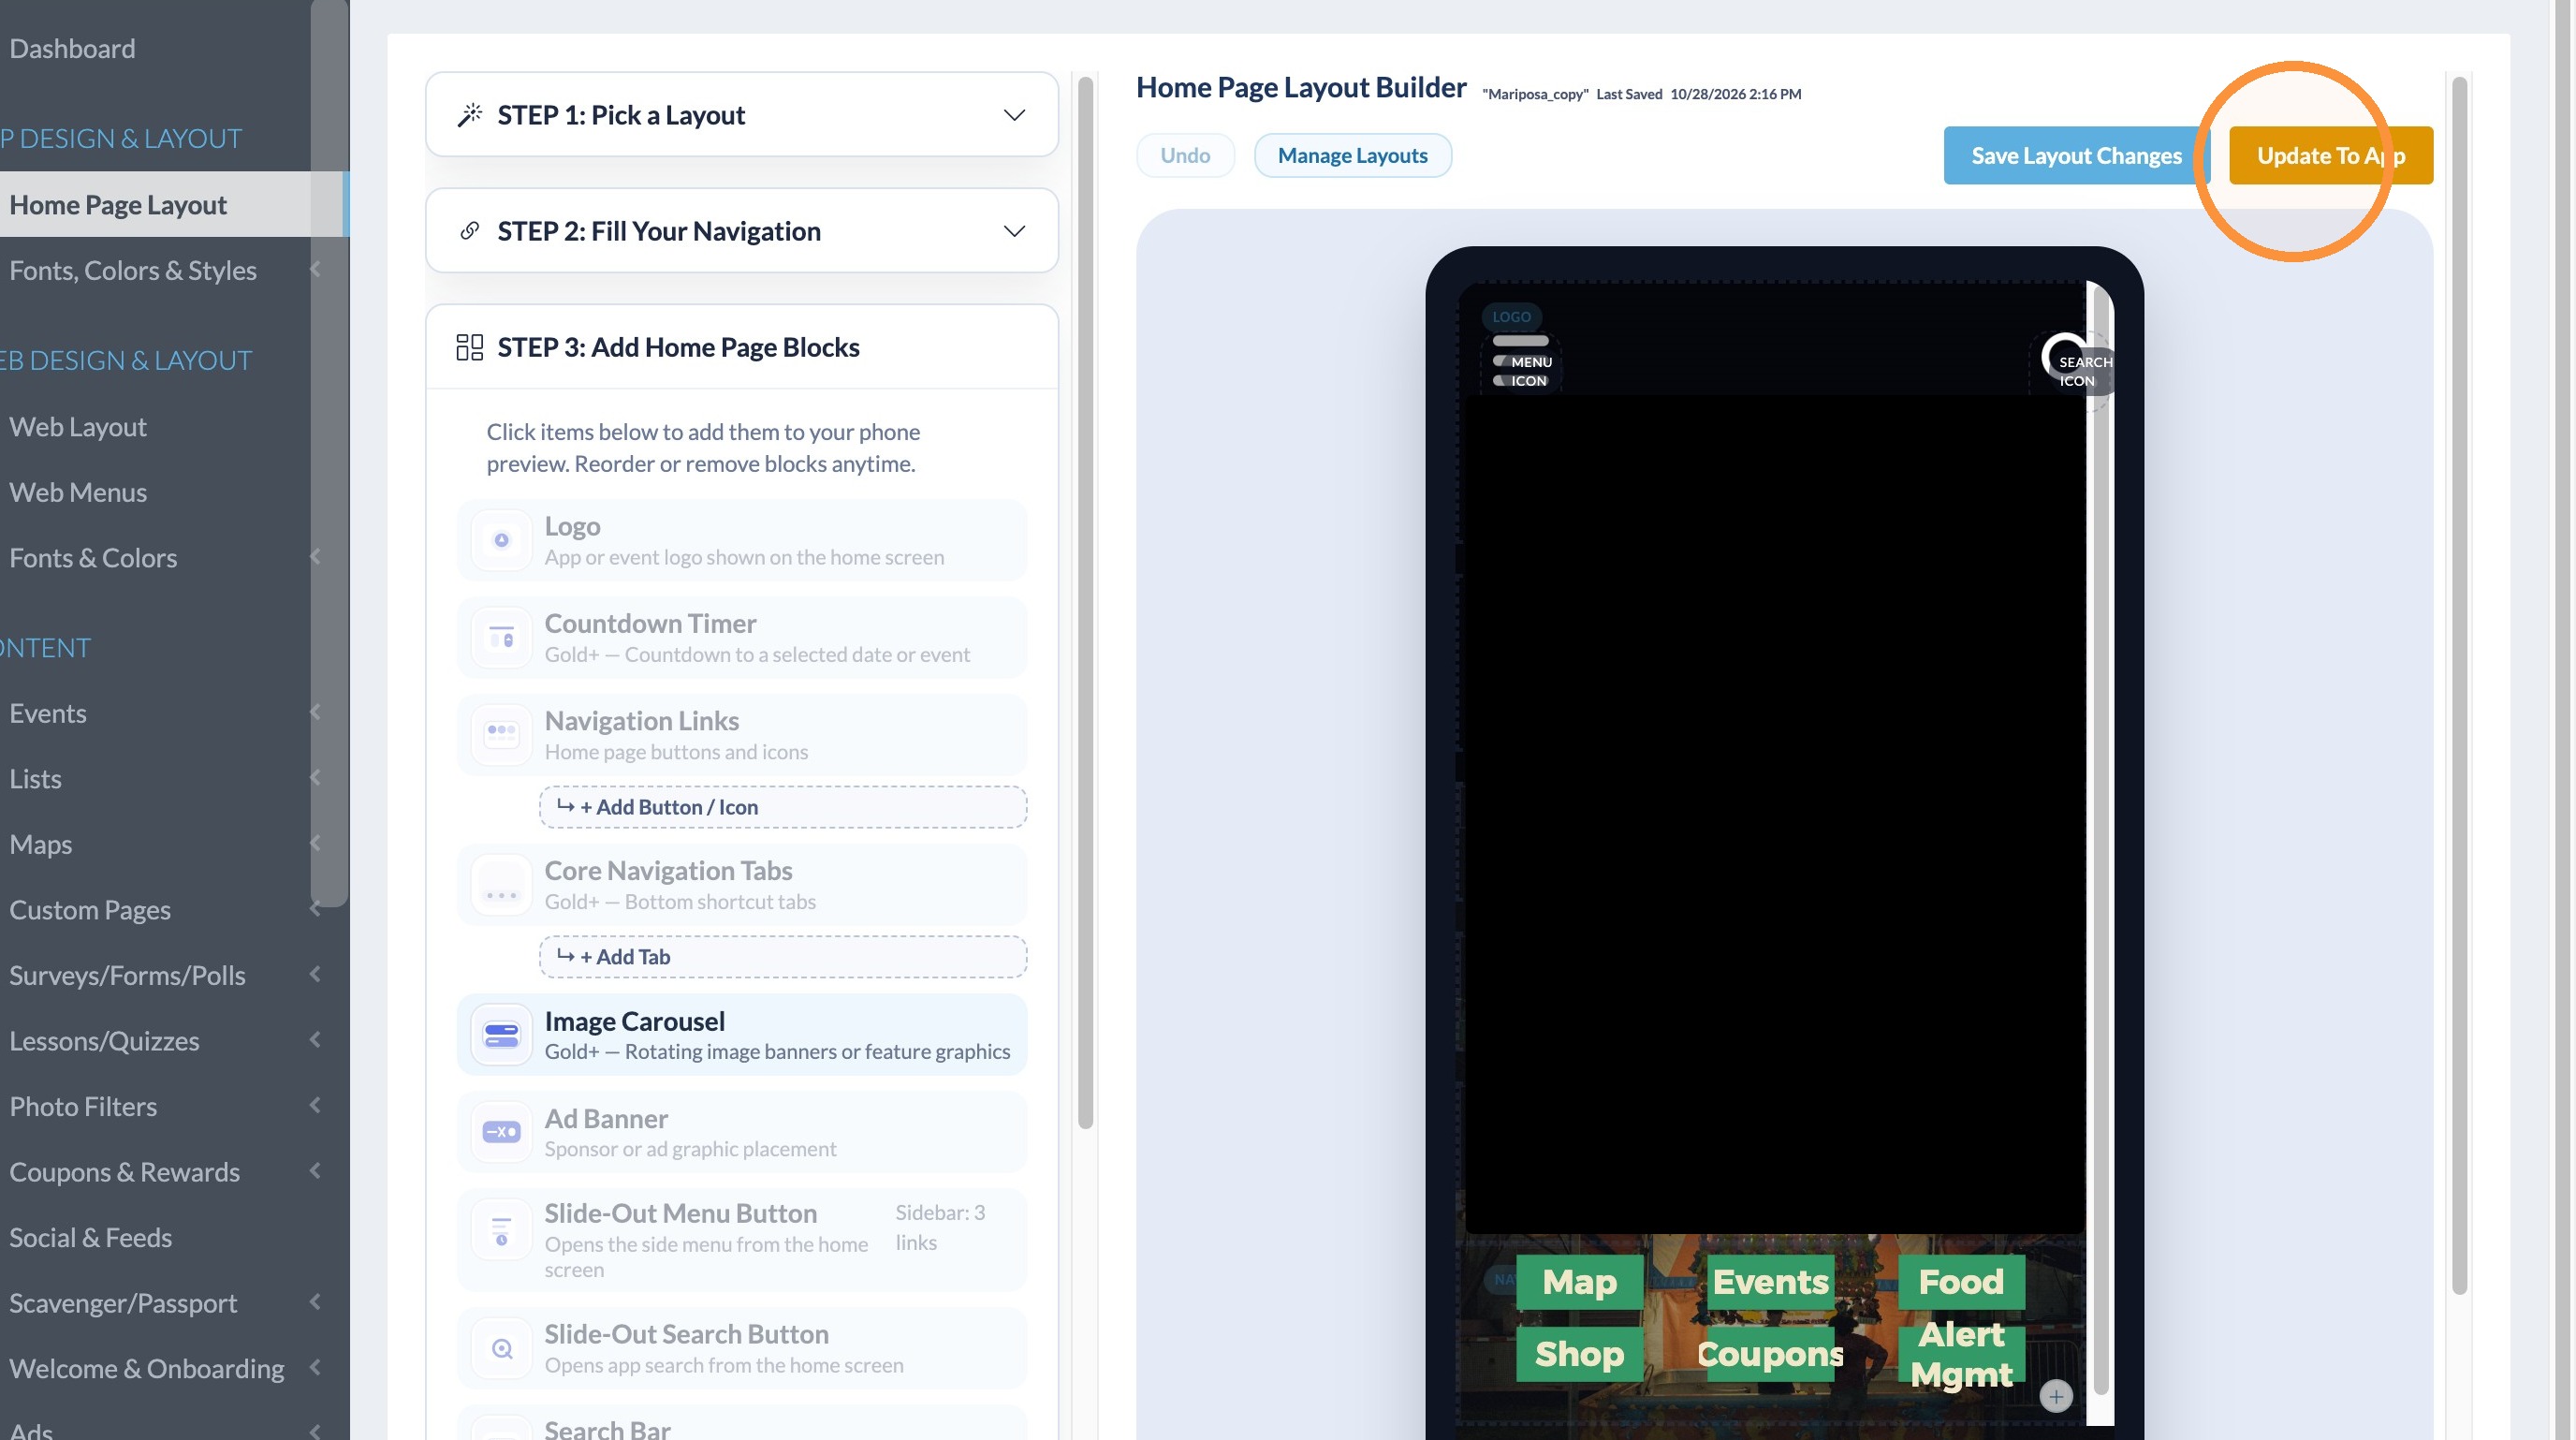
11. Click "Update To App"
Prepare Event Upload
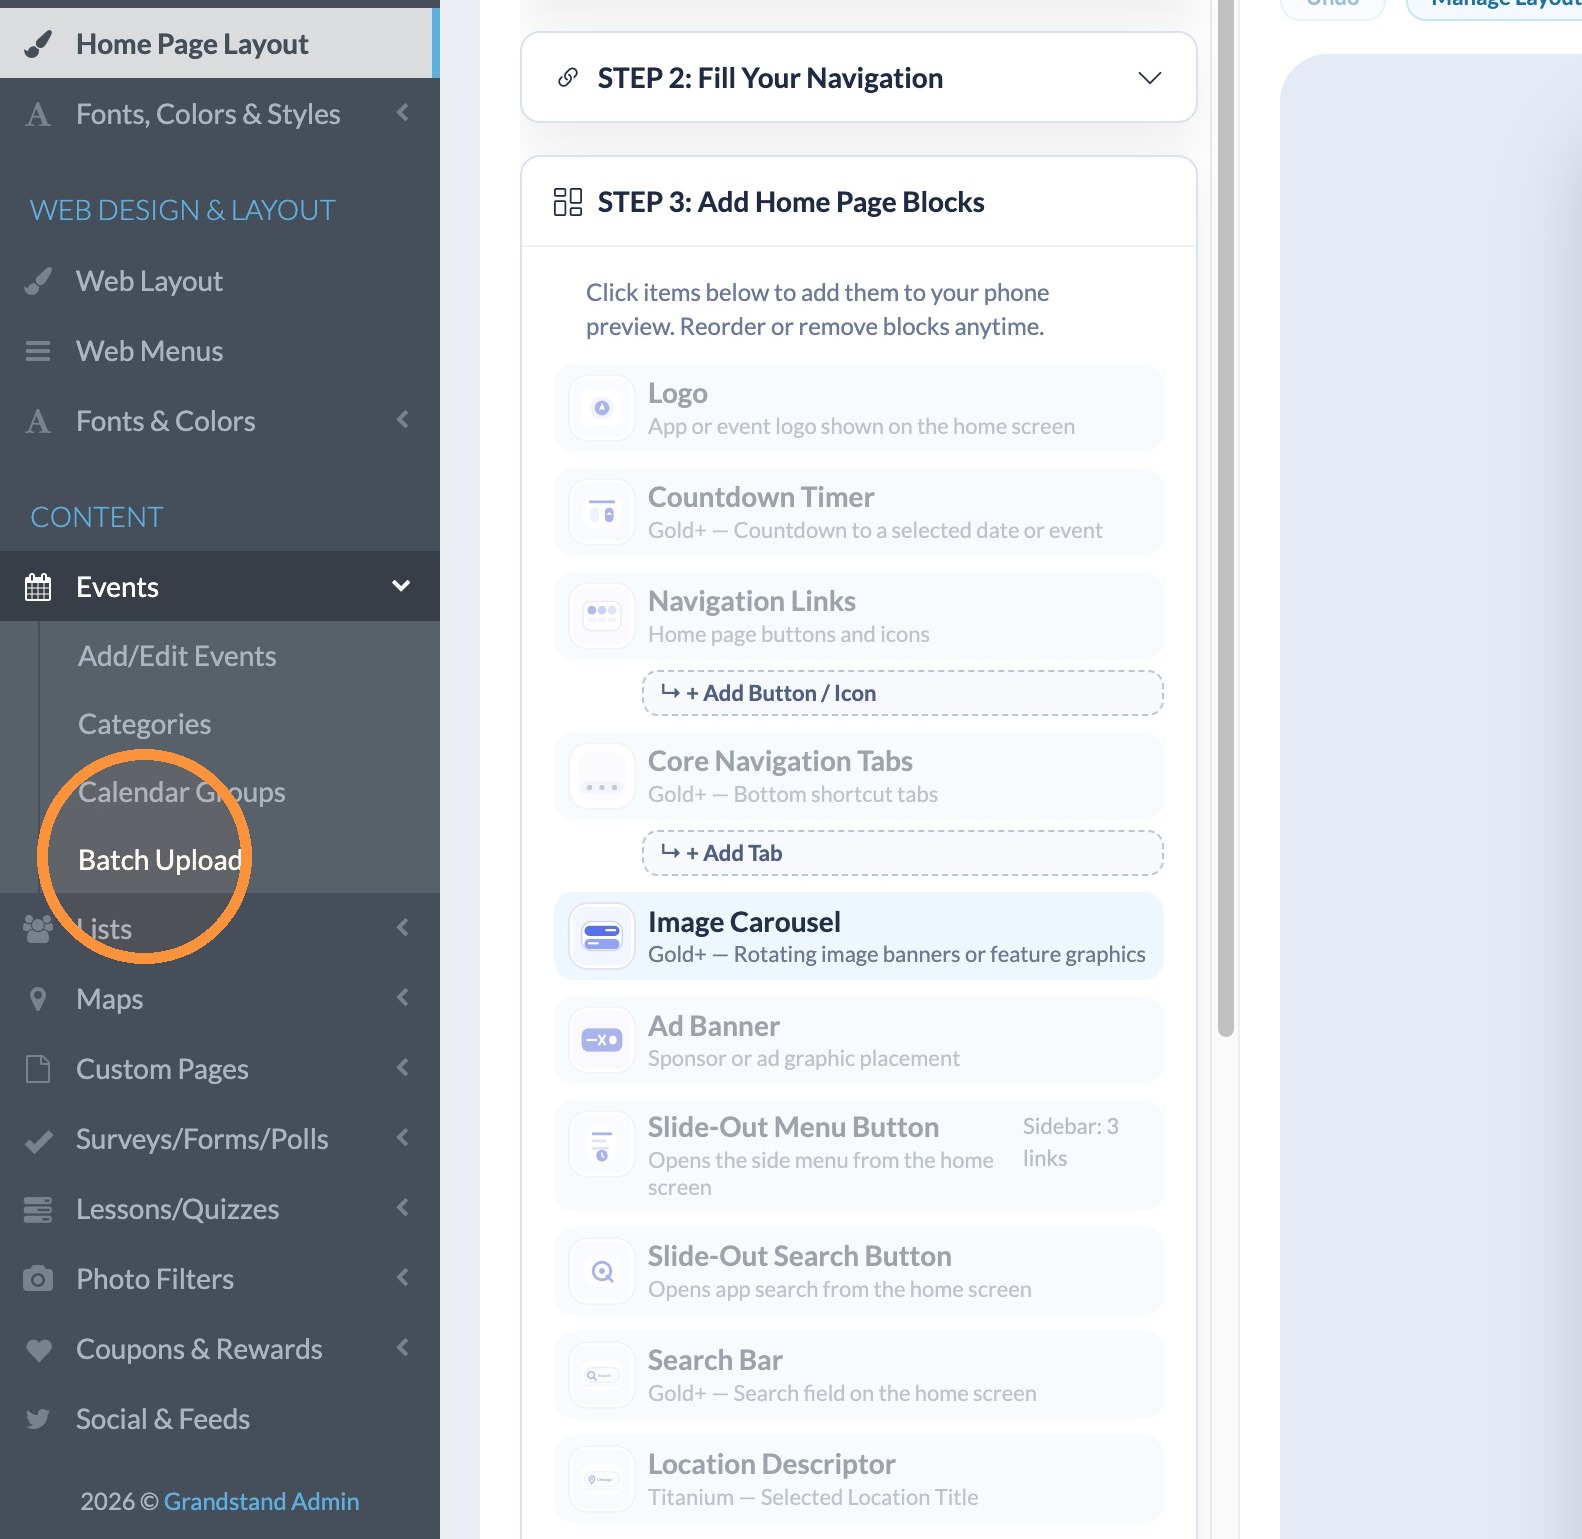
12. Click "Batch Upload" under Events.
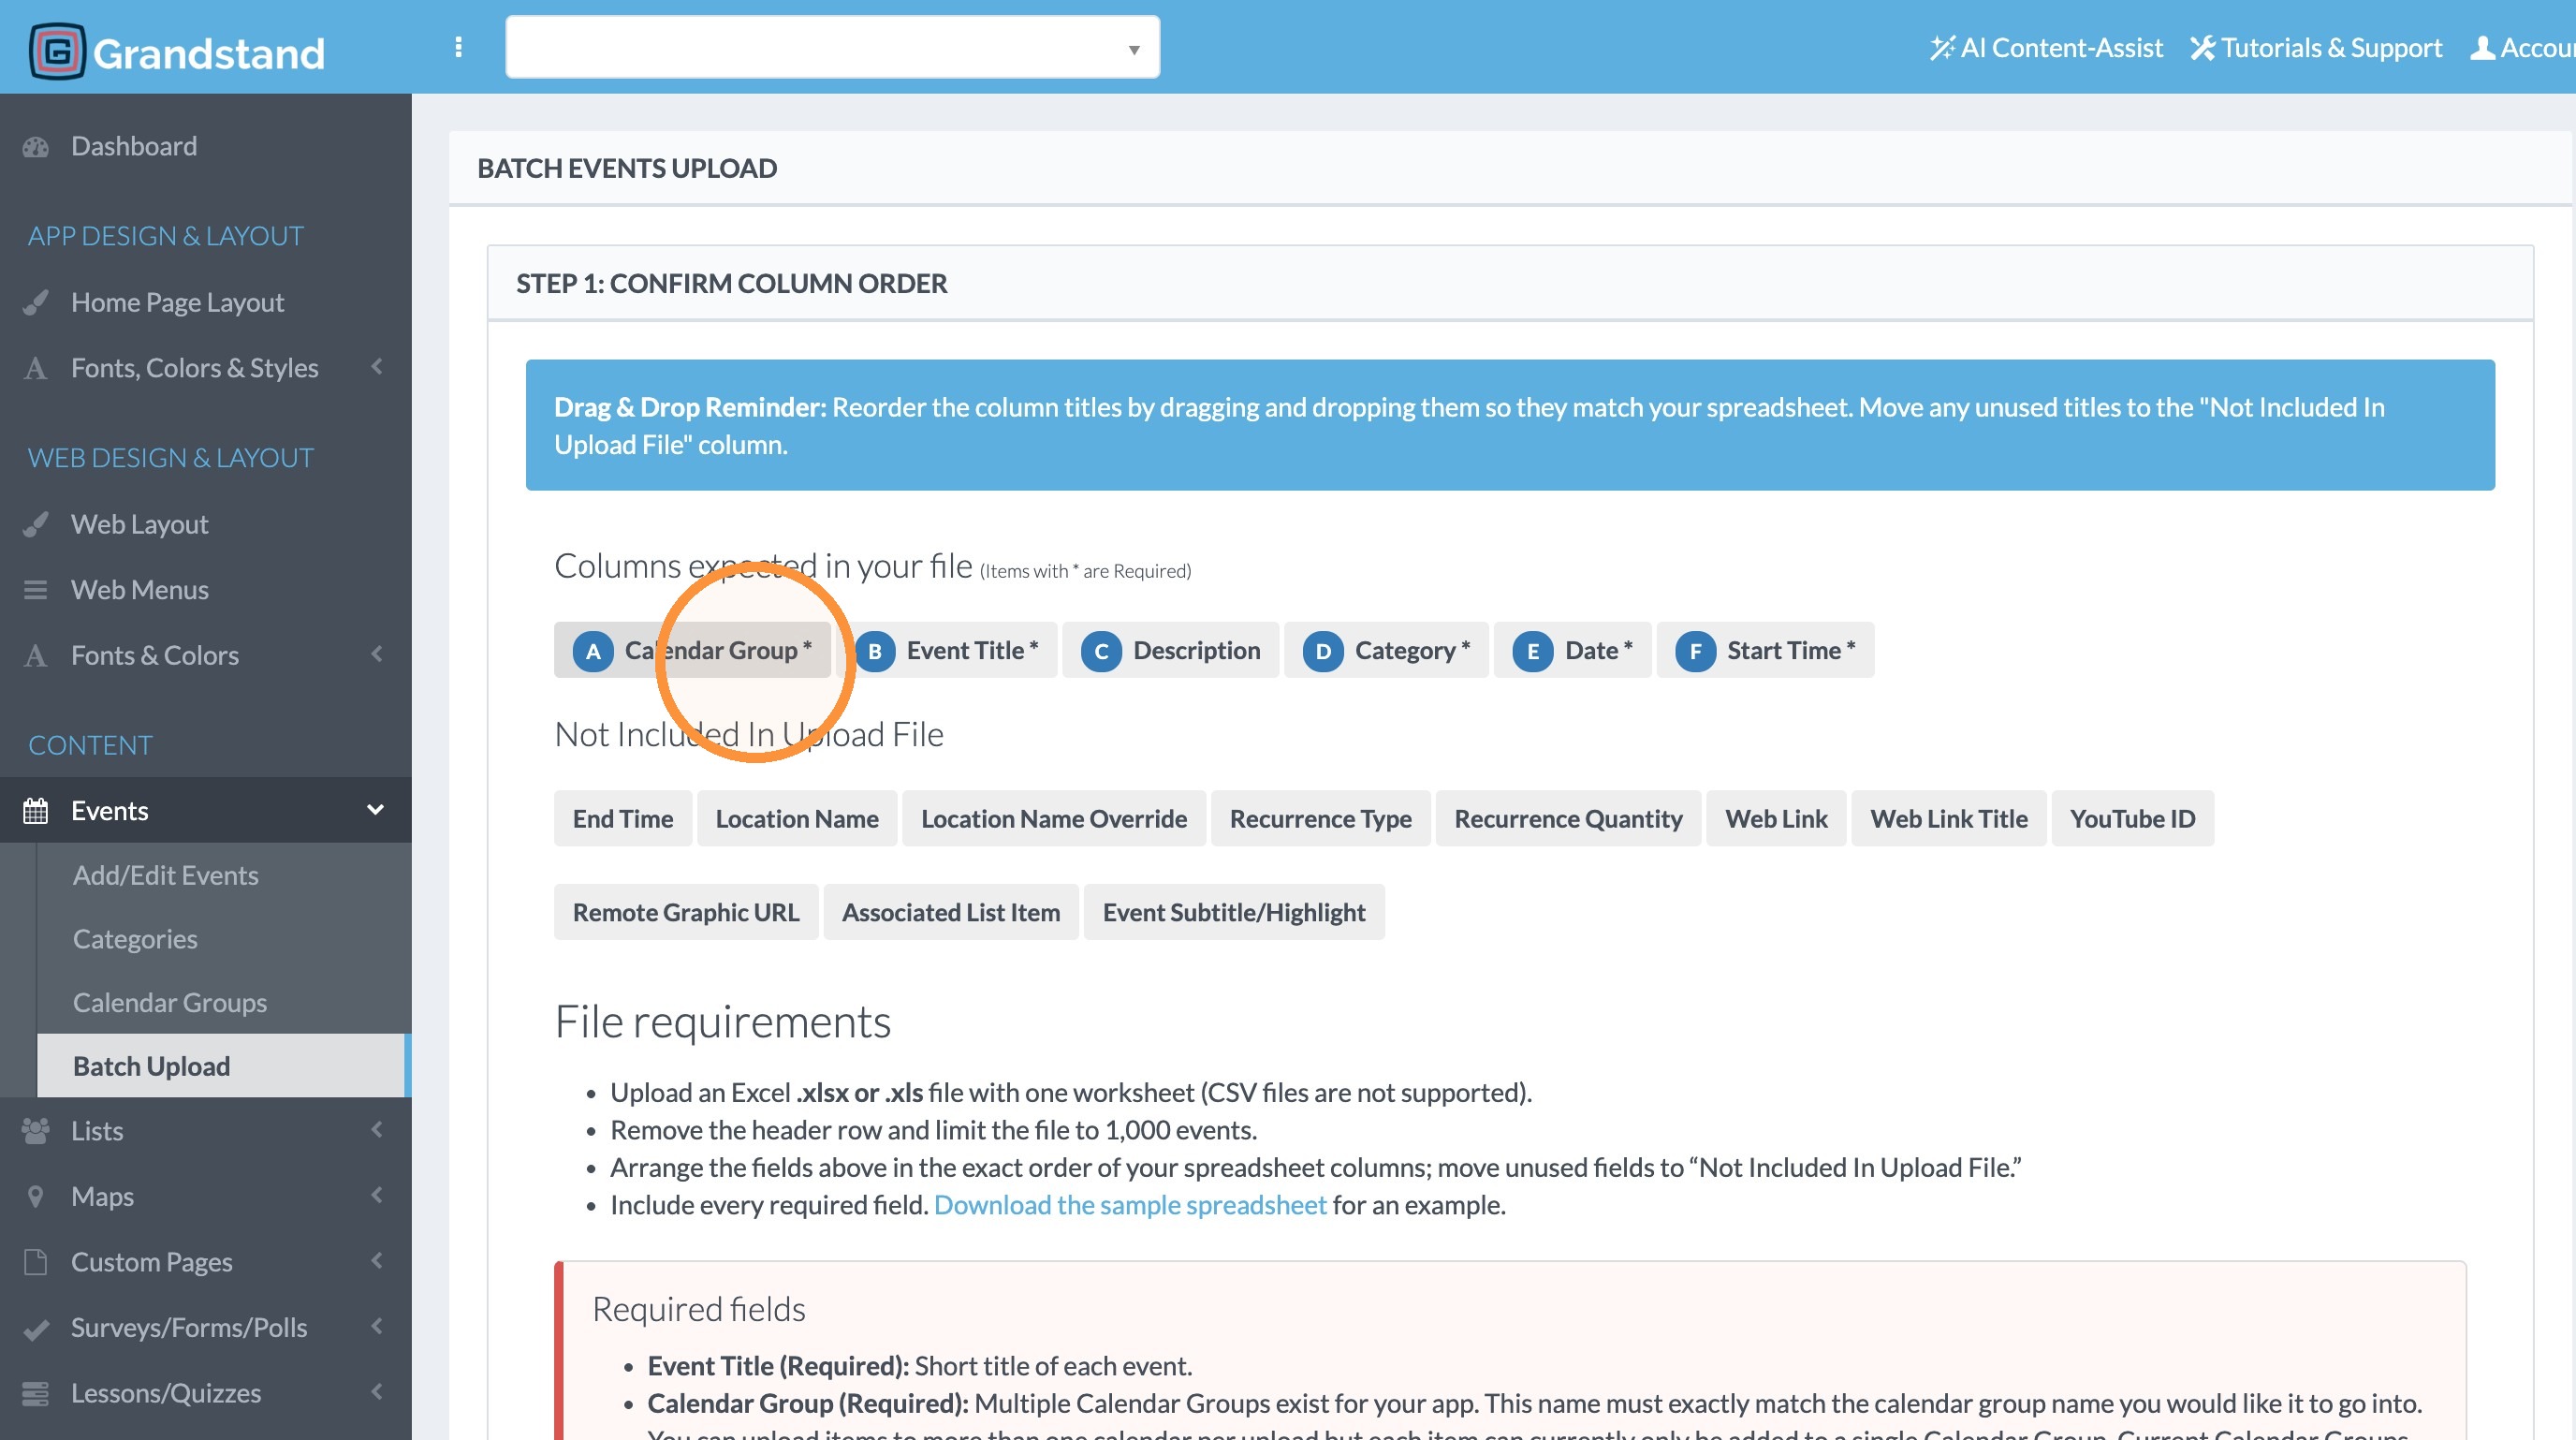
13. First Step is to match the column order from your spreadsheet to the order of the column headers. You can drag and drop to match the header order to the order in your spreadsheet. If you have columns not used, put them under "Not Included in Upload File"
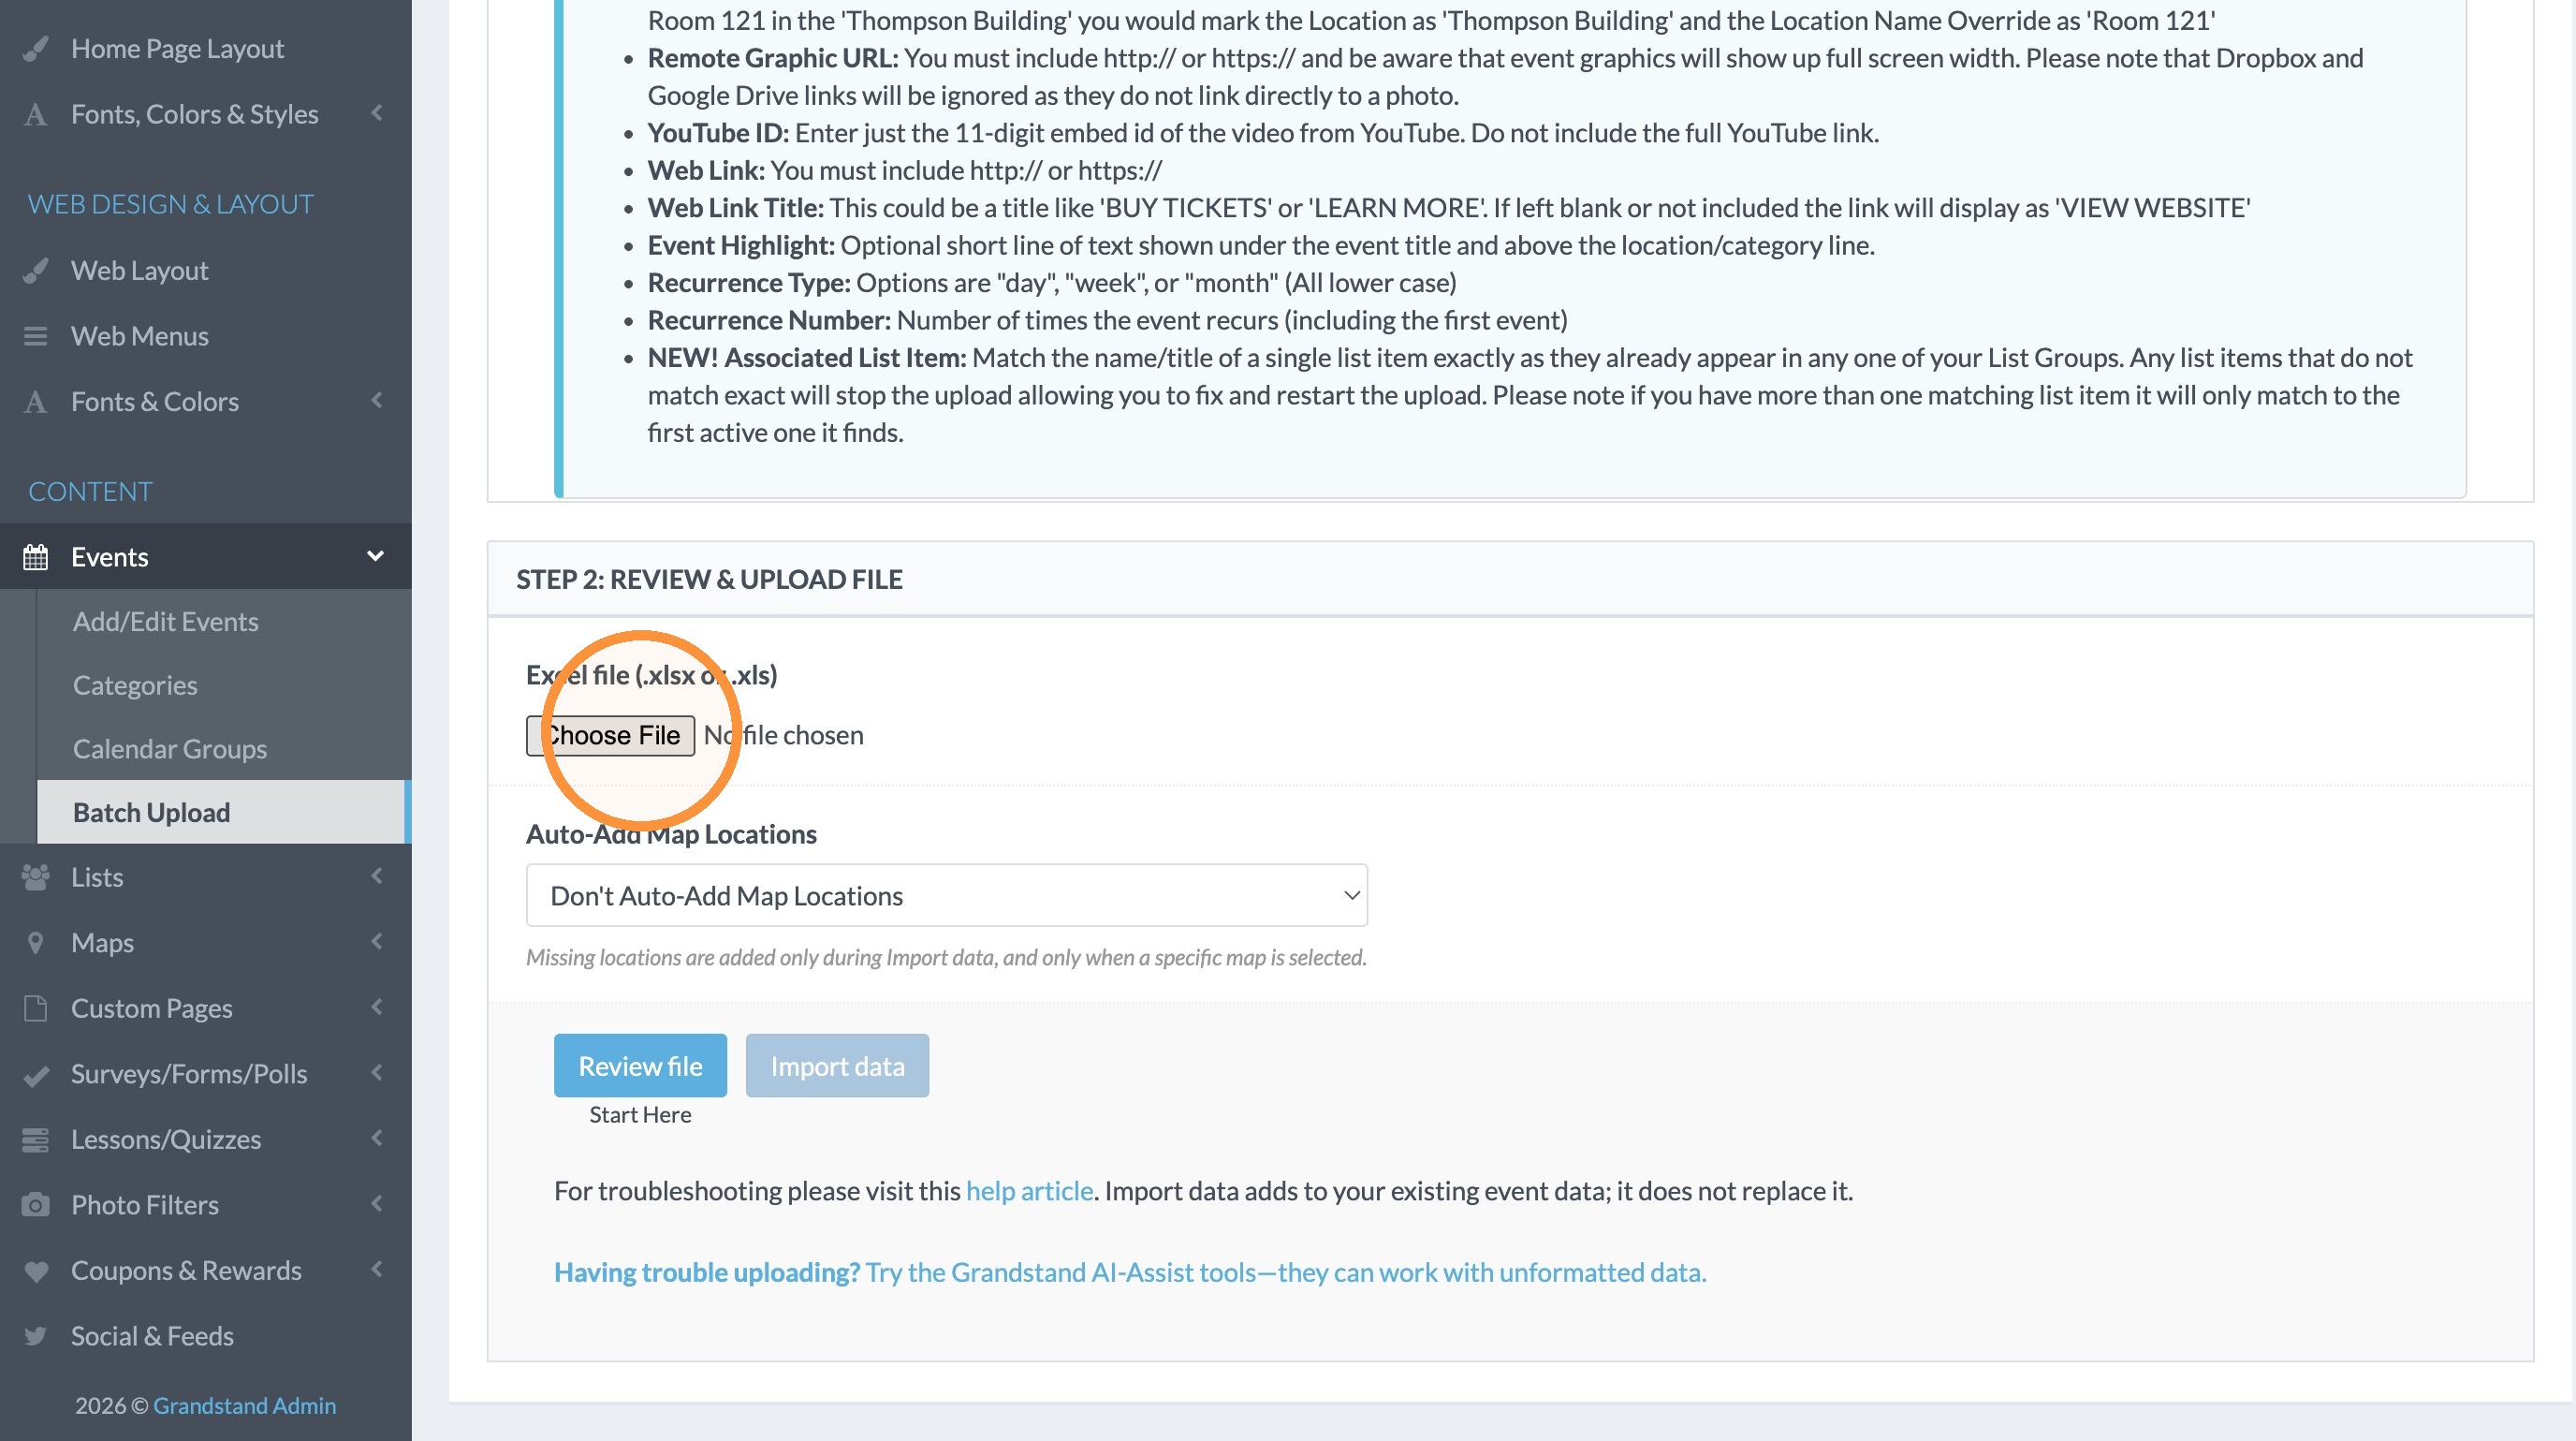
14. Once the column order labels matches the order of your spreadsheet, click the button to choose the file from your computer.
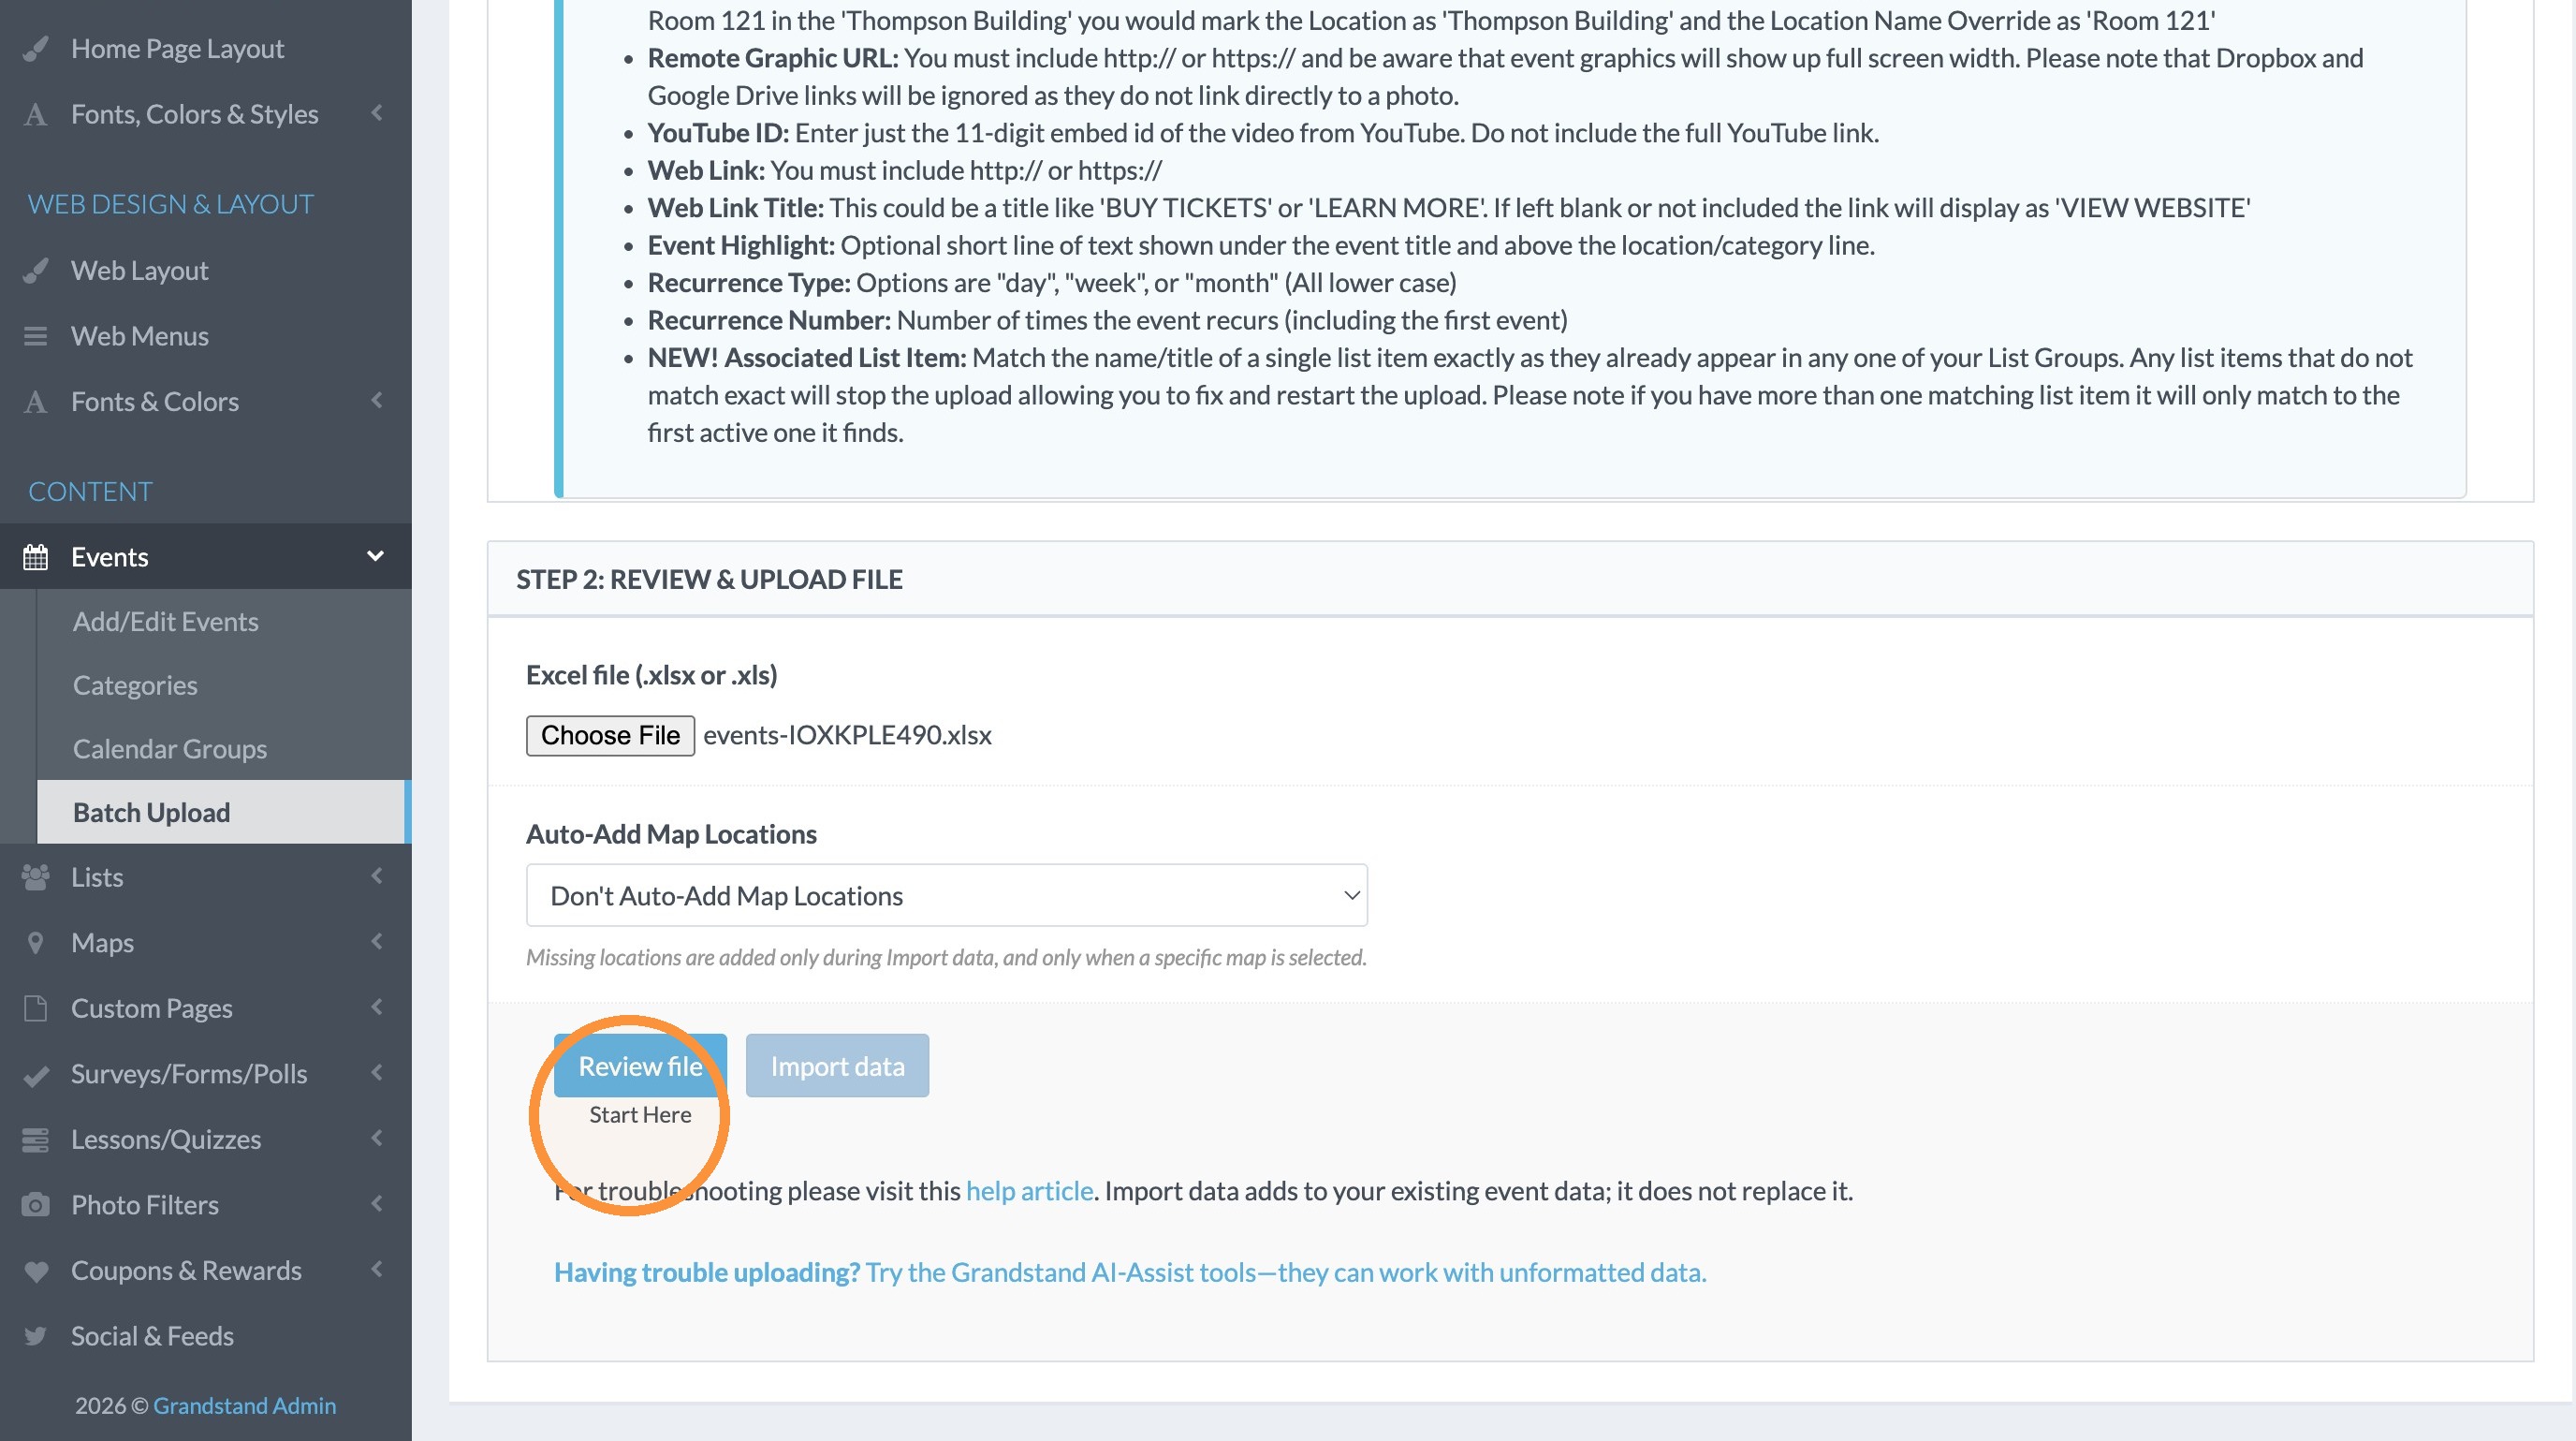
15. Click "Review File" to have your file reviewed for any errors. If there are errors, just fix them and then reupload the file and review again.
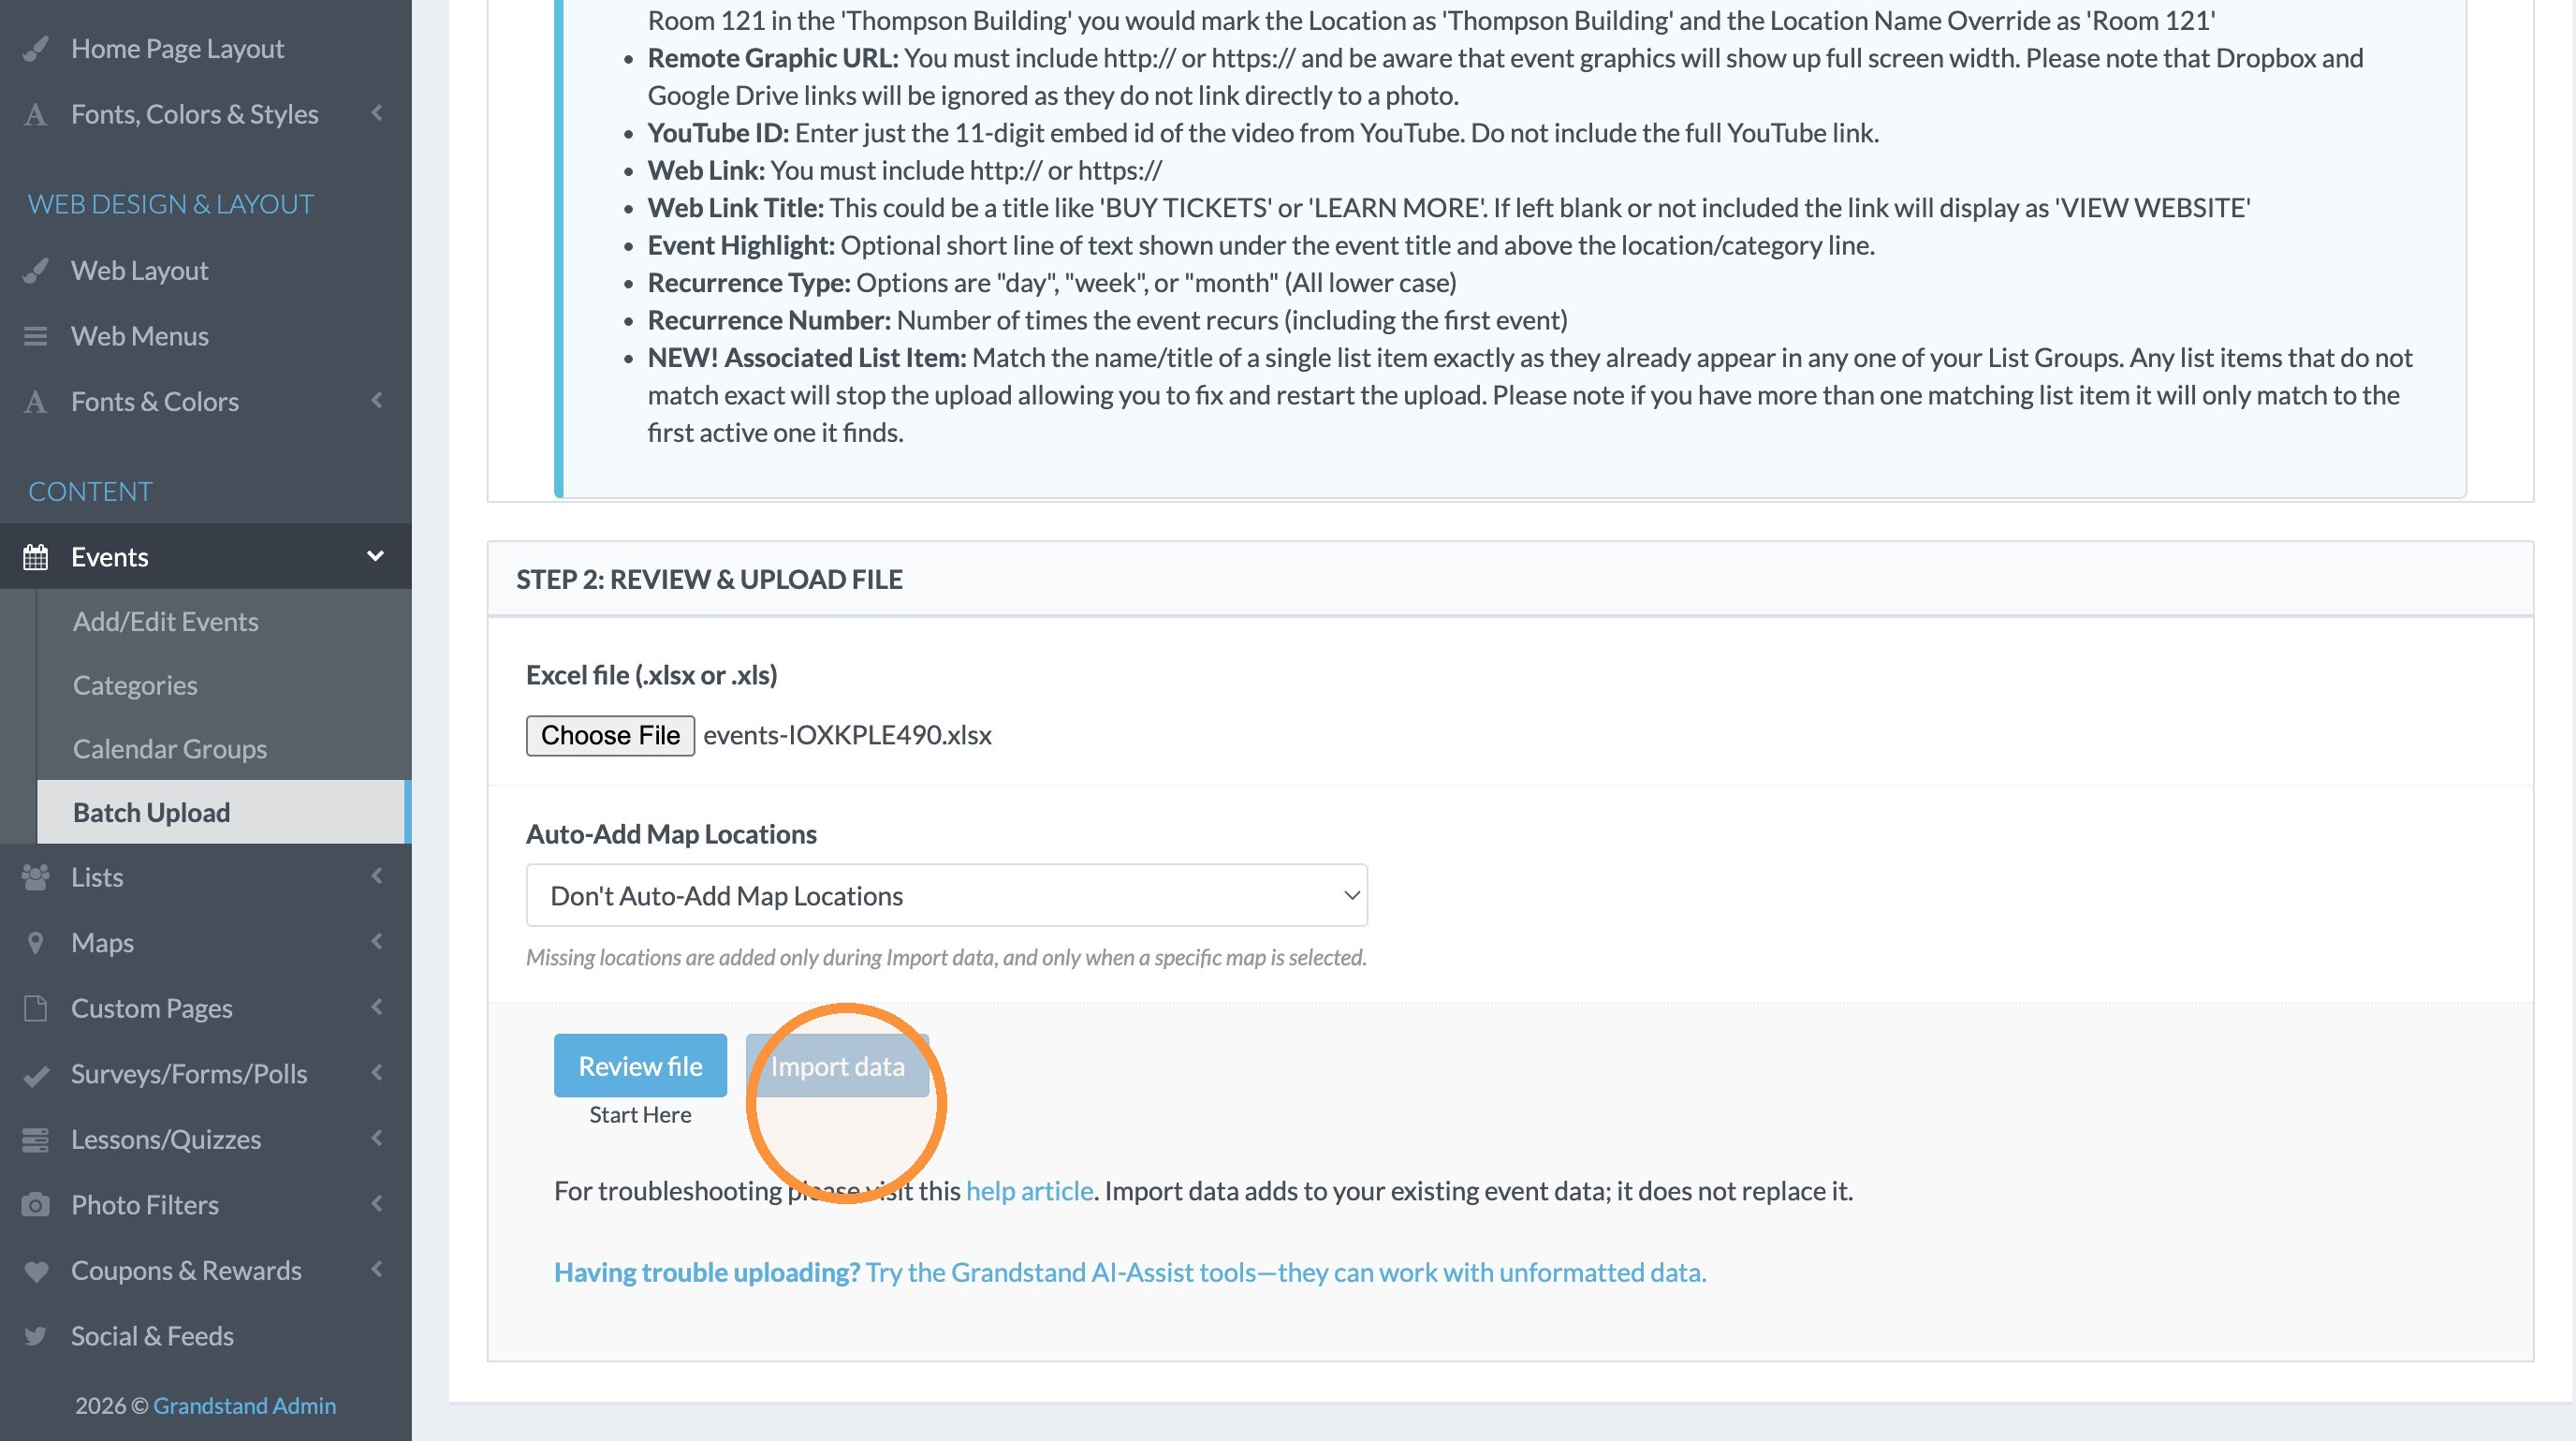
16. When all of the errors are fixed, click "Import Data" button.
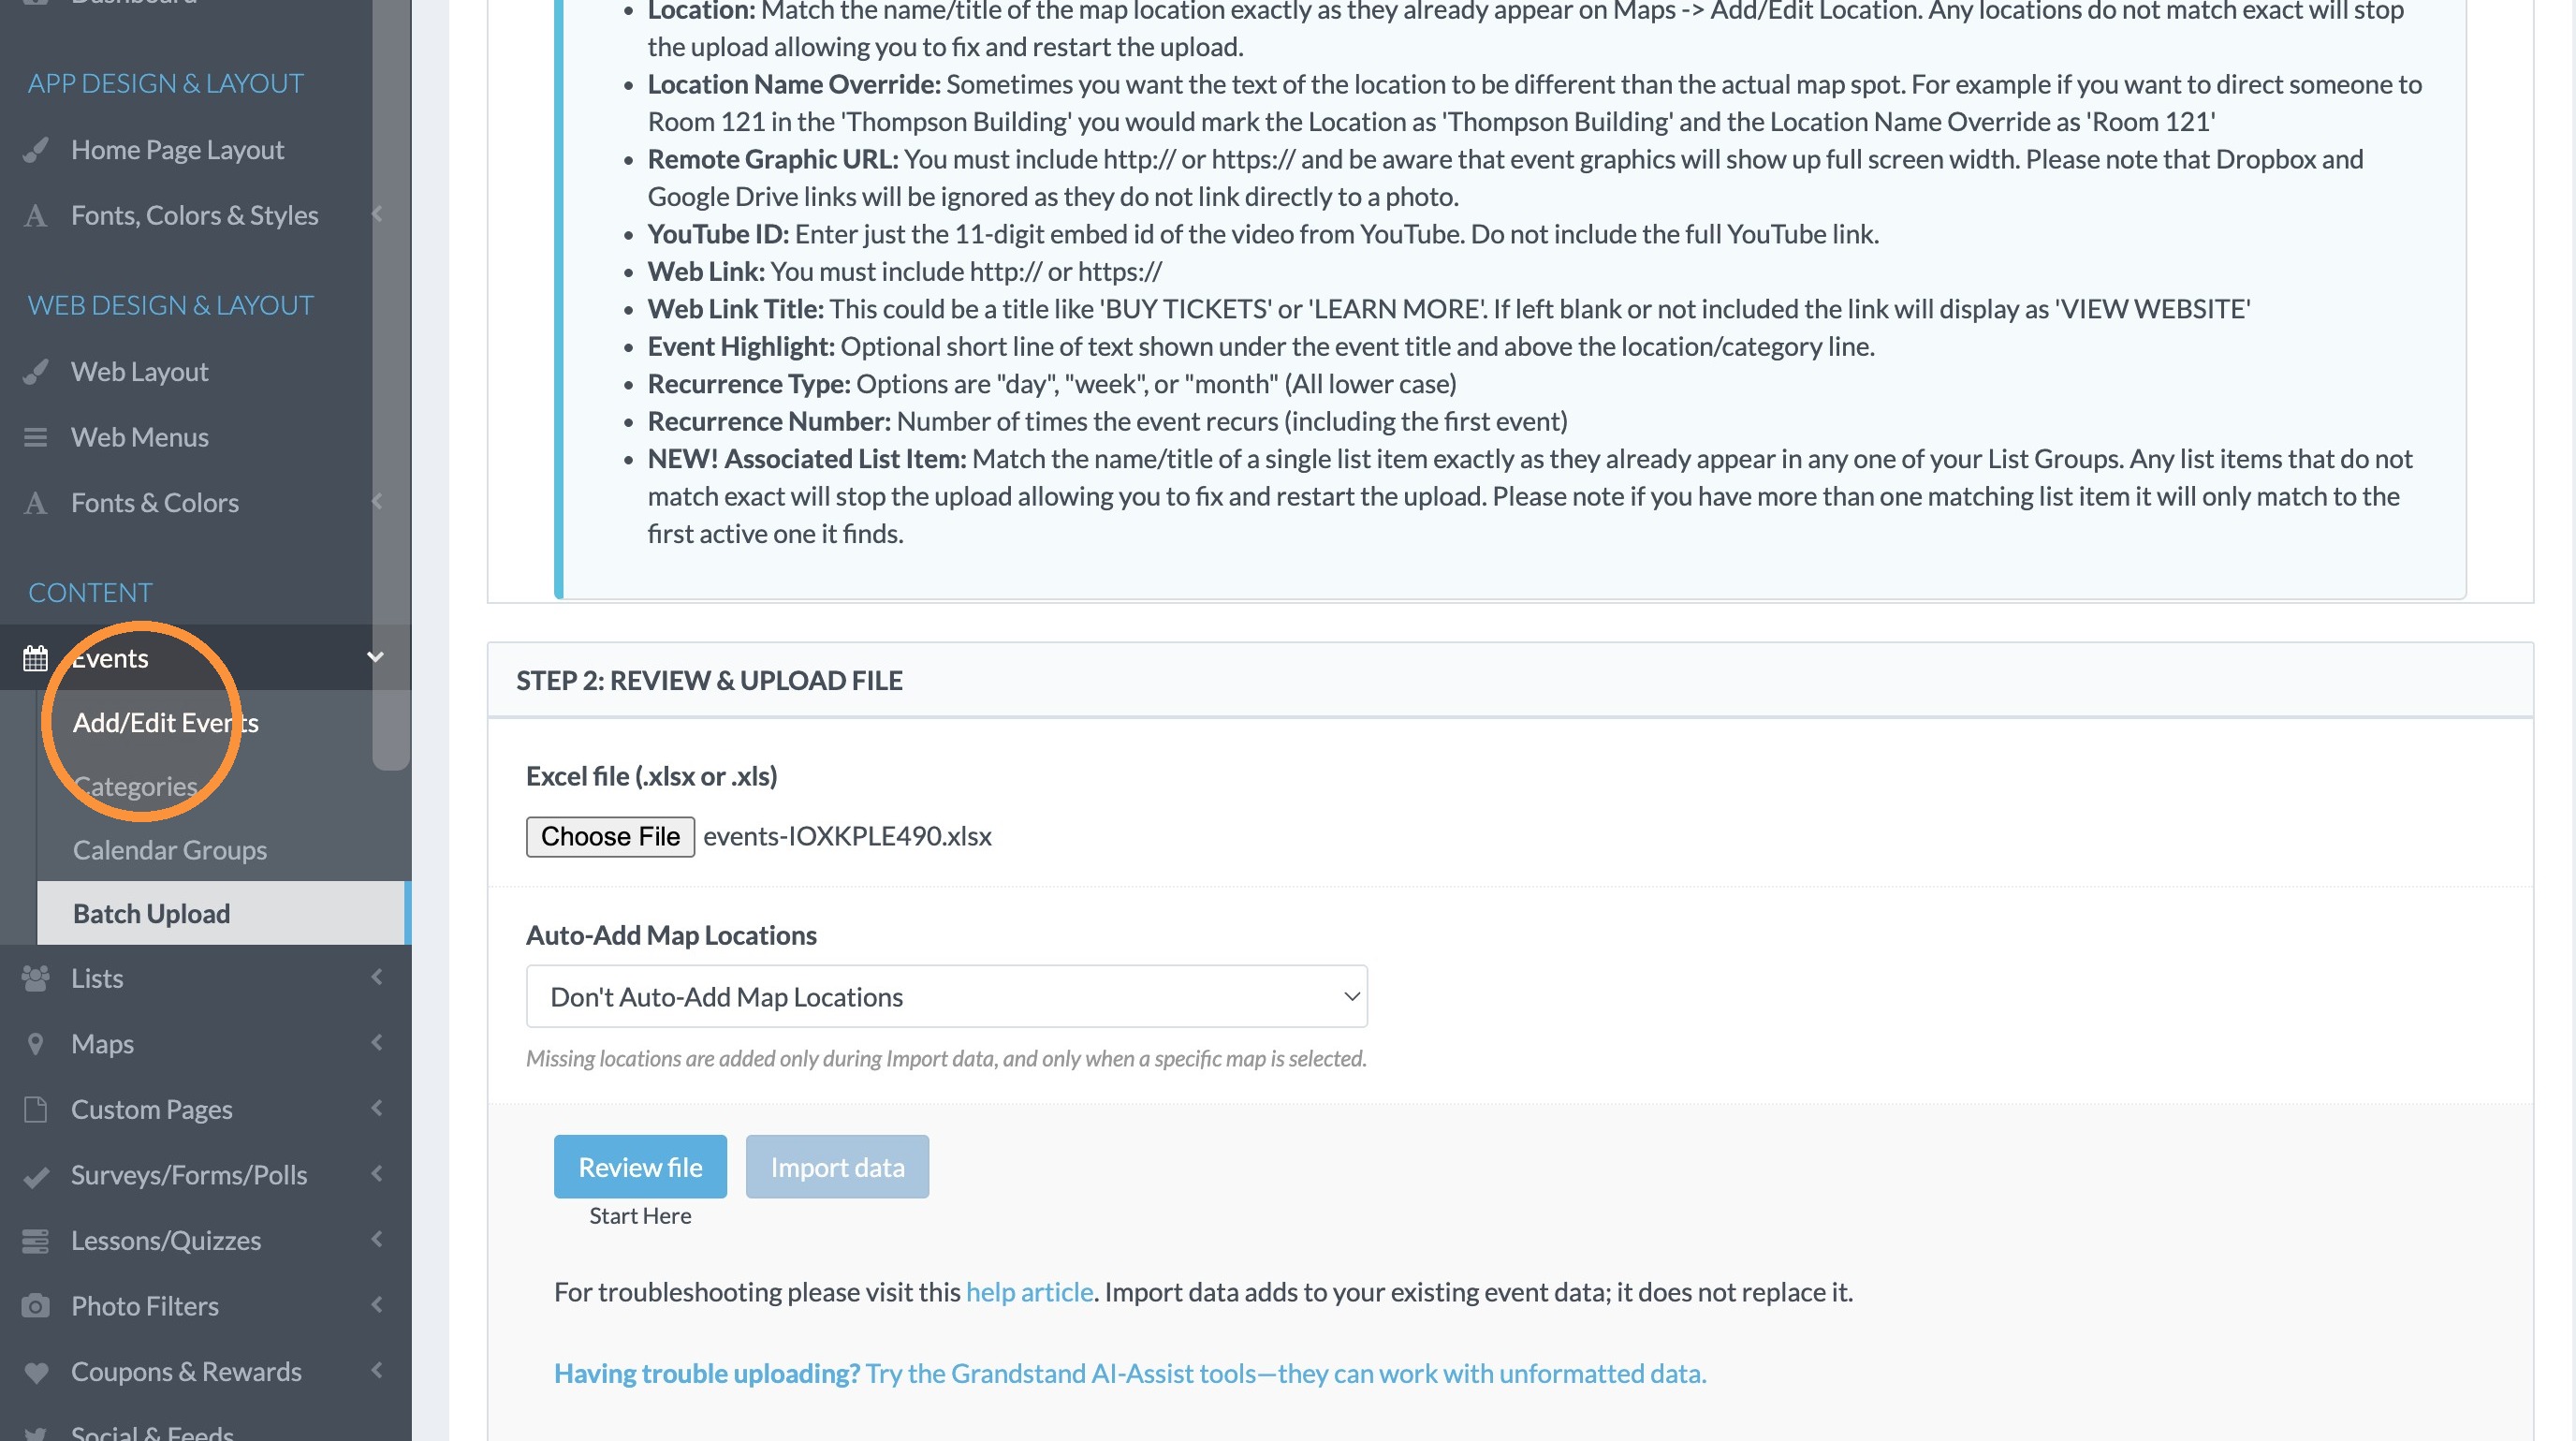
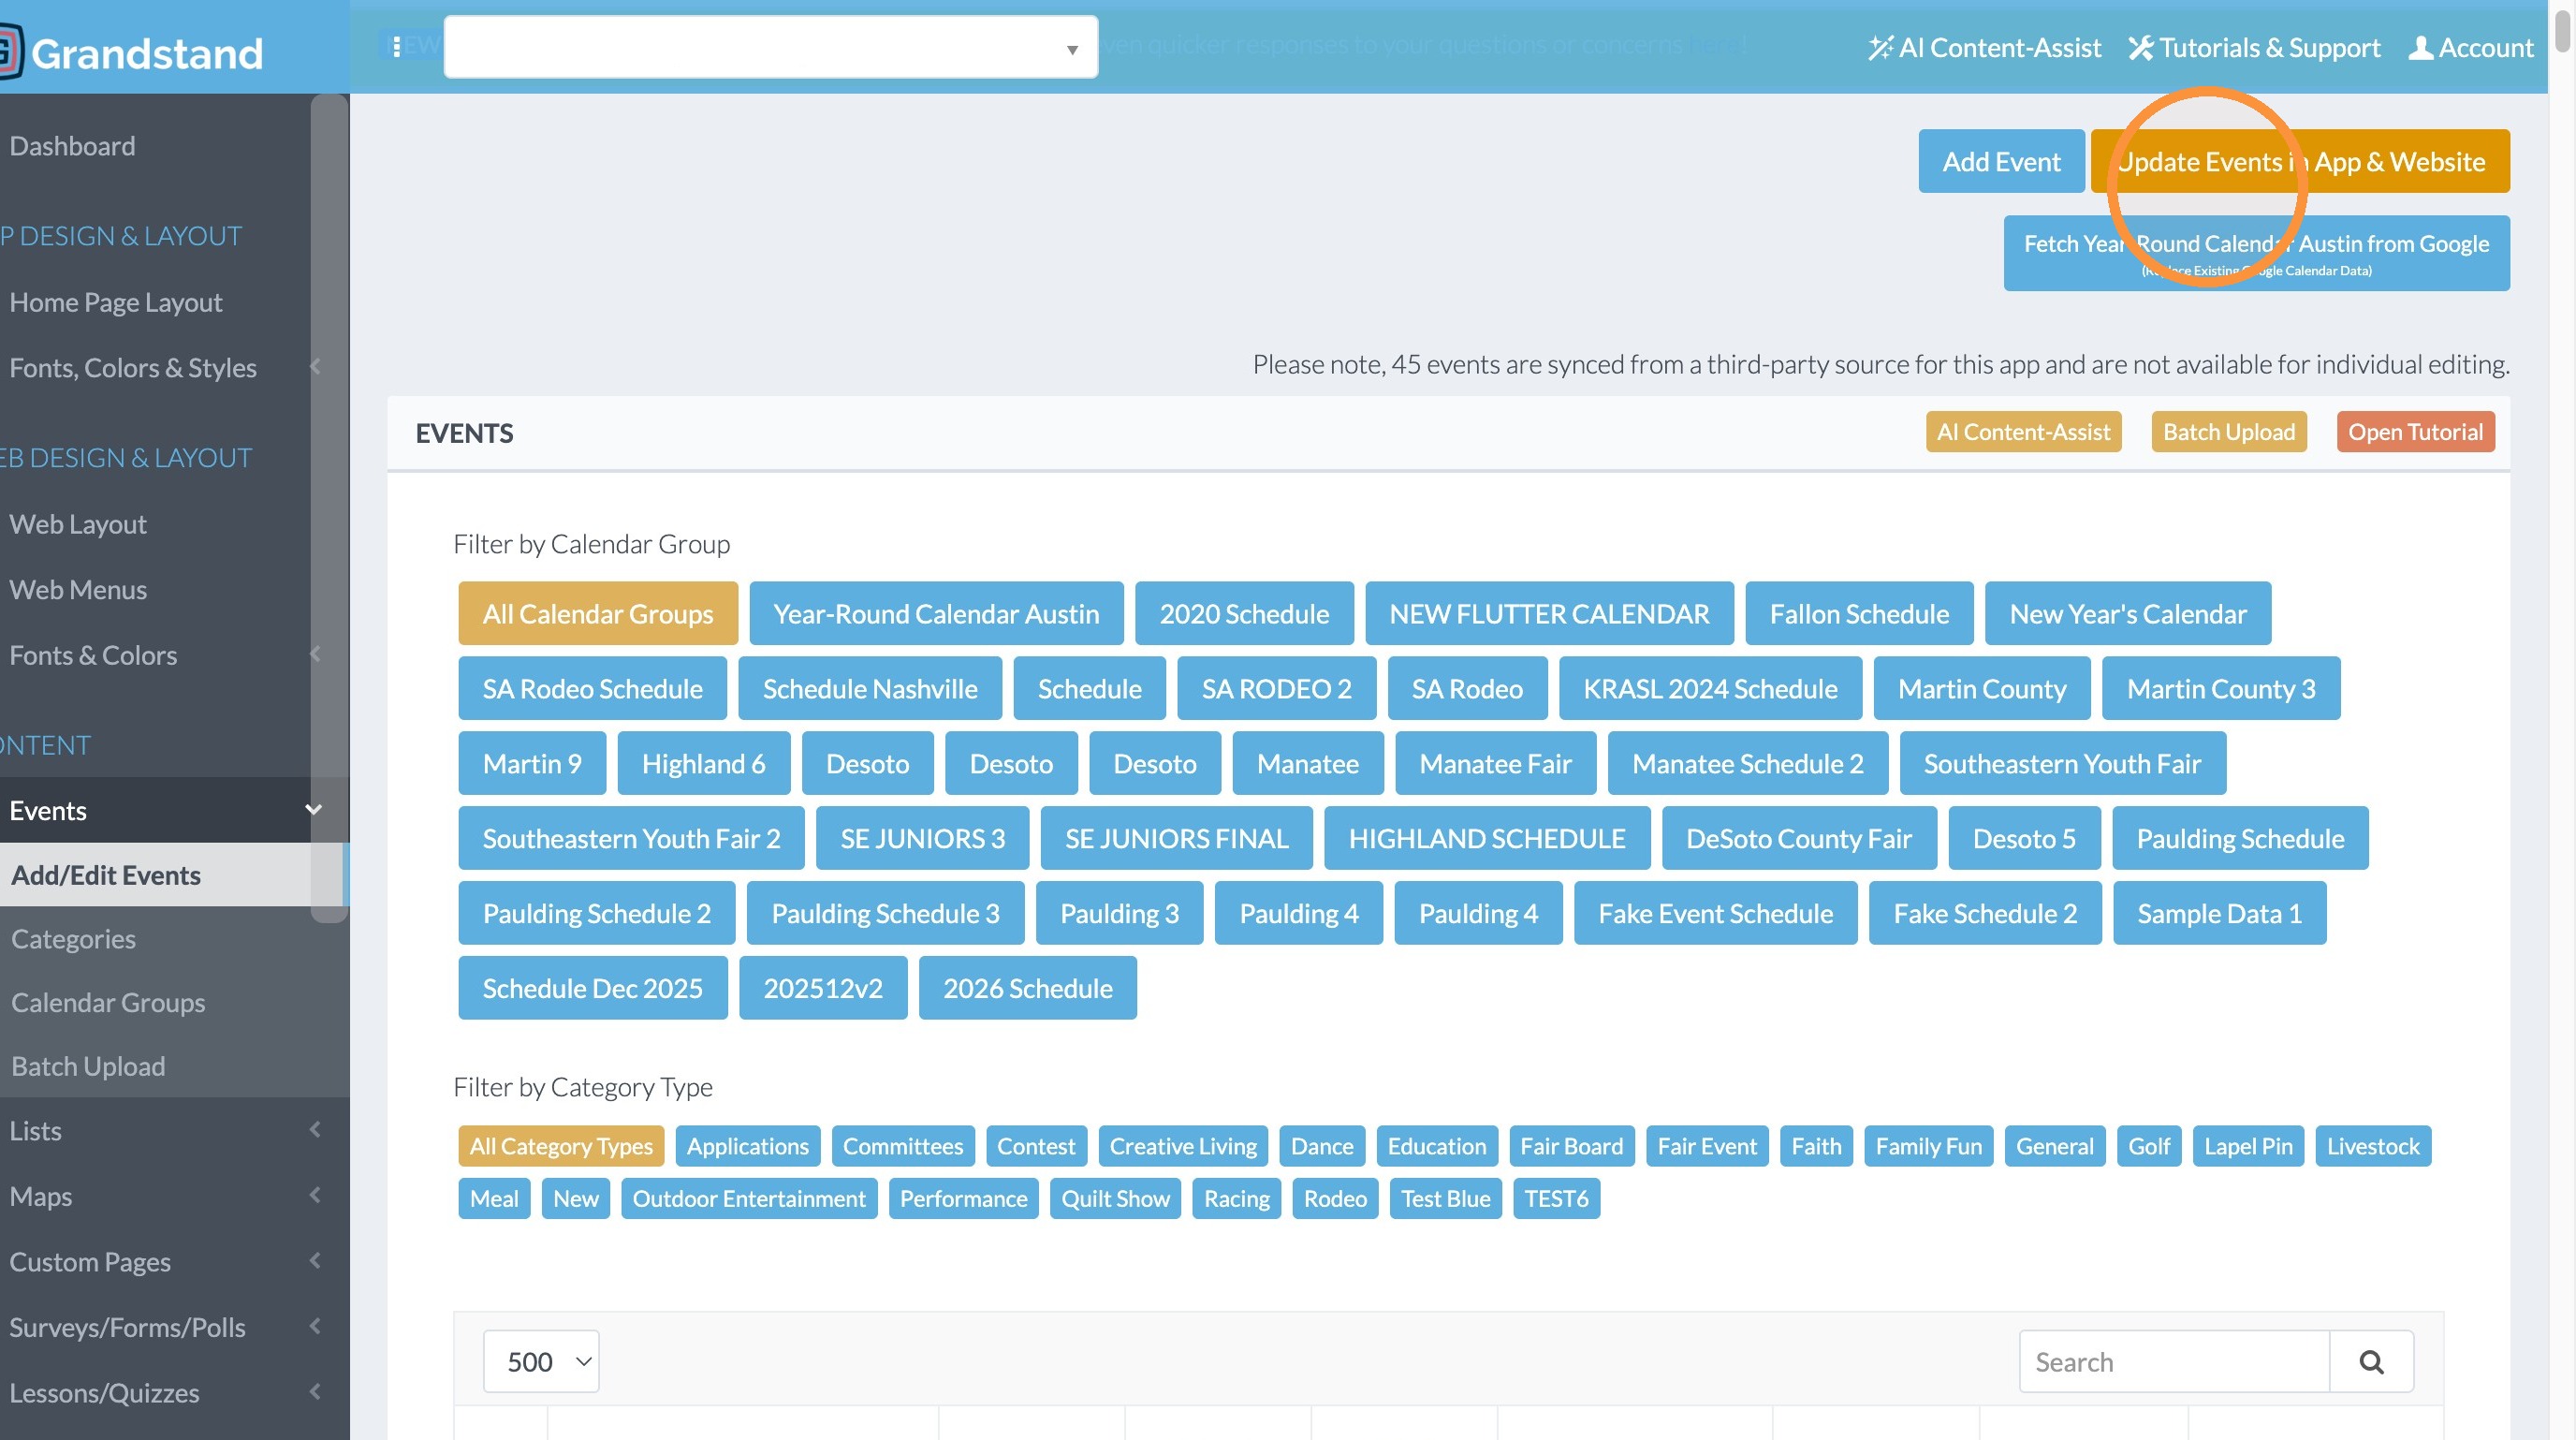
17. Click "Add/Edit Events" so you can check that the events look right and to push the updates to the app.
18. Click "Update Events in App & Website"
Events, Batch Upload