A step-by-step guide on how to create your Apple Developer account and enroll in the Apple Developer Program for your iOS app(s). The Apple Developer Program is what gives you the ability to make your app available on the App Store for iOS users. Due to Apple's guidelines and policies, you are required to setup your own developer account for your app to be published. The good news is, because the app will exist under your account, you will have more control.
Alert: Before you begin, you’ll need:
- An iPhone or iPad with Touch ID, Face ID, or passcode enabled, or a Mac. You must use the same device for the entire enrollment process.
- An Apple Account with two-factor authentication turned on. Your Apple Account information must be valid and up to date — including, but not limited to, your first name (given name), last name (family name), address, phone number, trusted phone number, and trusted devices.
1. Login with your Apple ID to https://developer.apple.com/
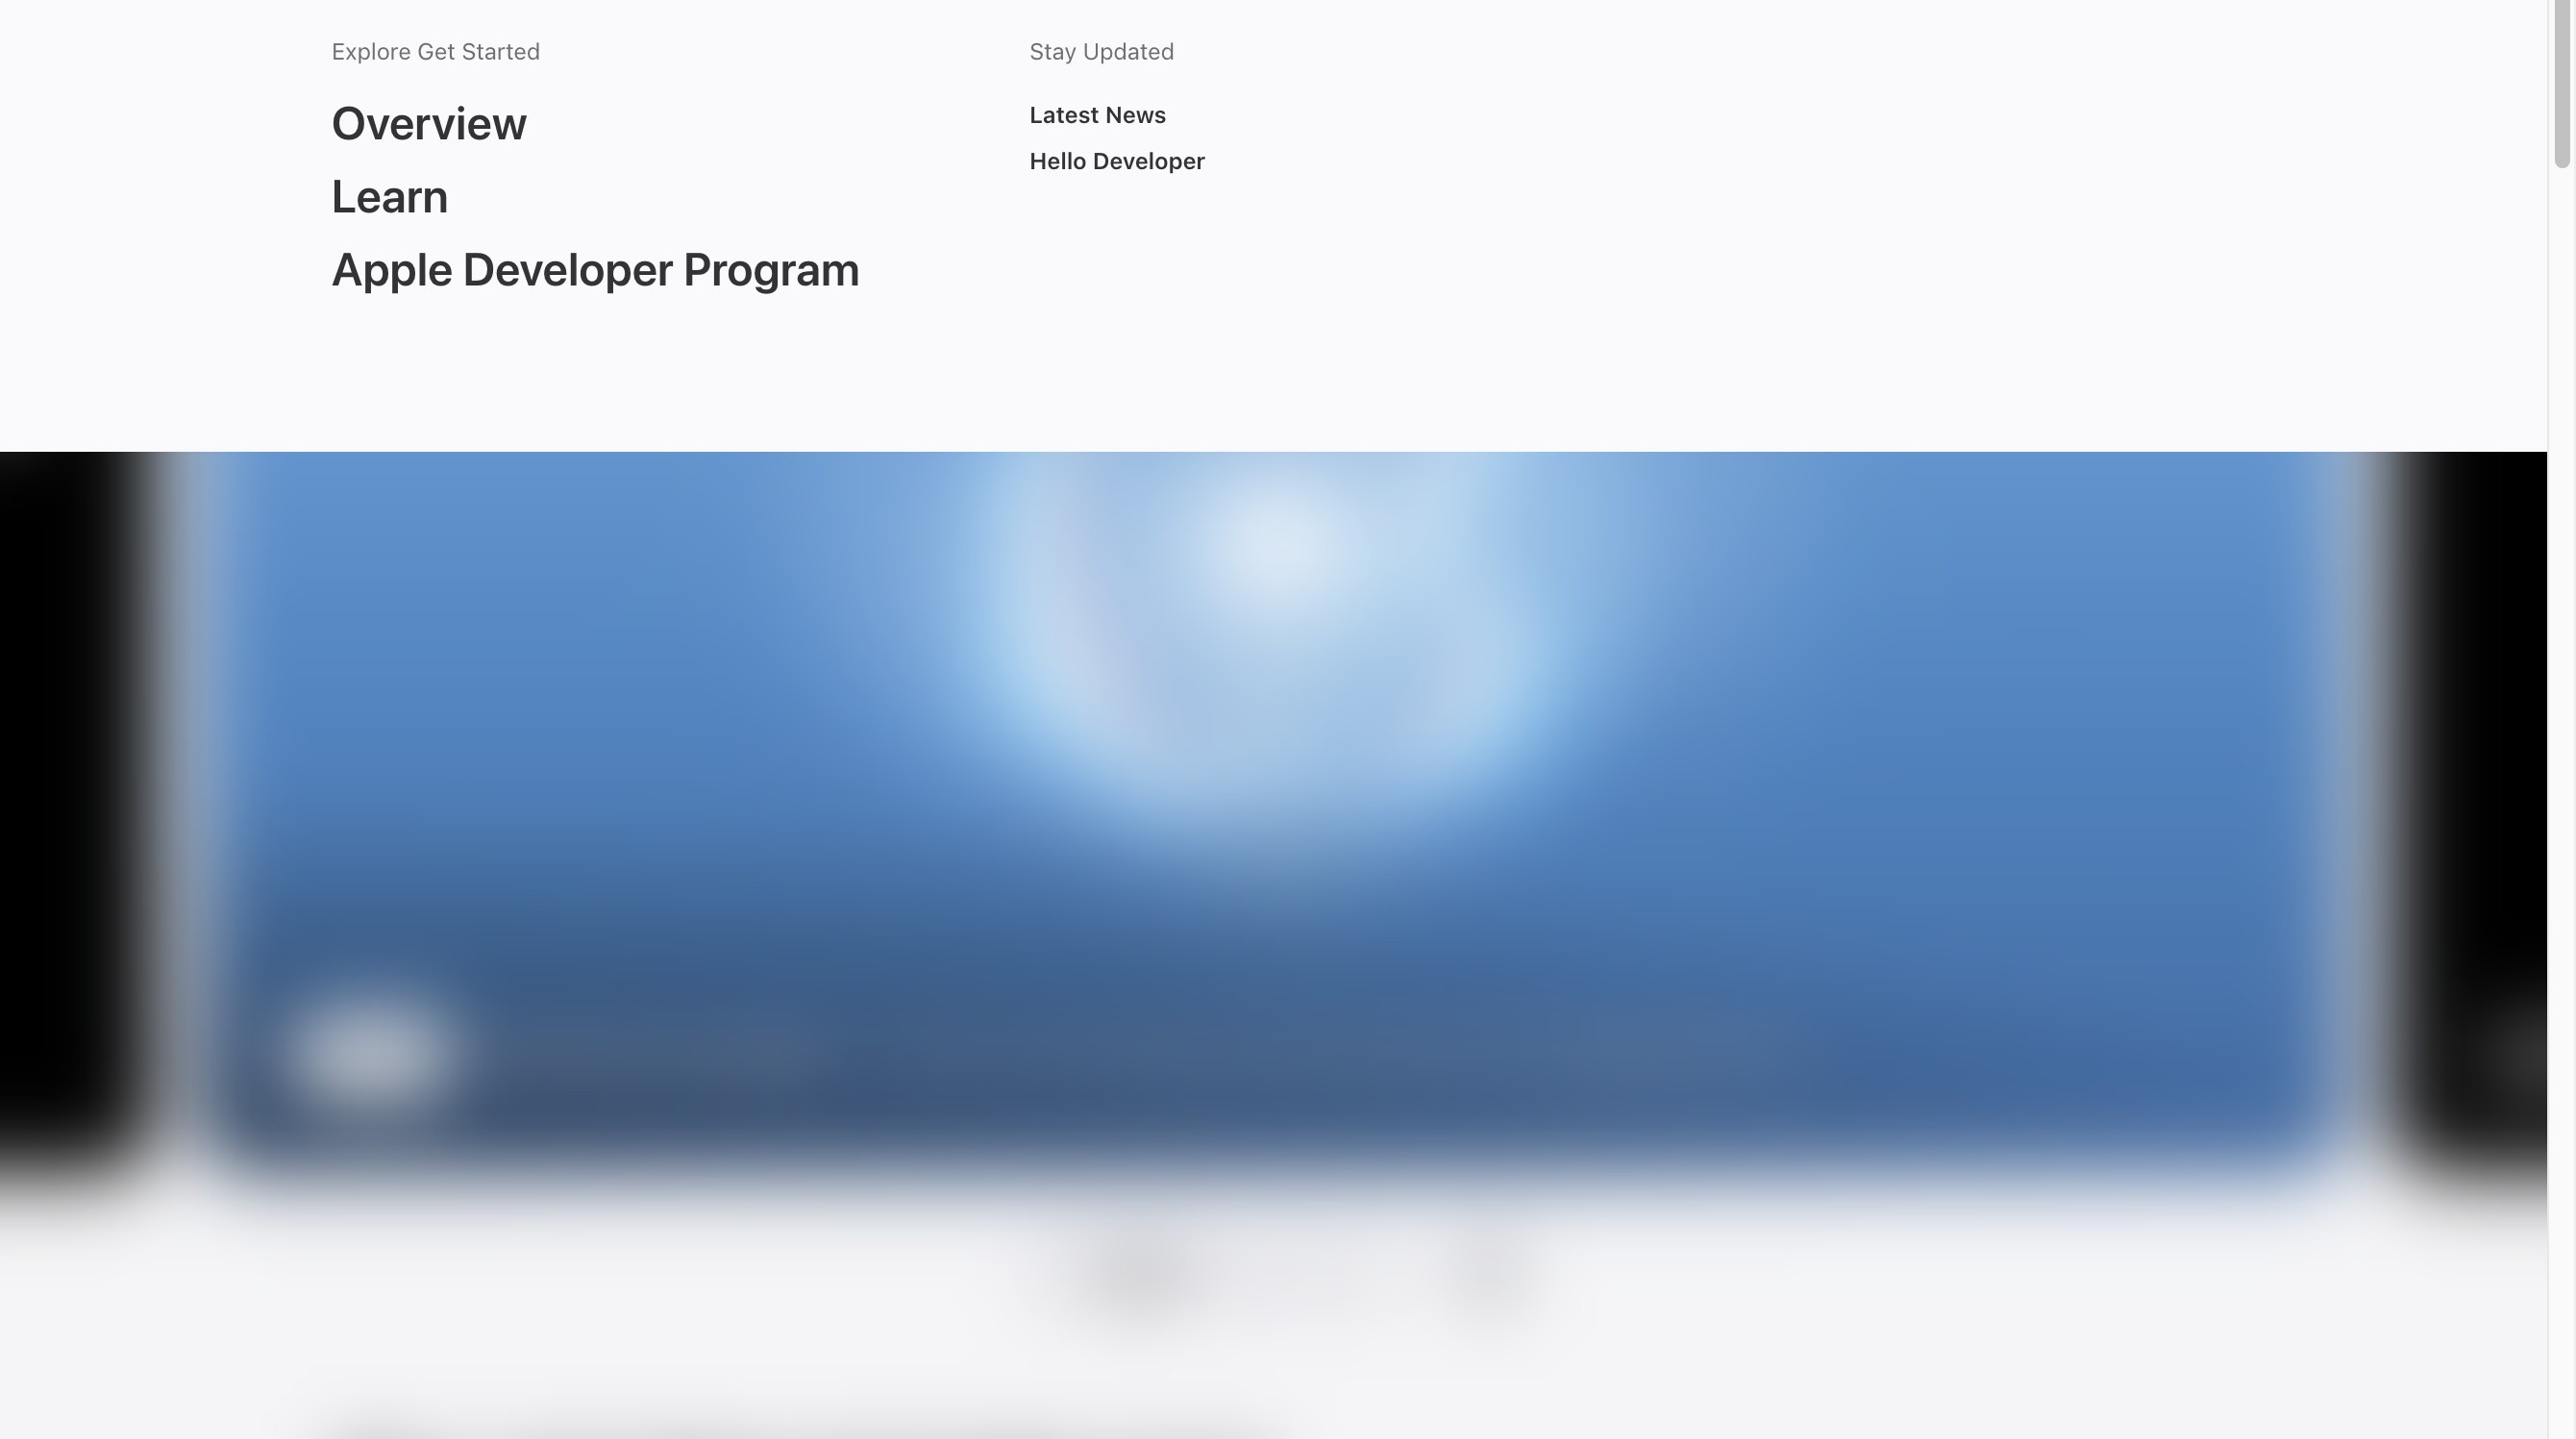
Apple Developer Enrollment
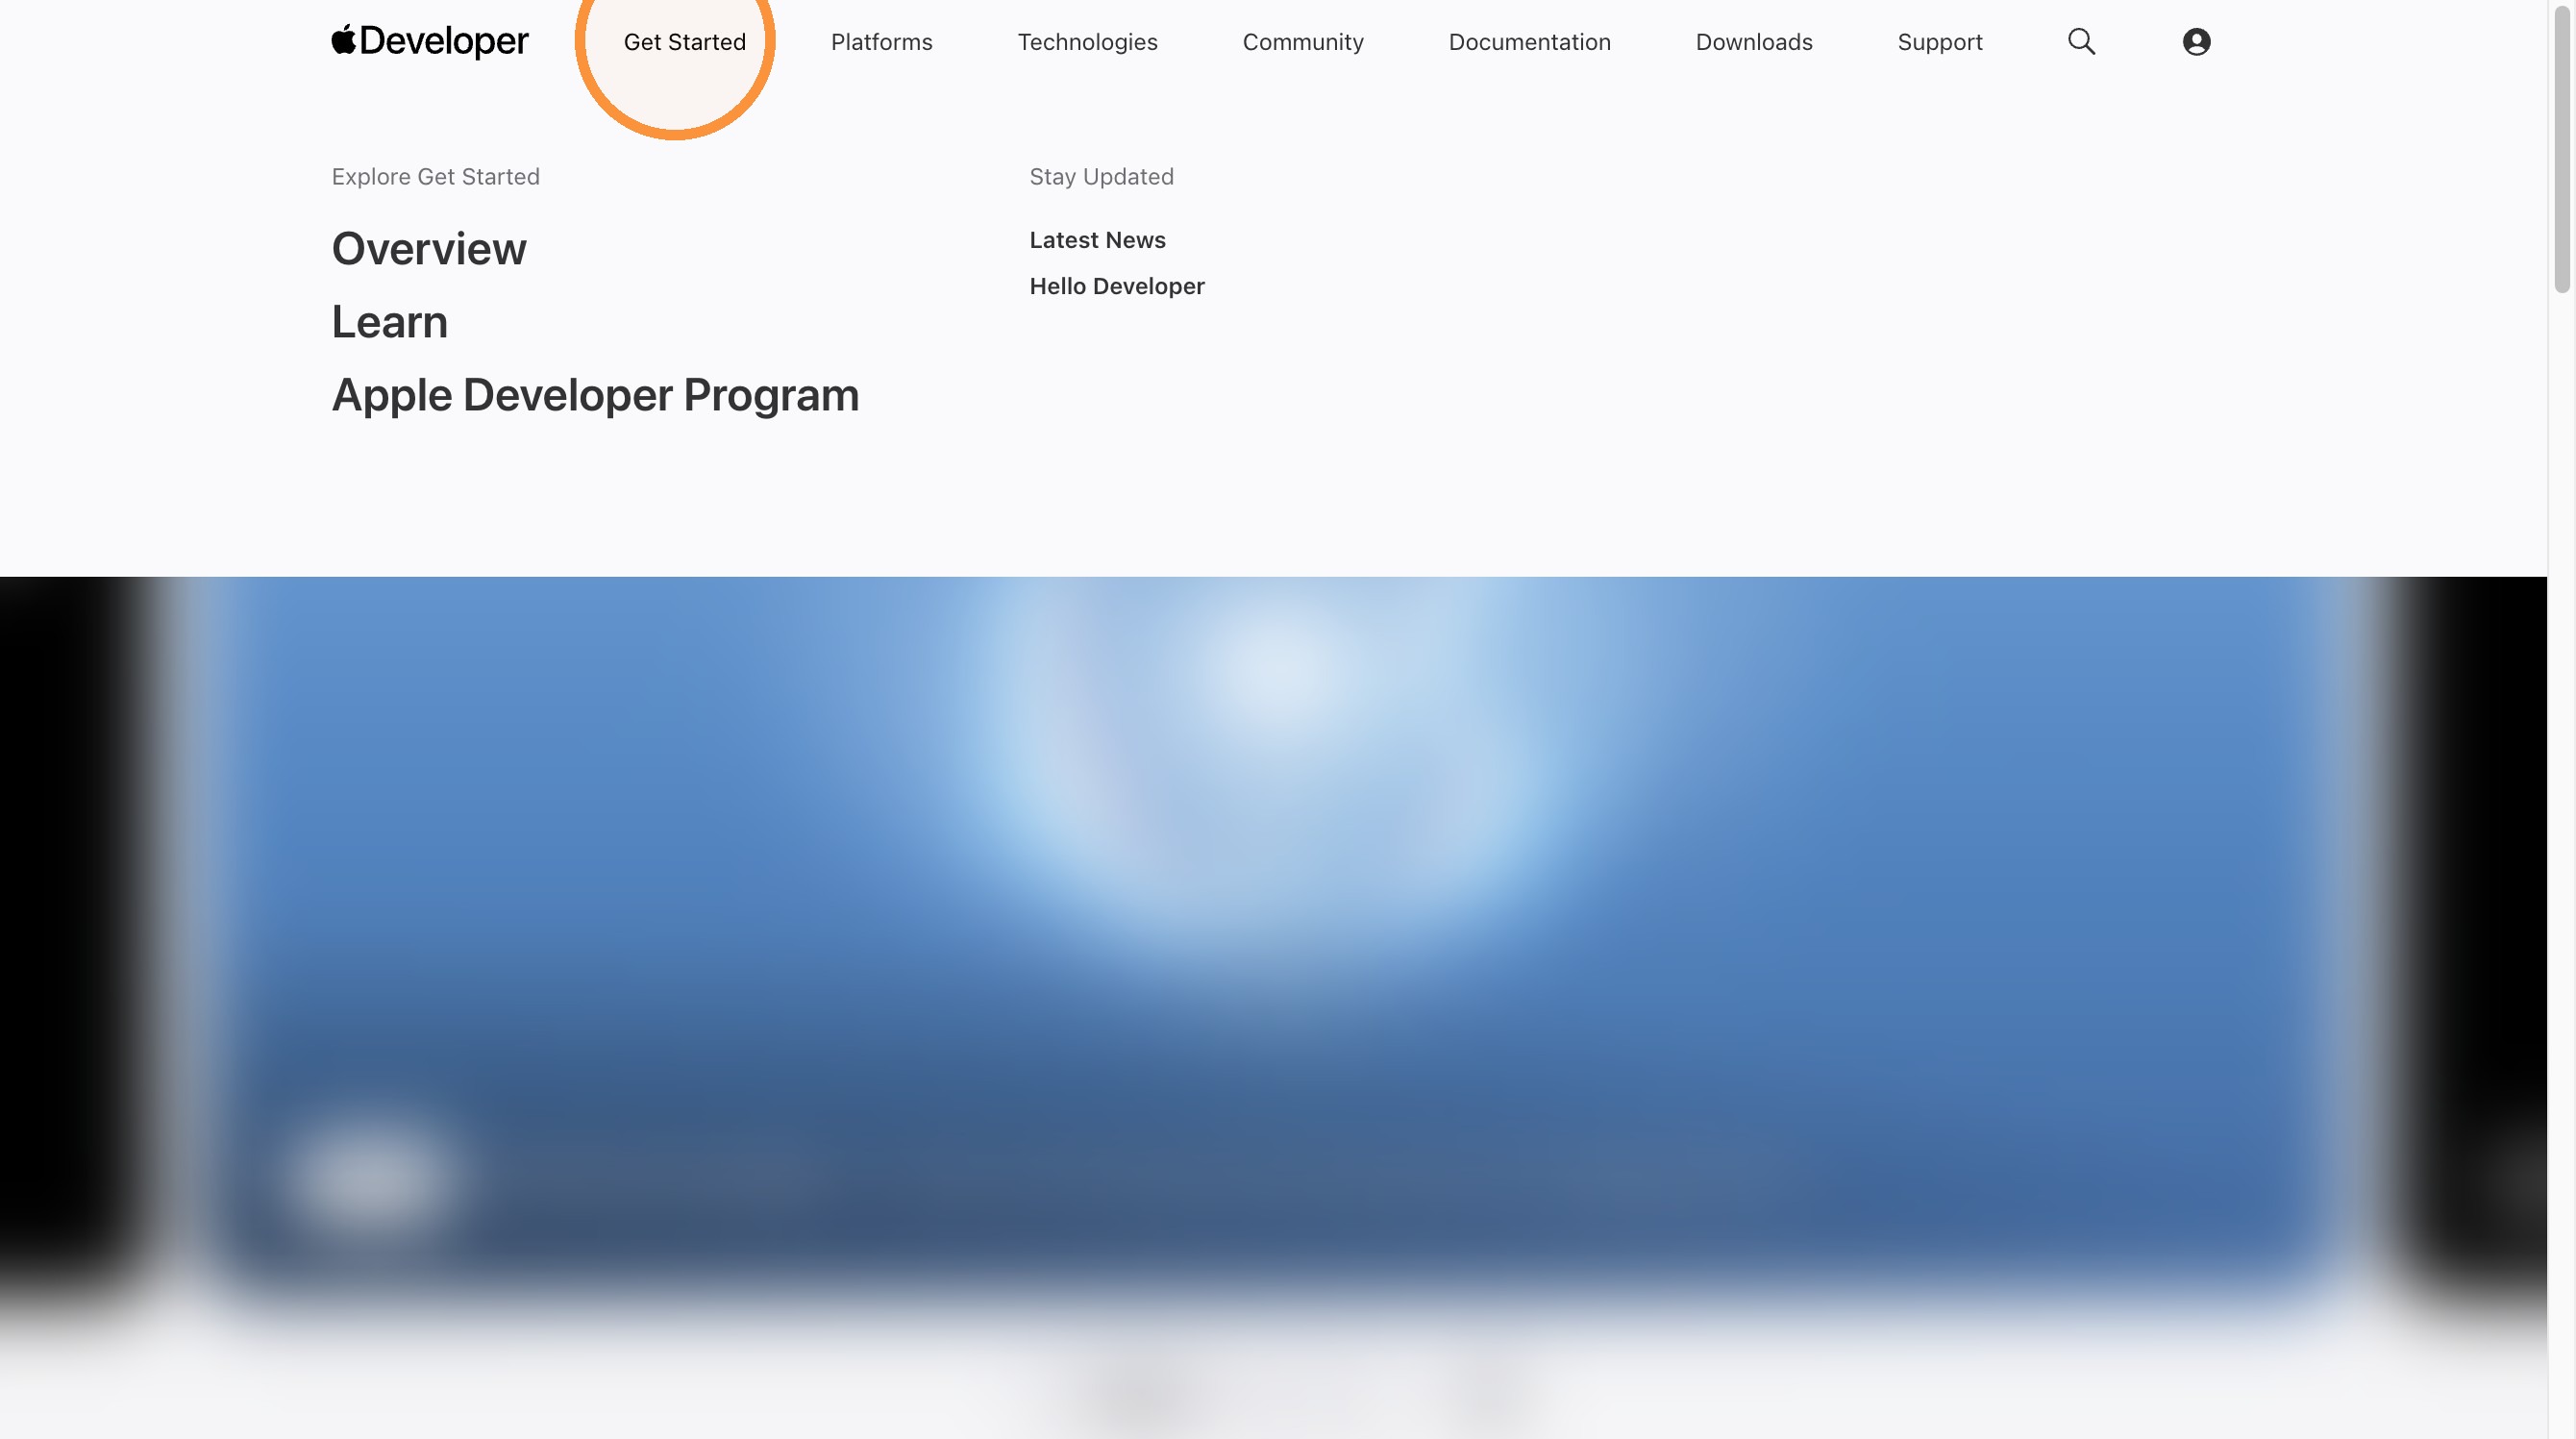
2. Click "Get Started"
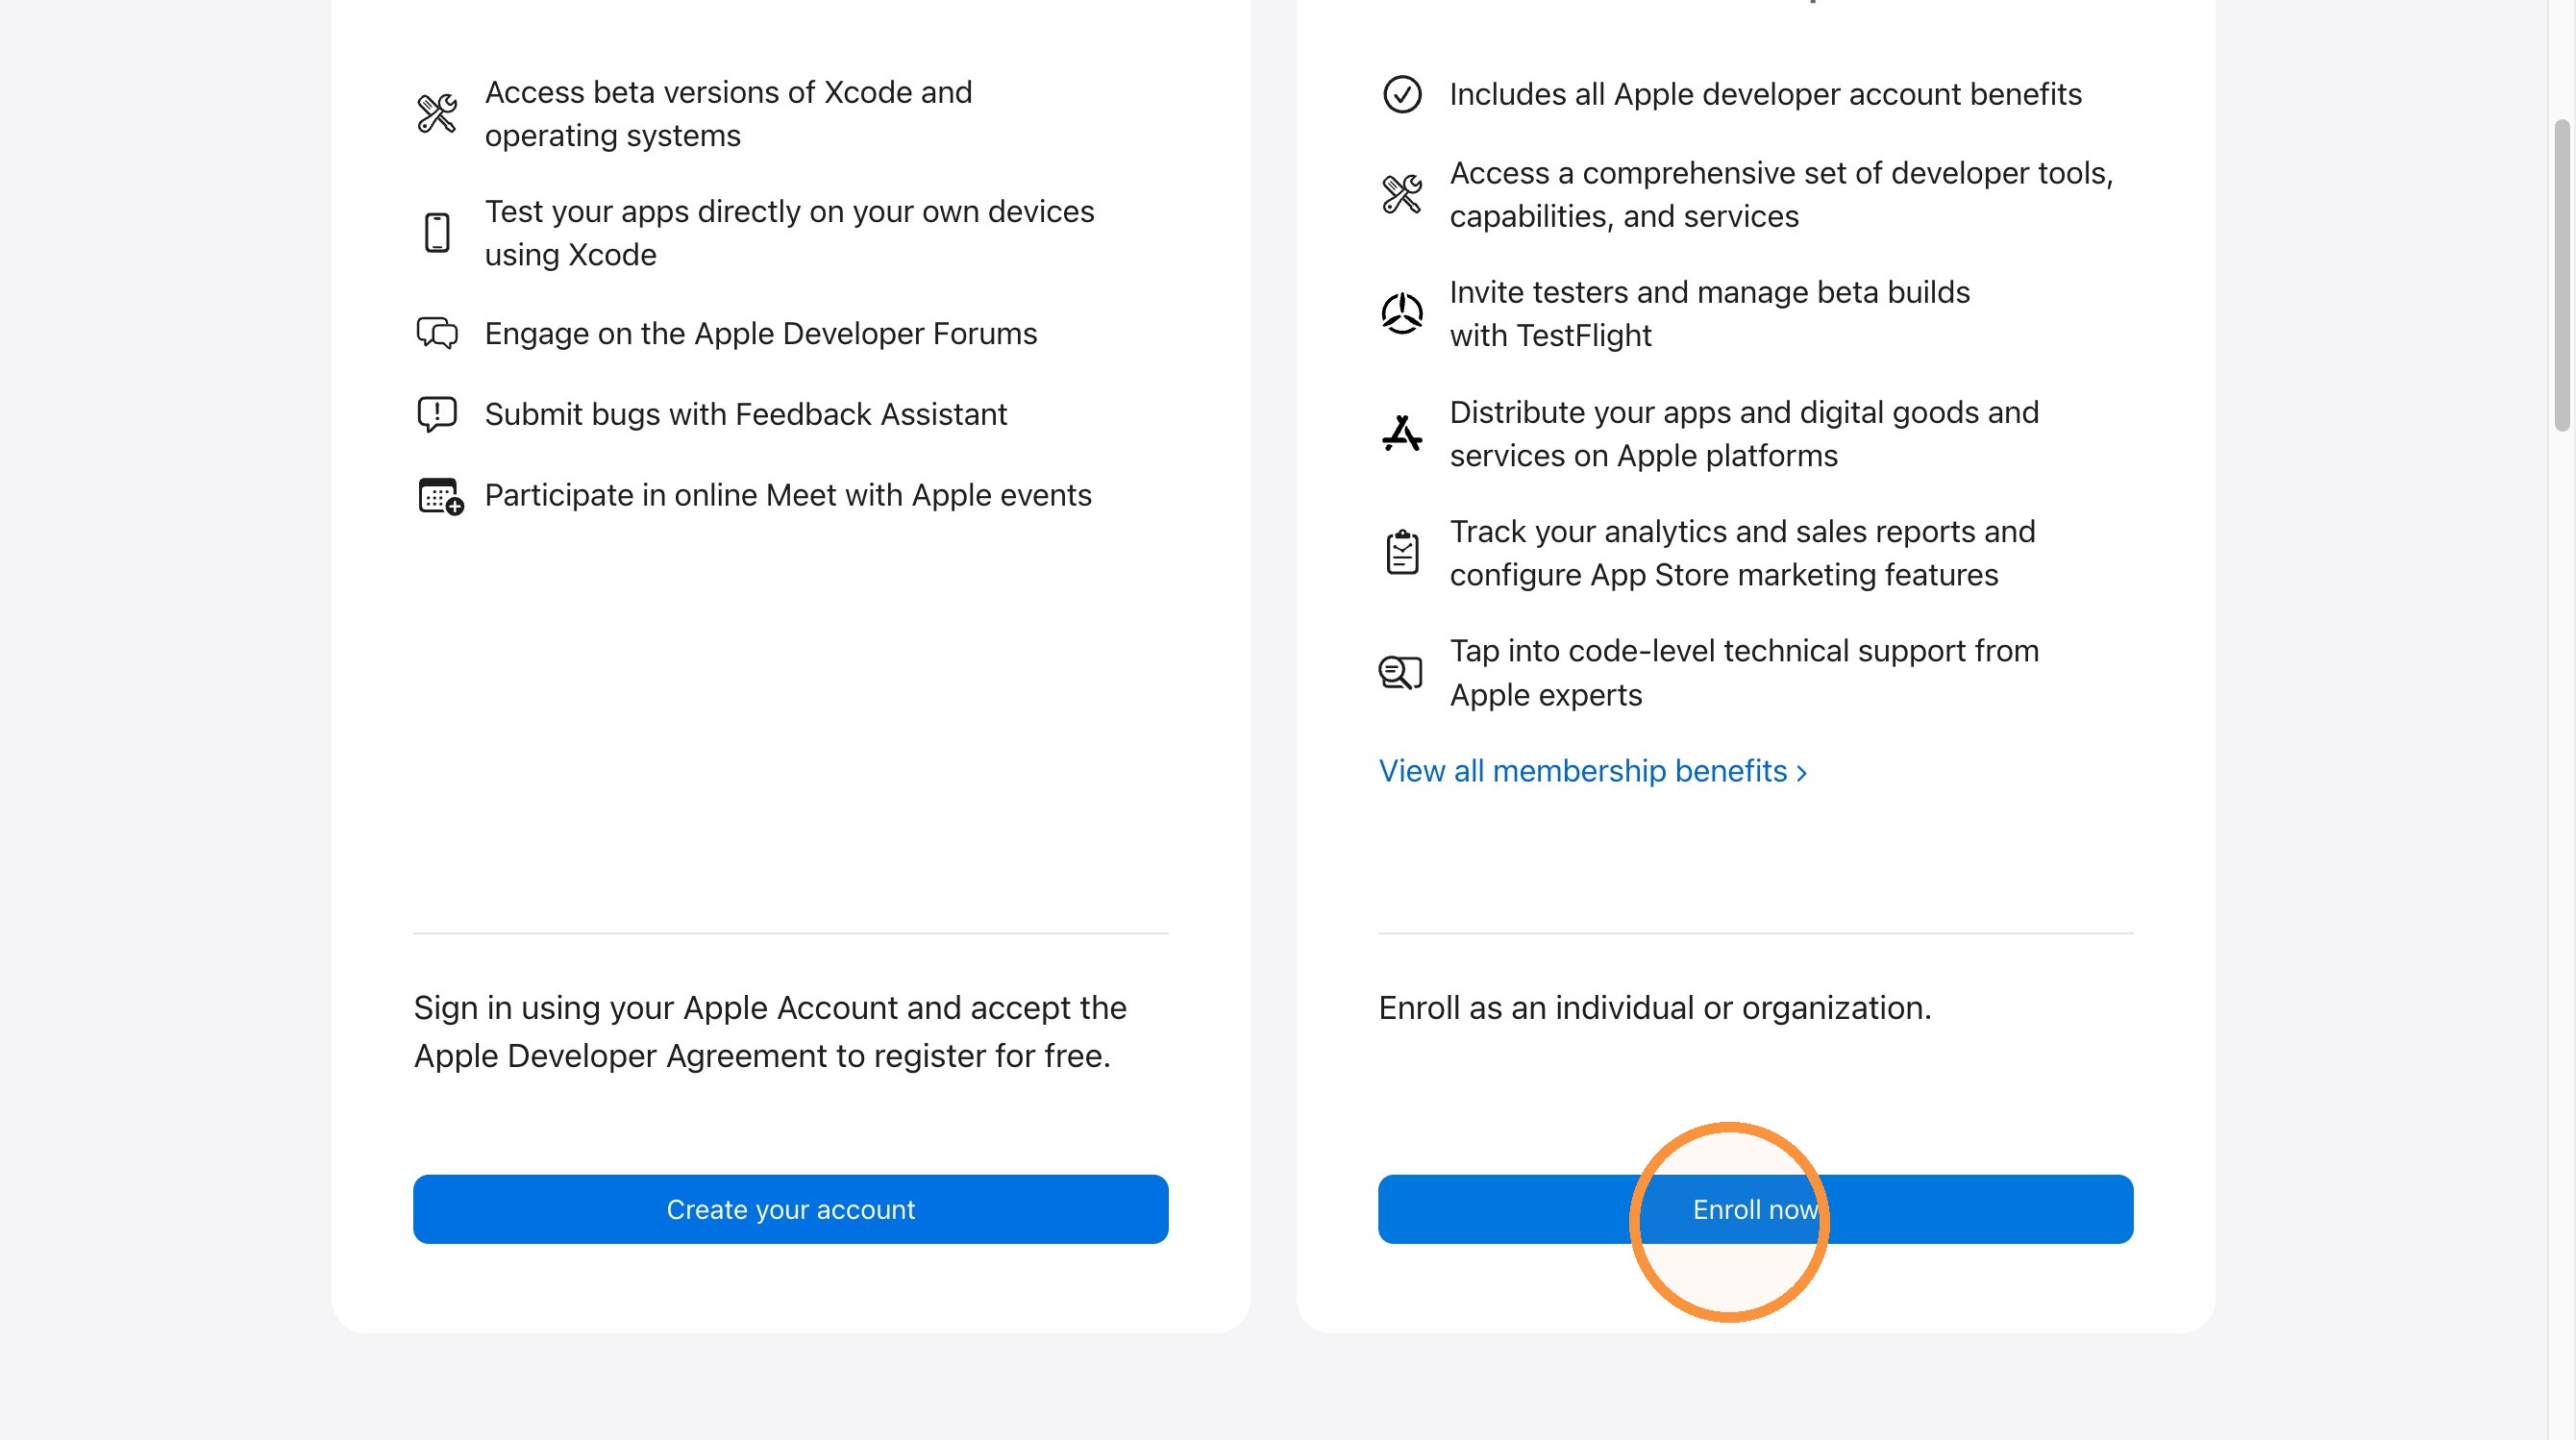
3. Click "Enroll now"
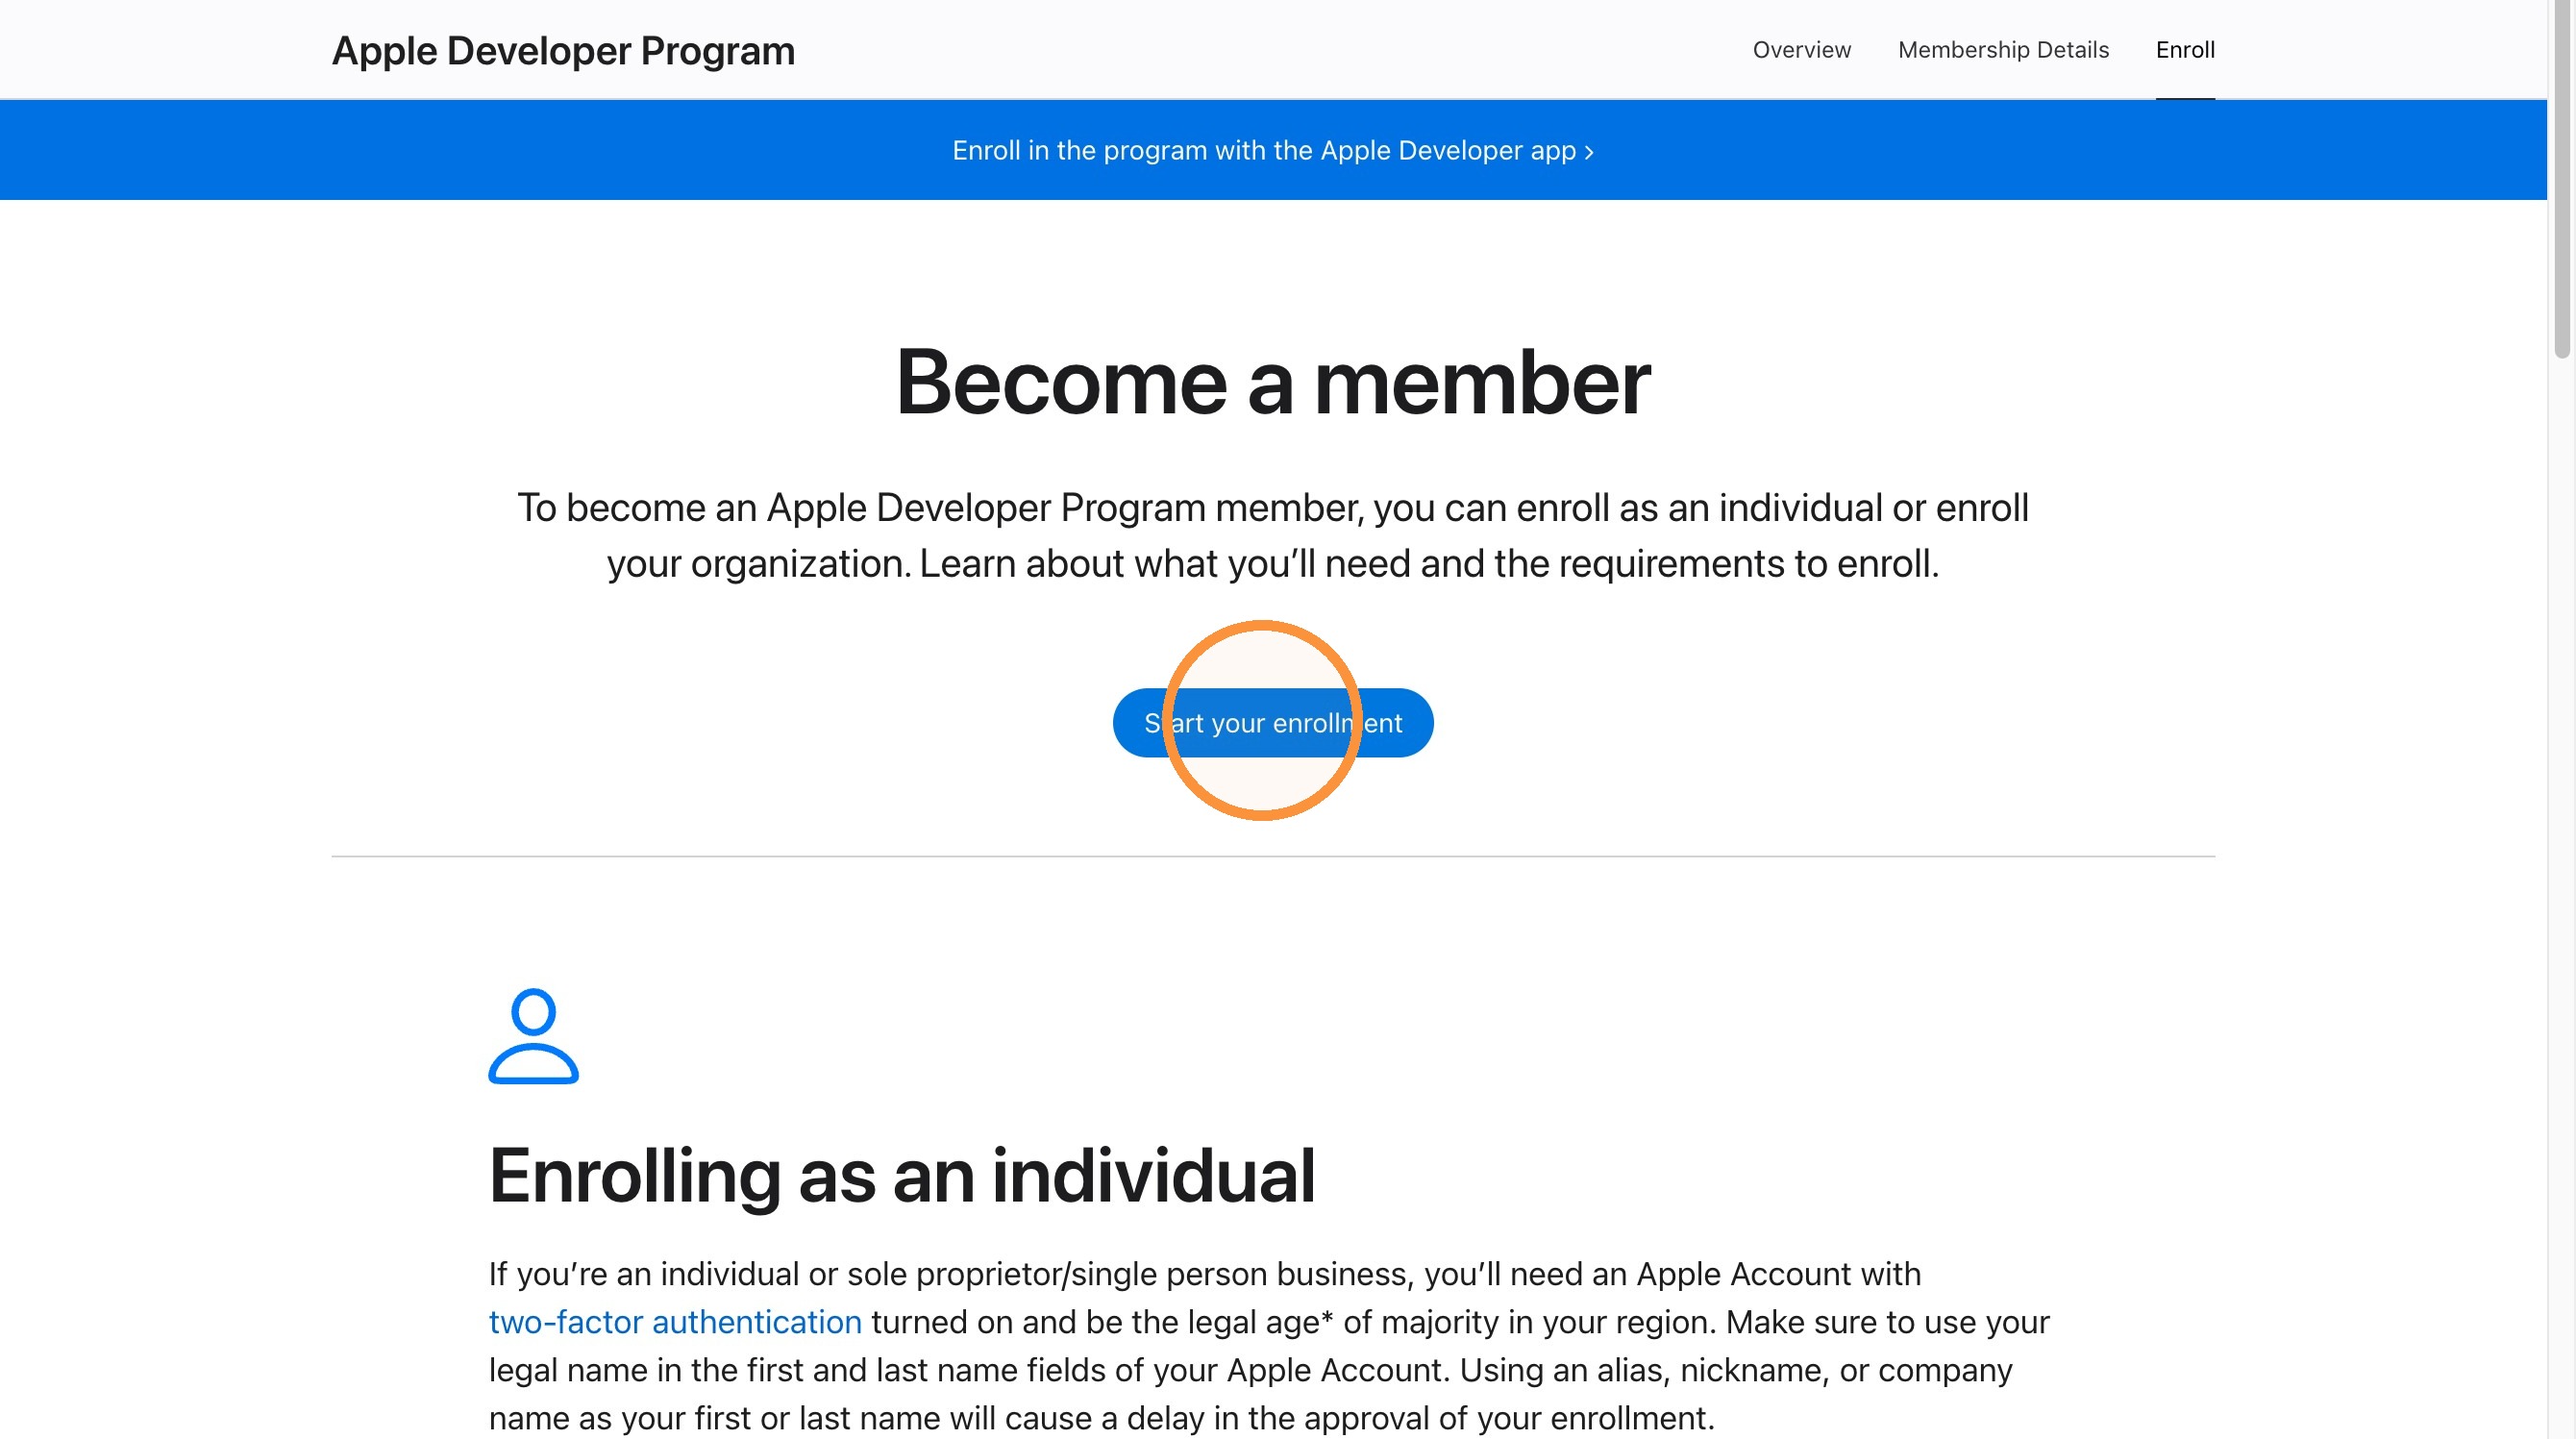
4. Click "Start your enrollment"
Personal Information
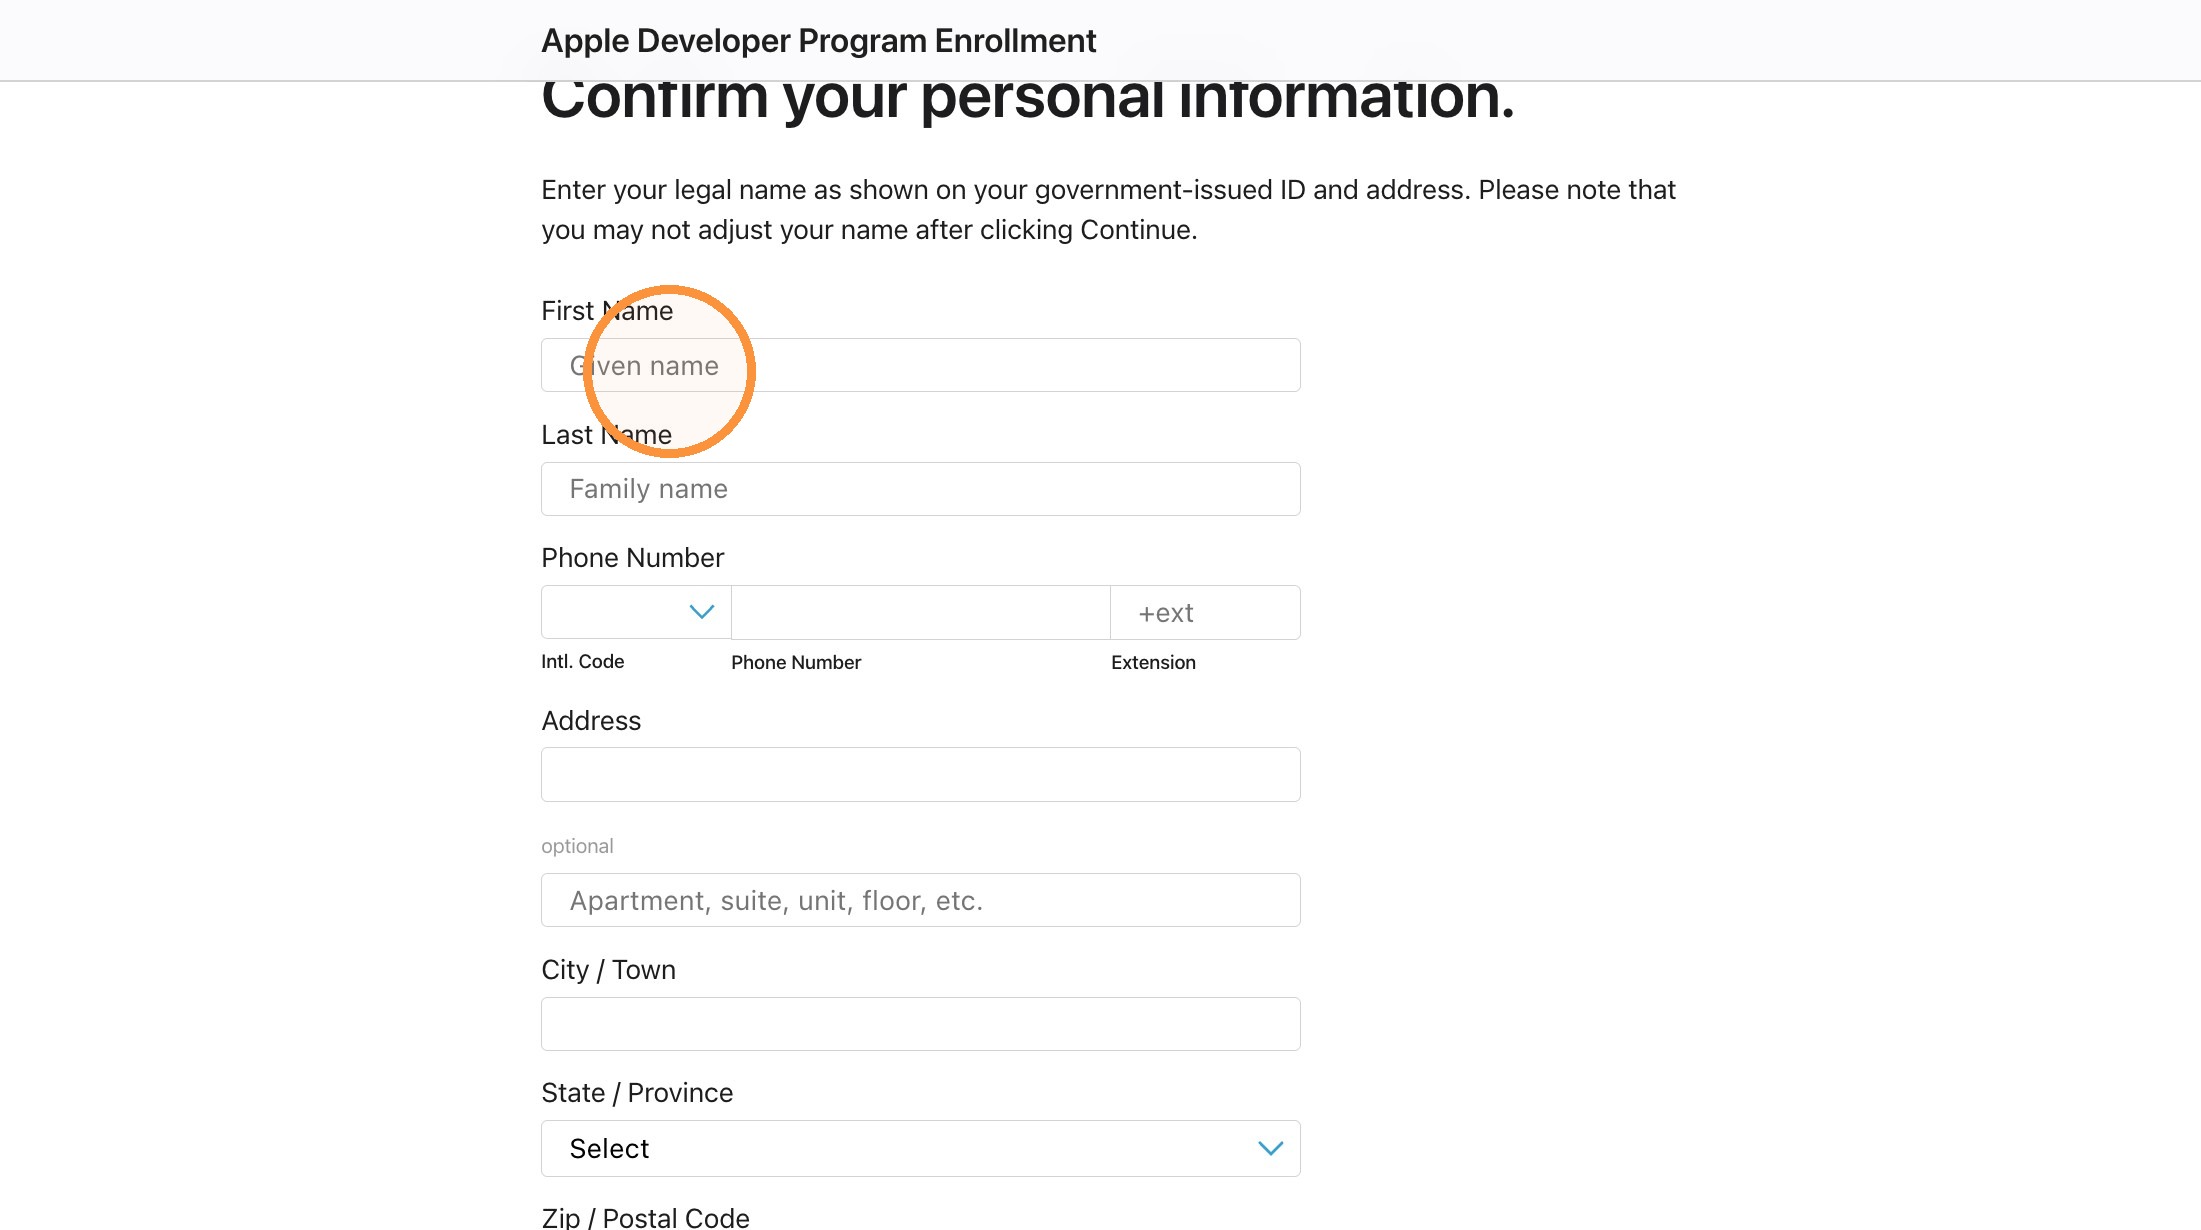
5. Fill out the full information. This is for YOU, the account holder and should match the info you have on your Apple ID.
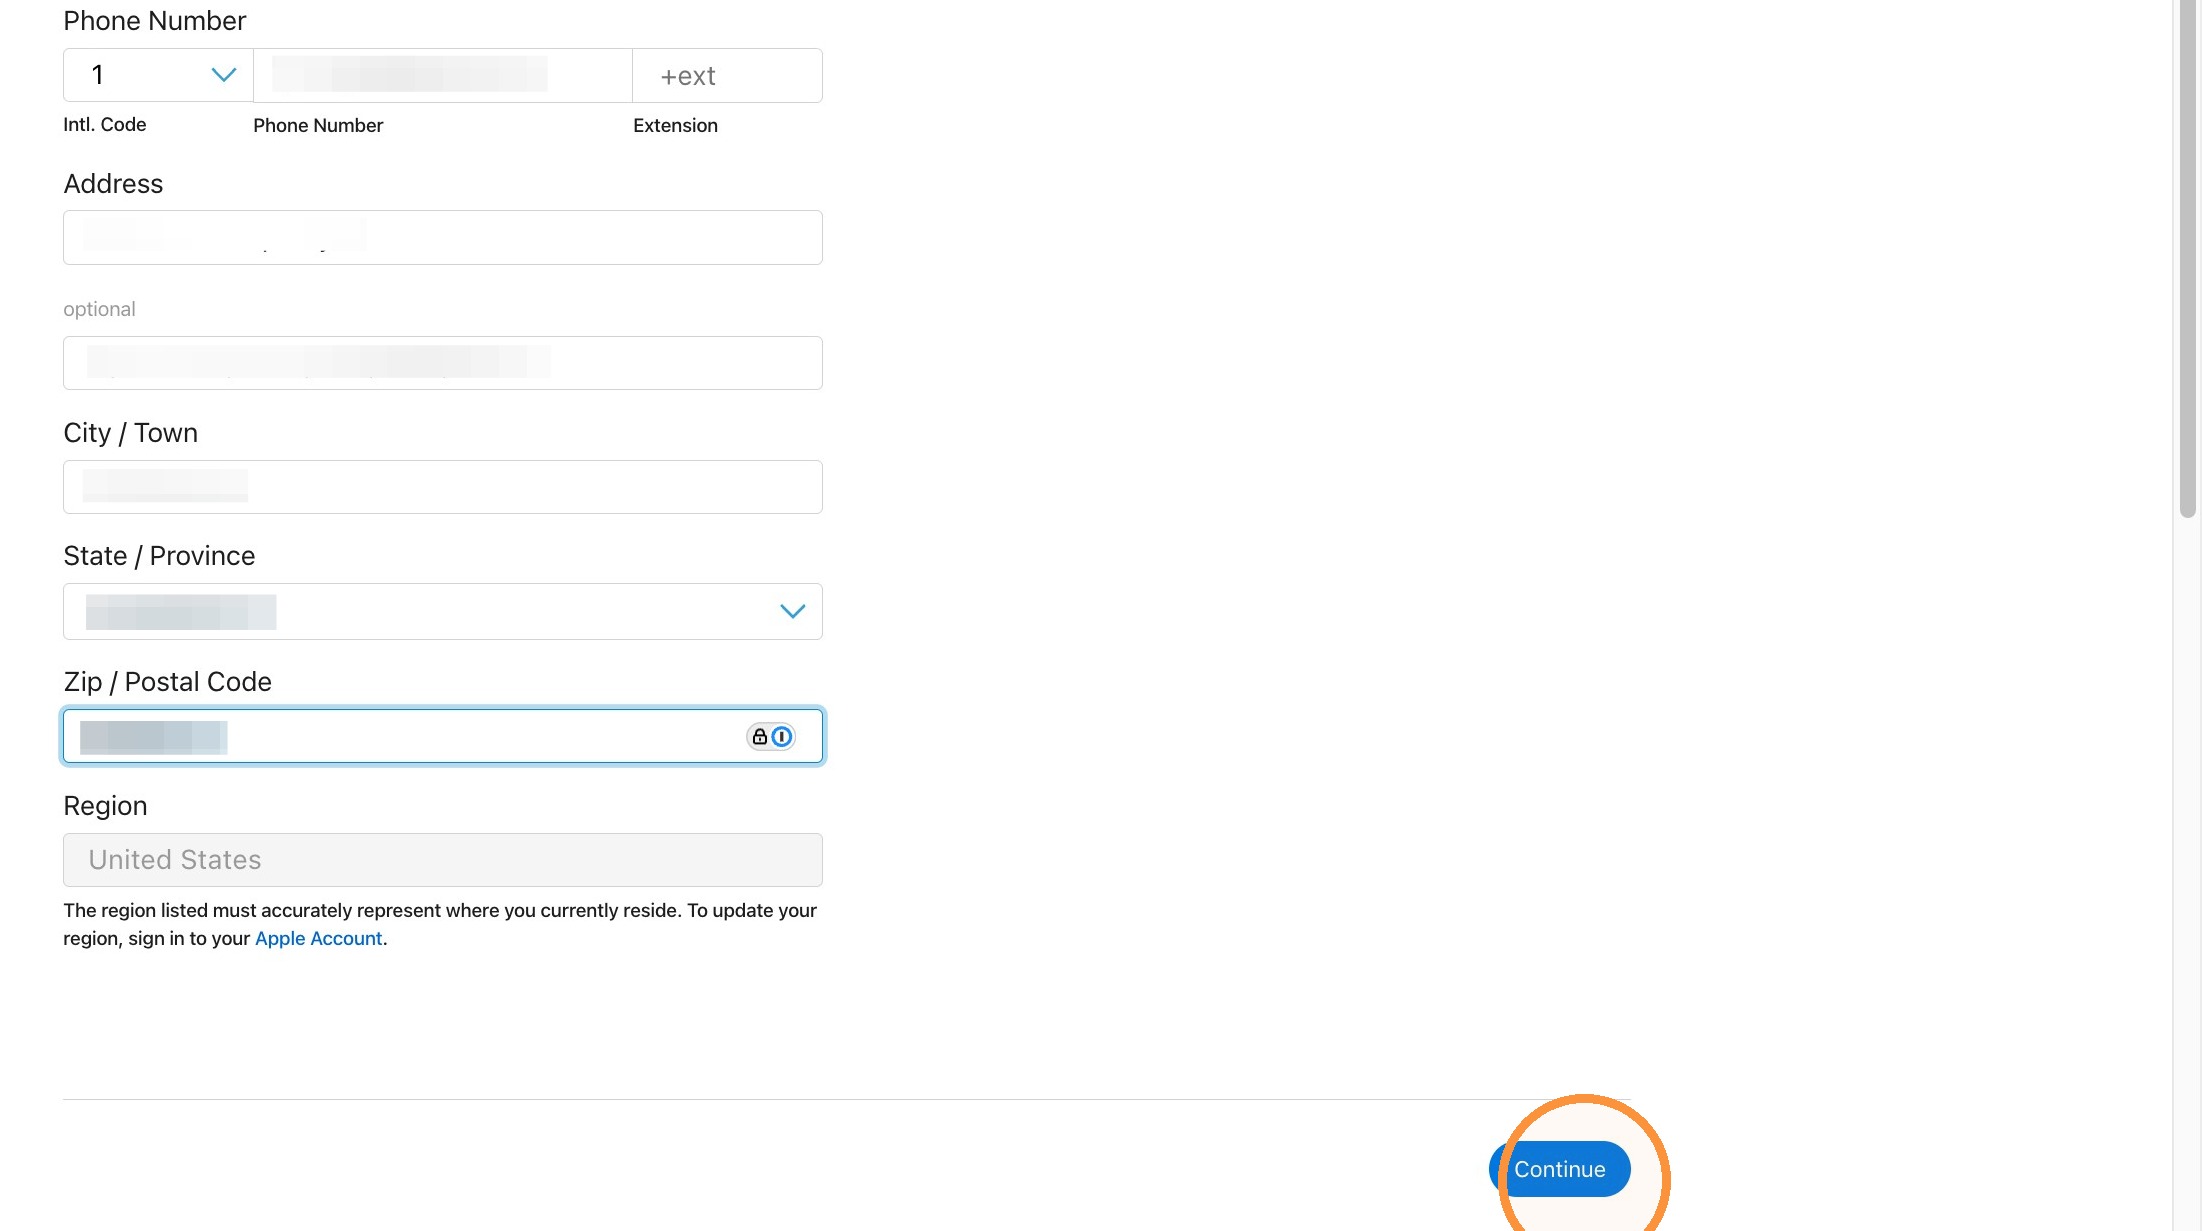
6. Click "Continue"
Organization Enrollment
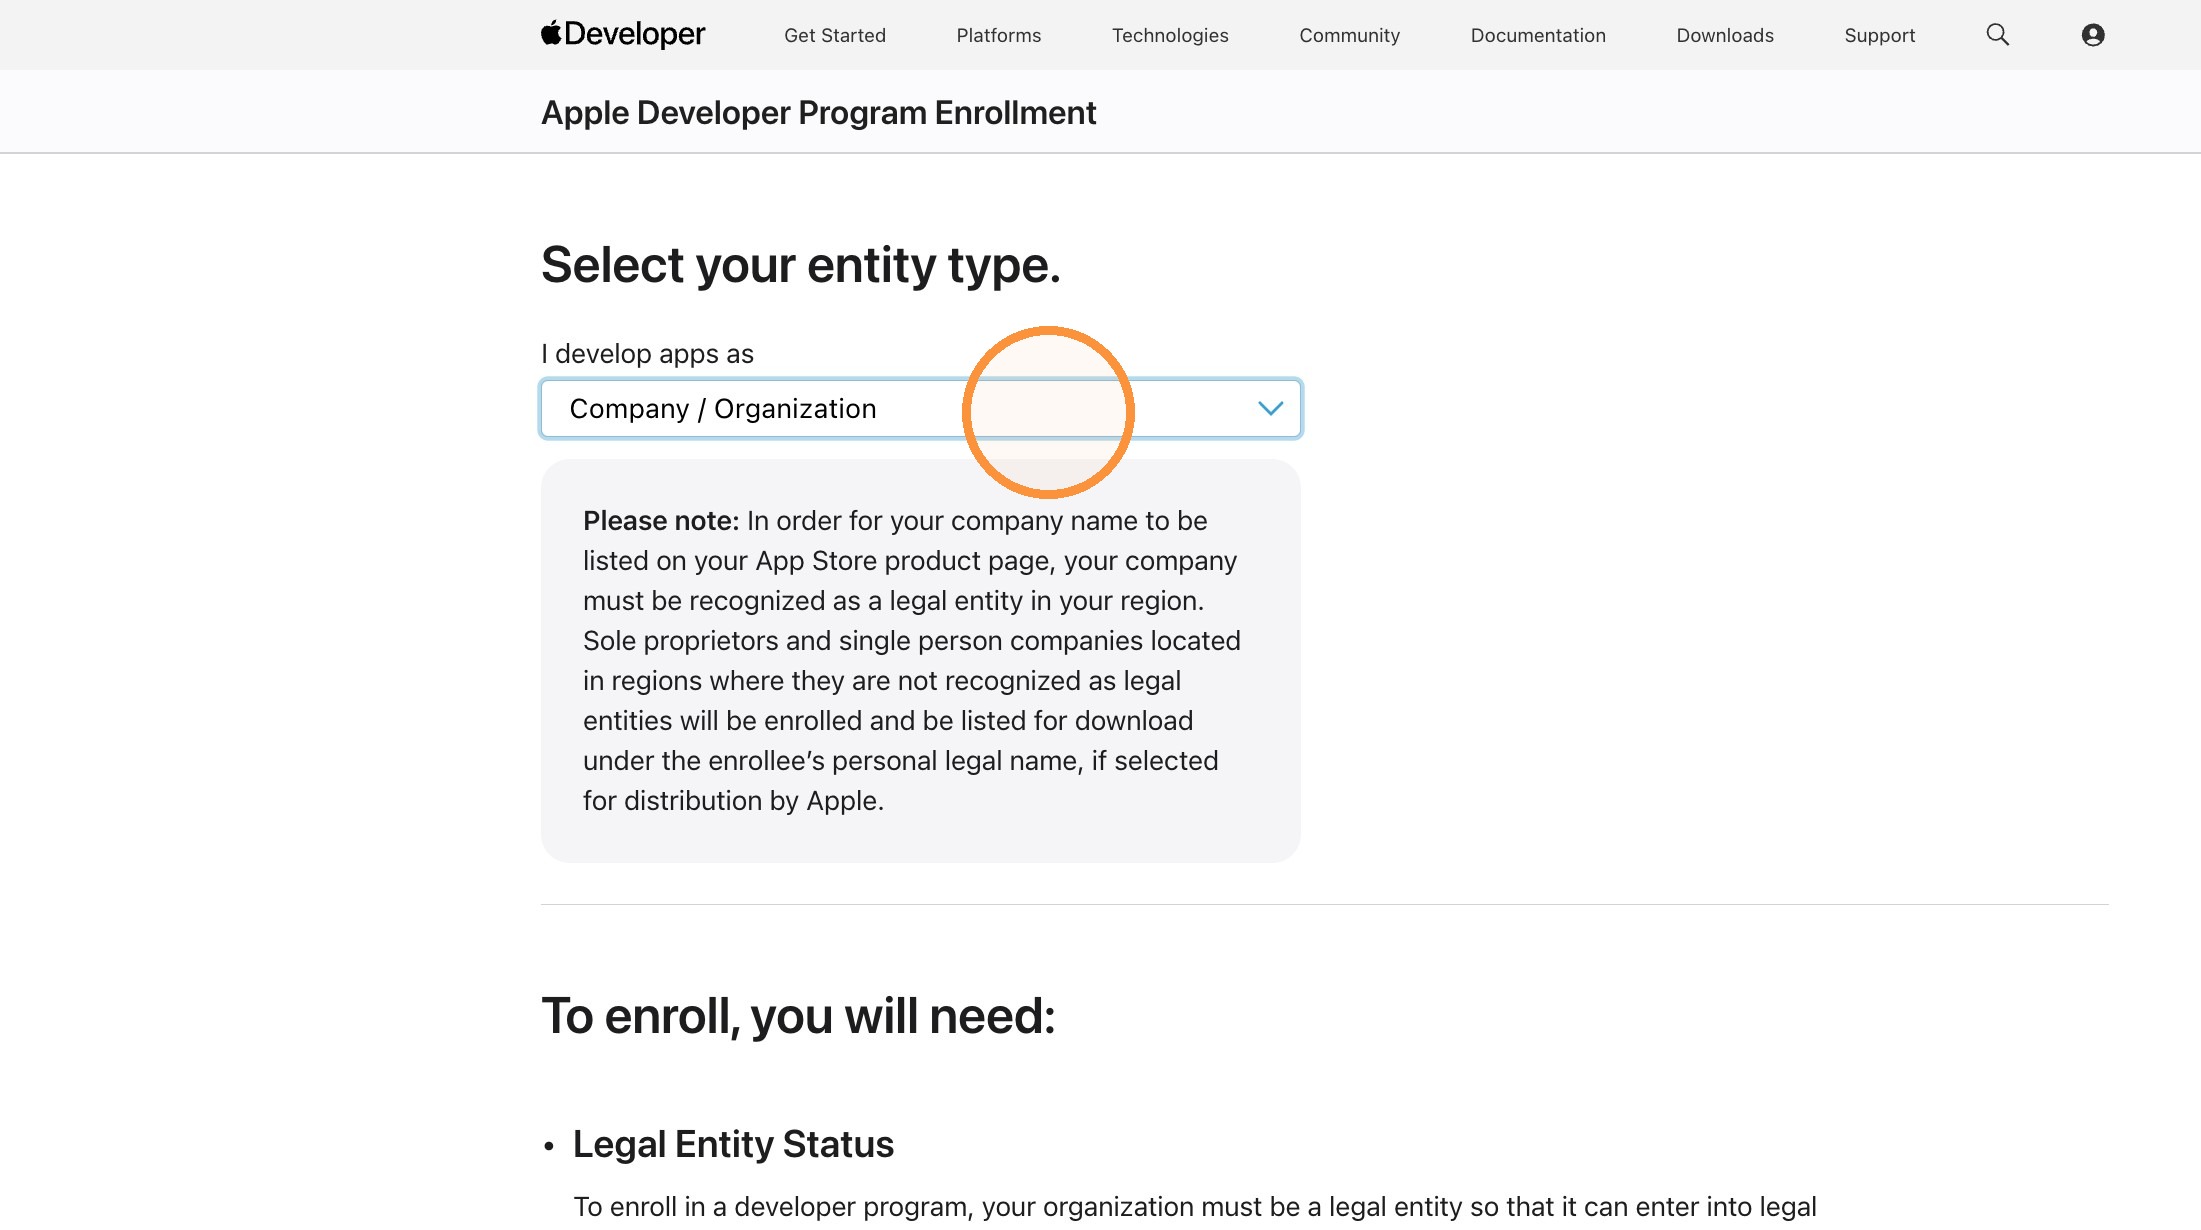
Alert: Alert! Select ONLY Company/Organization. NOT Non-Profit and NOT Individual. Non-Profit registration takes too long and Individual registration does not allow to add Grandstand to submit the app on your behalf.
7. In the dropdown for "I develop apps as" Select the "Company / Organization" option. DO NOT SELECT NON-PROFIT. Even if you are non-profit, the registration process takes several months and you will run the risk of not getting the account established in time.
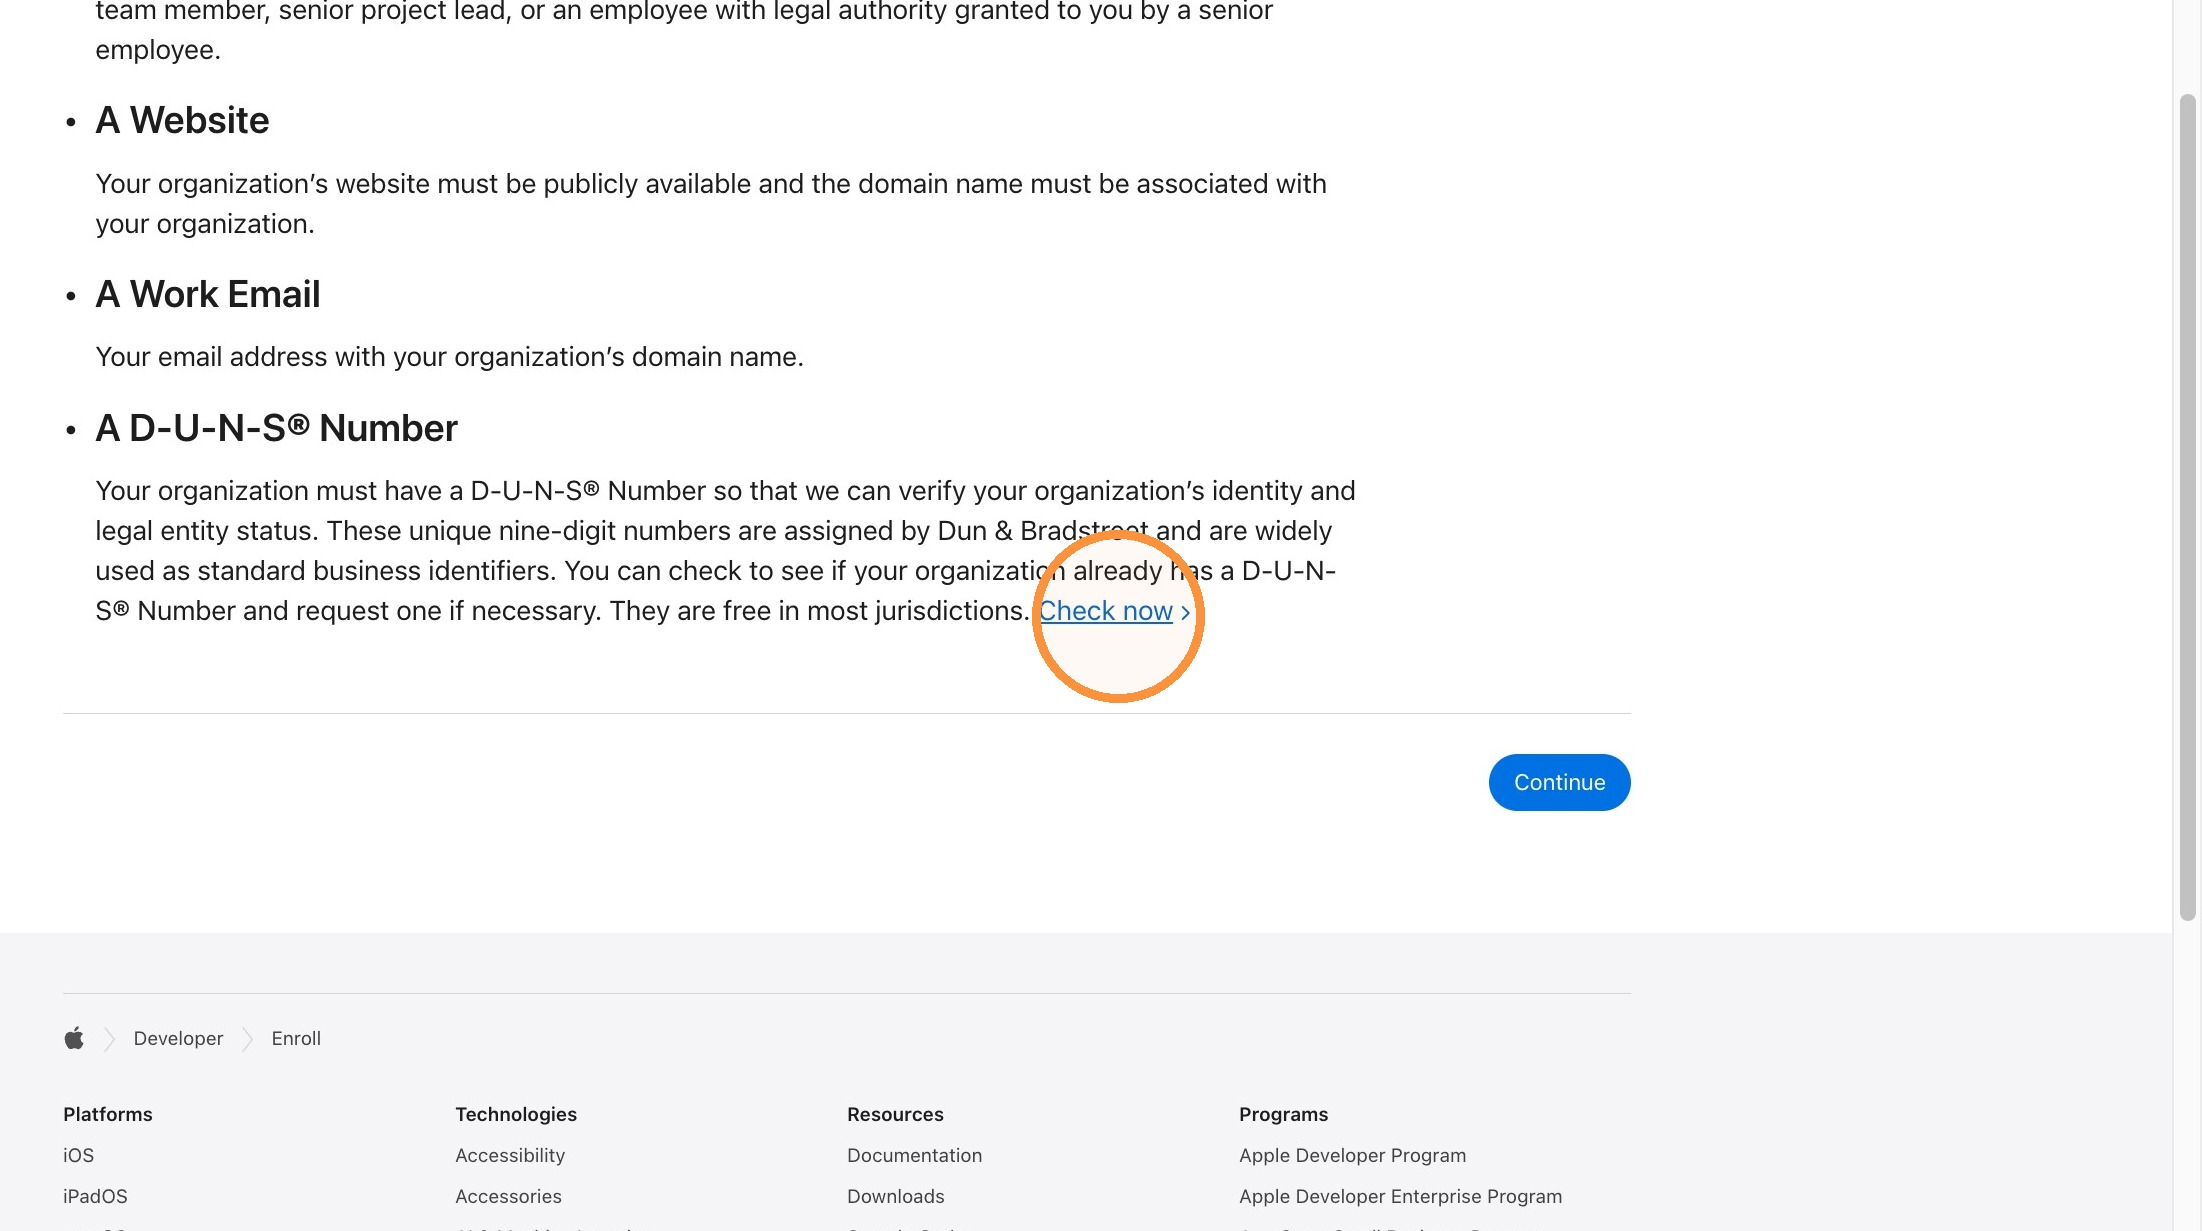
Tip: In the next step you will look up and use your DUNS Number. All of the Organization information you provide from this point on MUST MATCH the DUNS info. If you need to update your information with DUNS you will have to do that on the Dun & Bradstreet site.
8. Click "Check now"
9. Fill out the information for your business. This should be the same information on your official business registration information (Secretary of State or Secretary of Revenue are good places to find the official info if in the US).
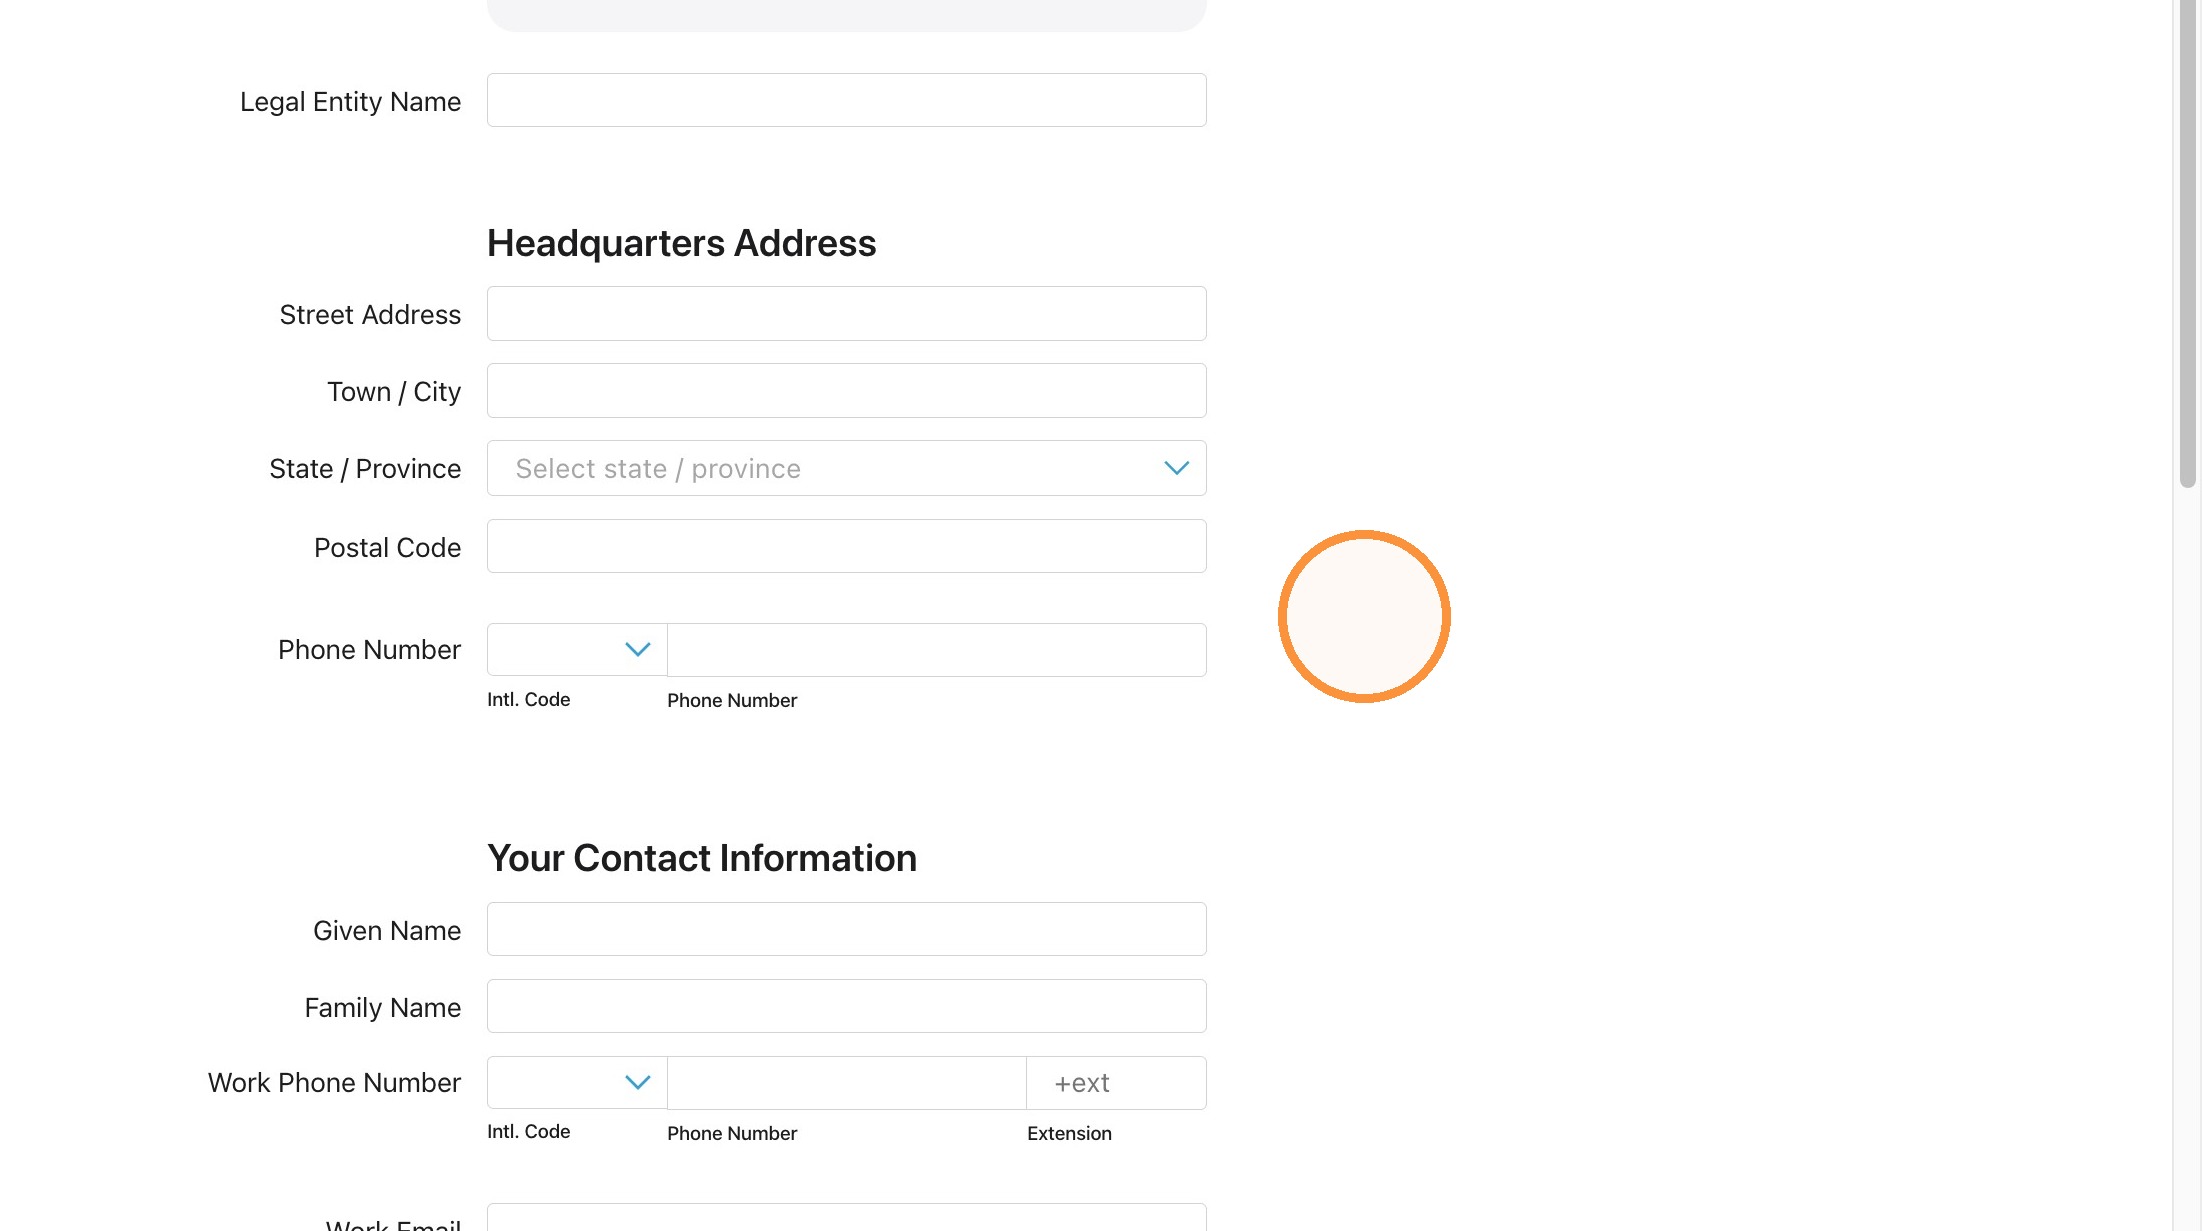
10. Click Continue
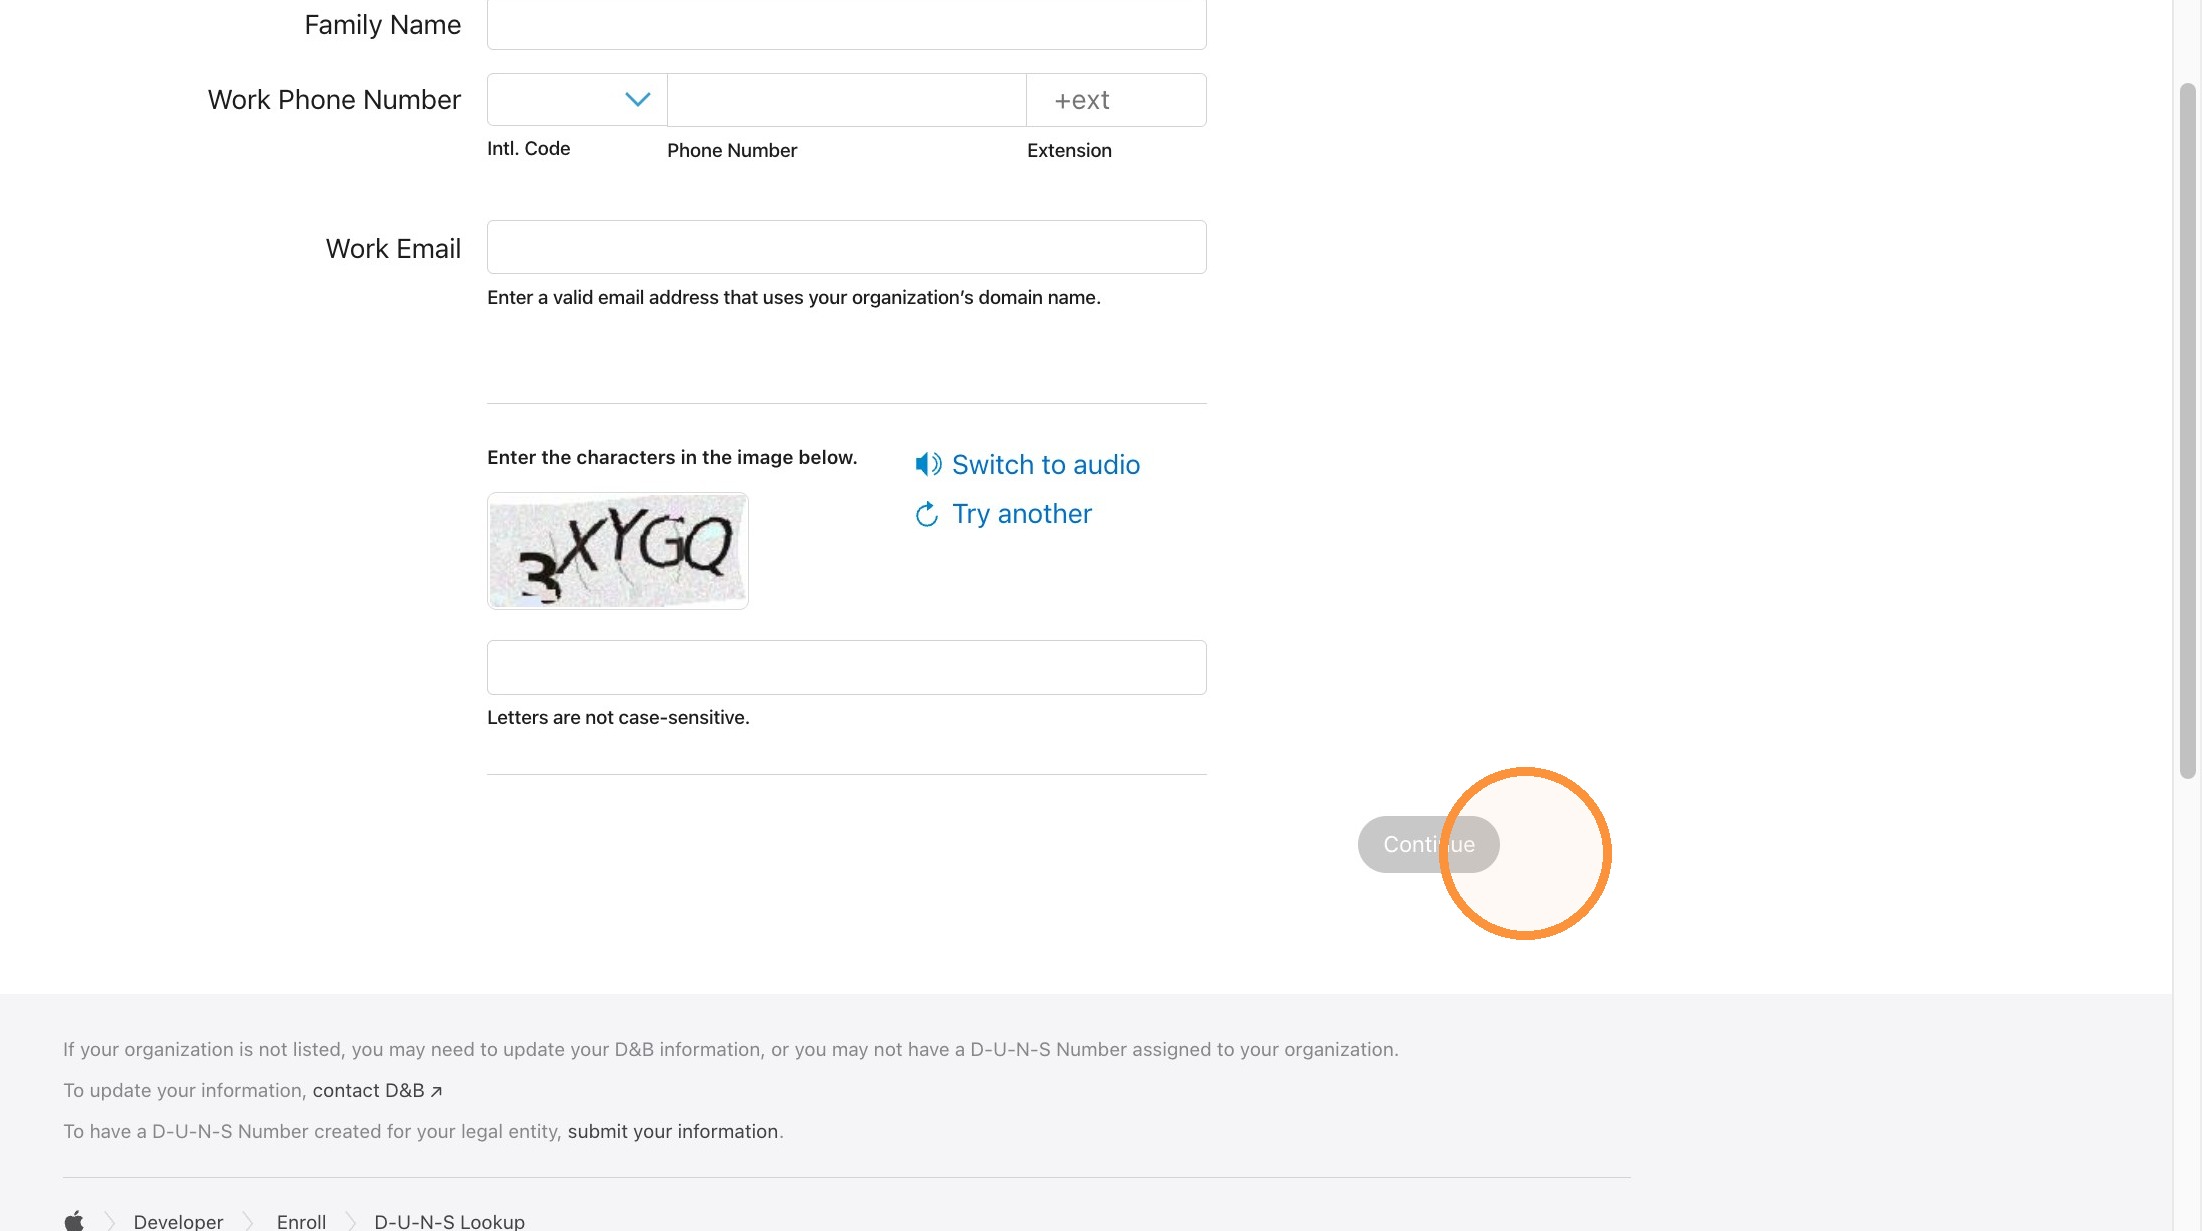
Alert: Alert! Check your email now! You should have an email from Apple Developer with your DUNS number enclosed.
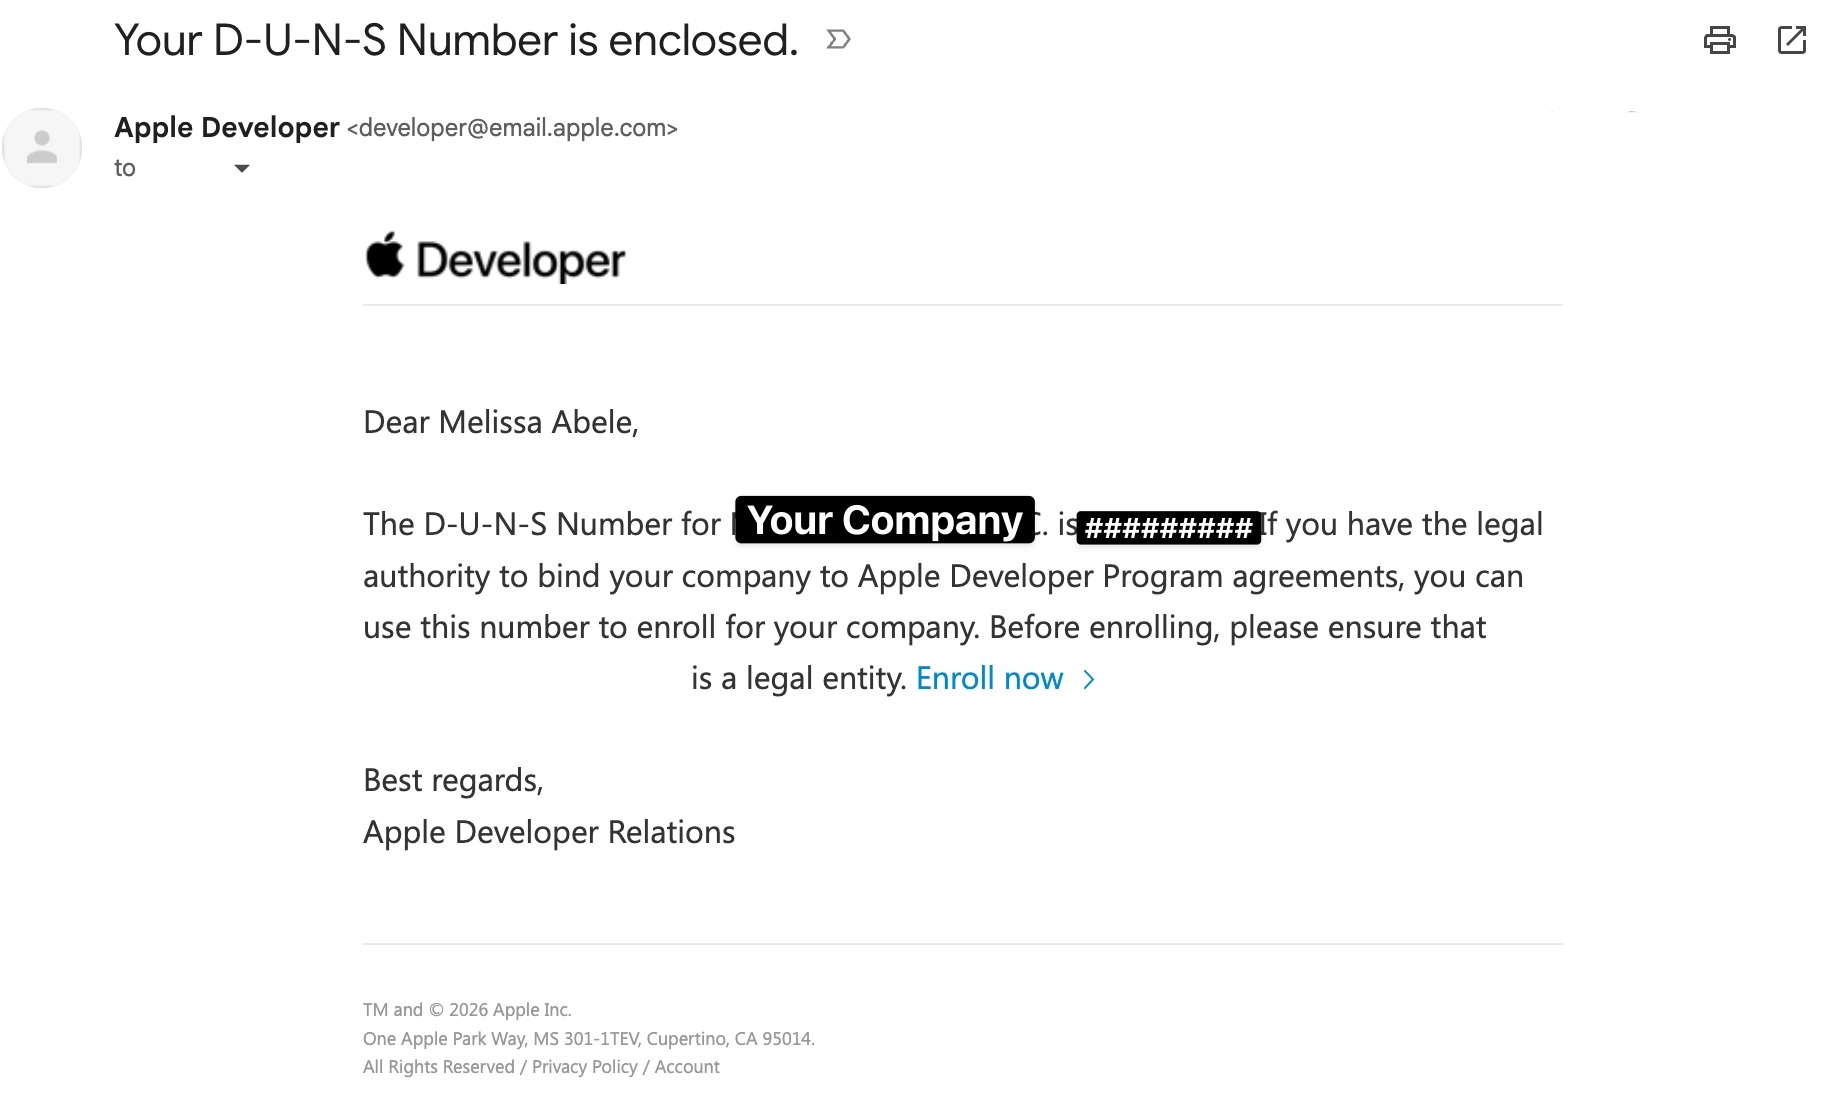
11. Enter your DUNS number here along with the Legal Name of your organization,
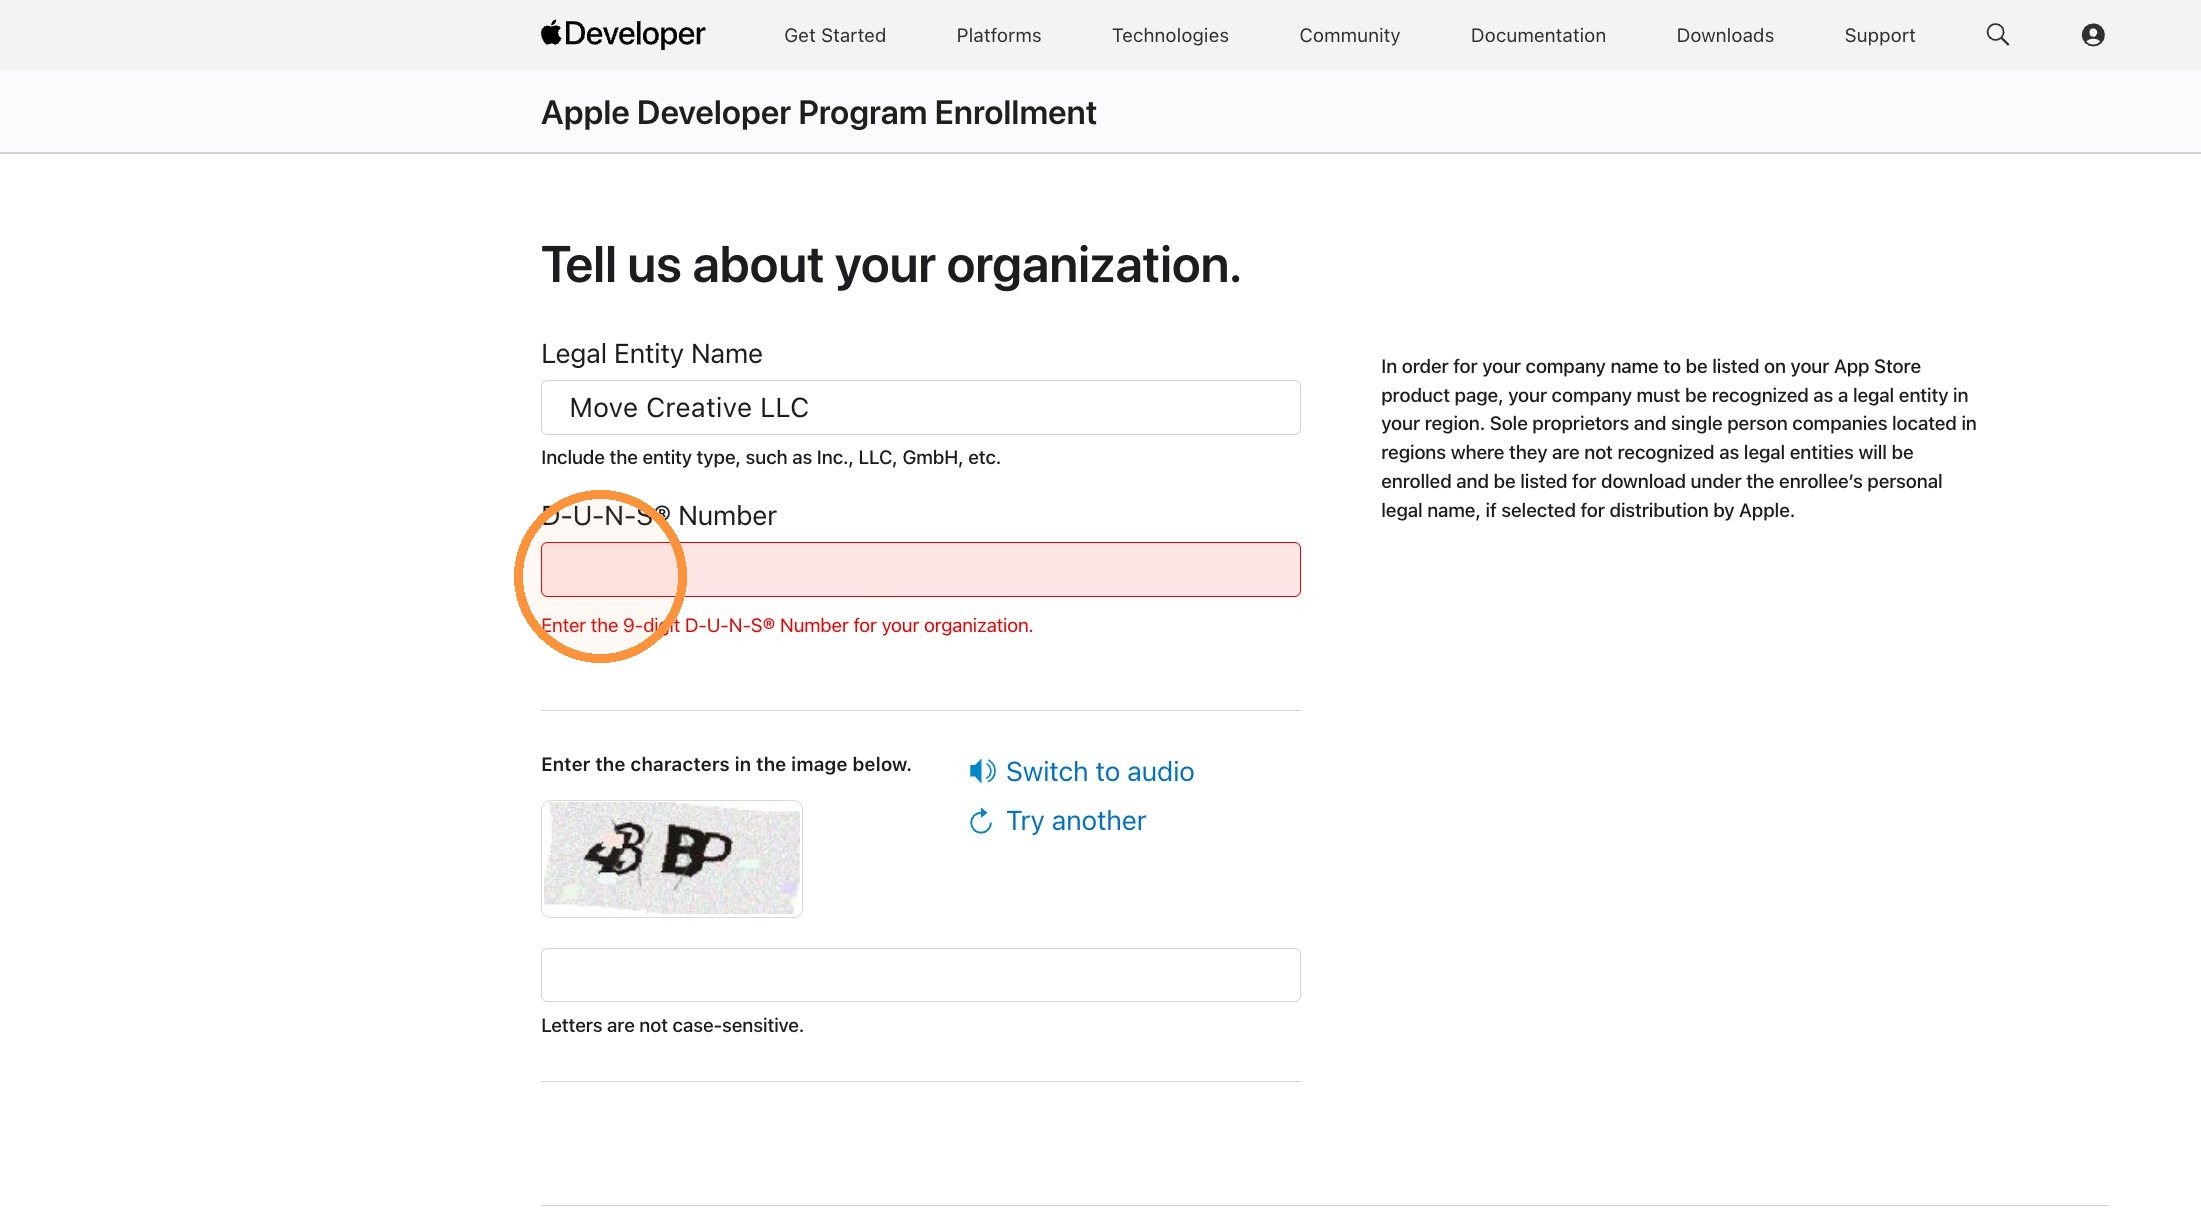
12. Click "Continue"
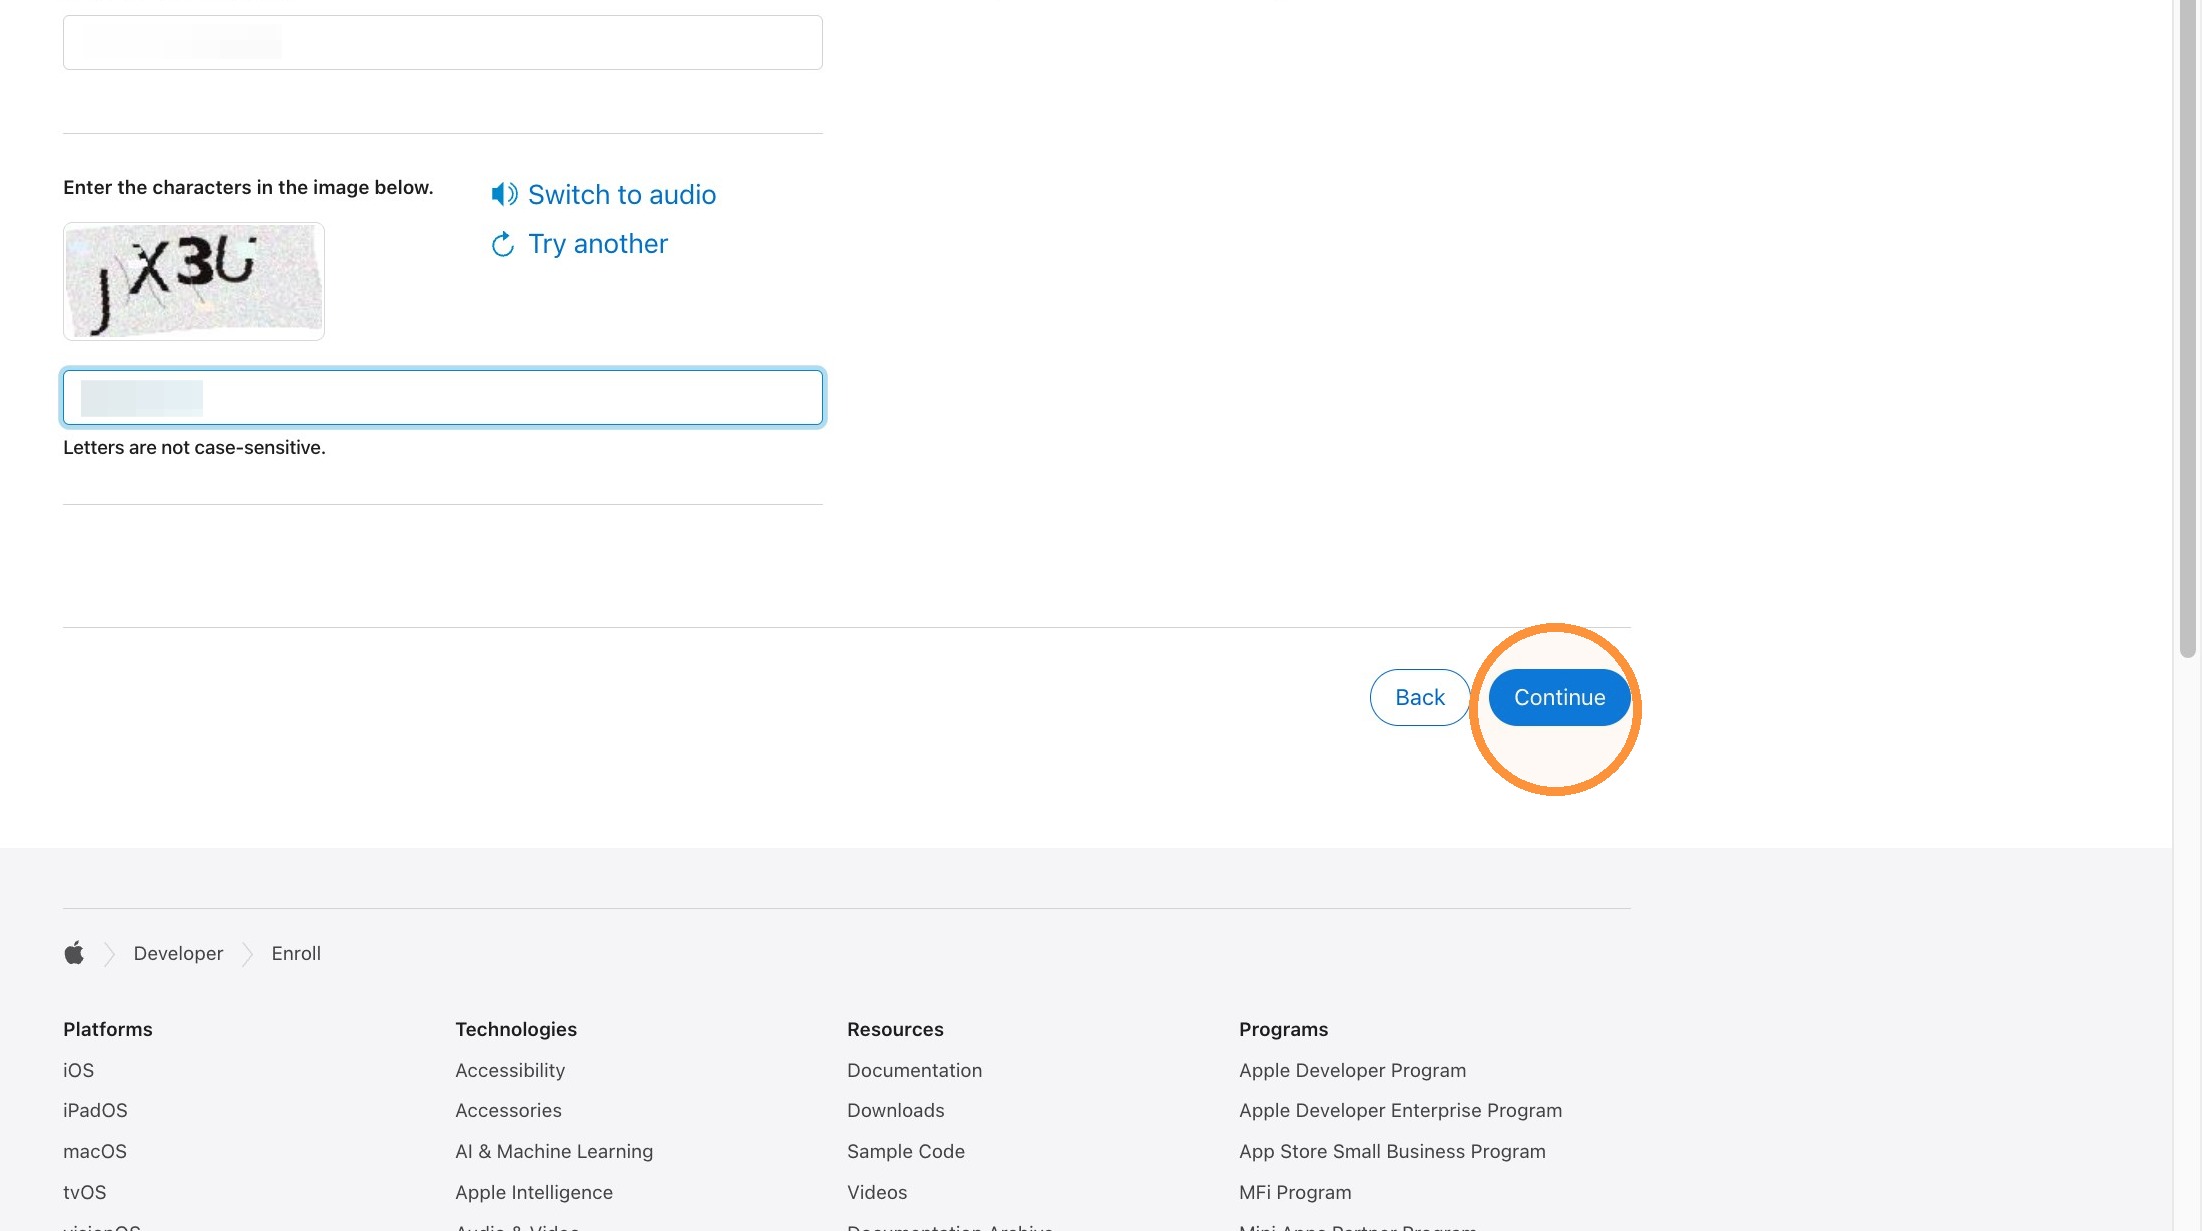
Organization Details
13. The Official Info from your DUNS should be entered. You will add some additional info like the organization website, phone number (this should be your phone number where you can receive a code), and your email. the email should have your organization as the domain name (ie yourname@yourcompany.com).
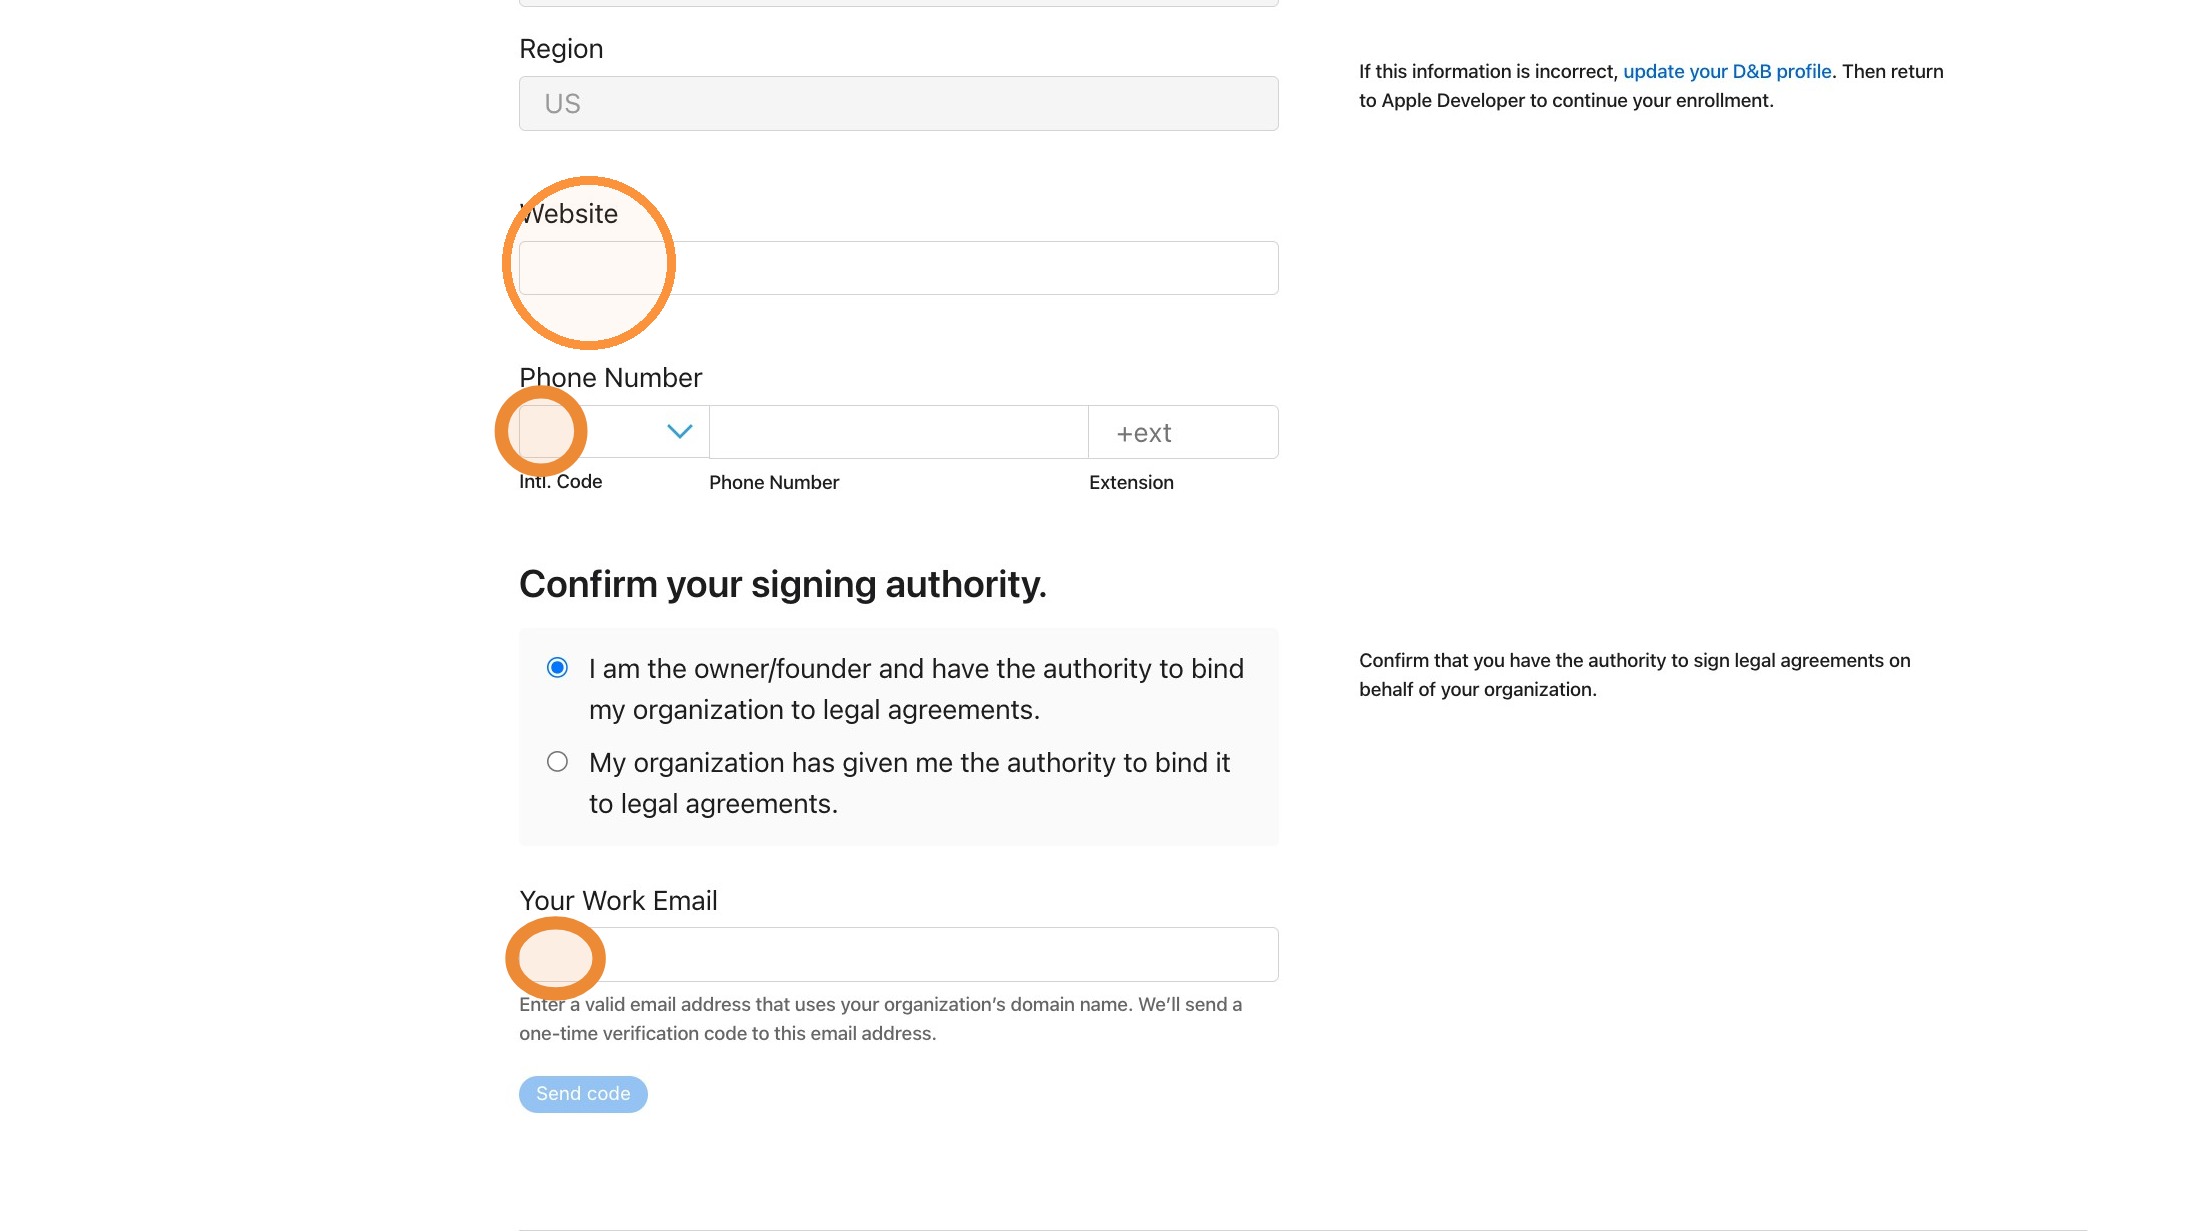
14. Click "Send code"
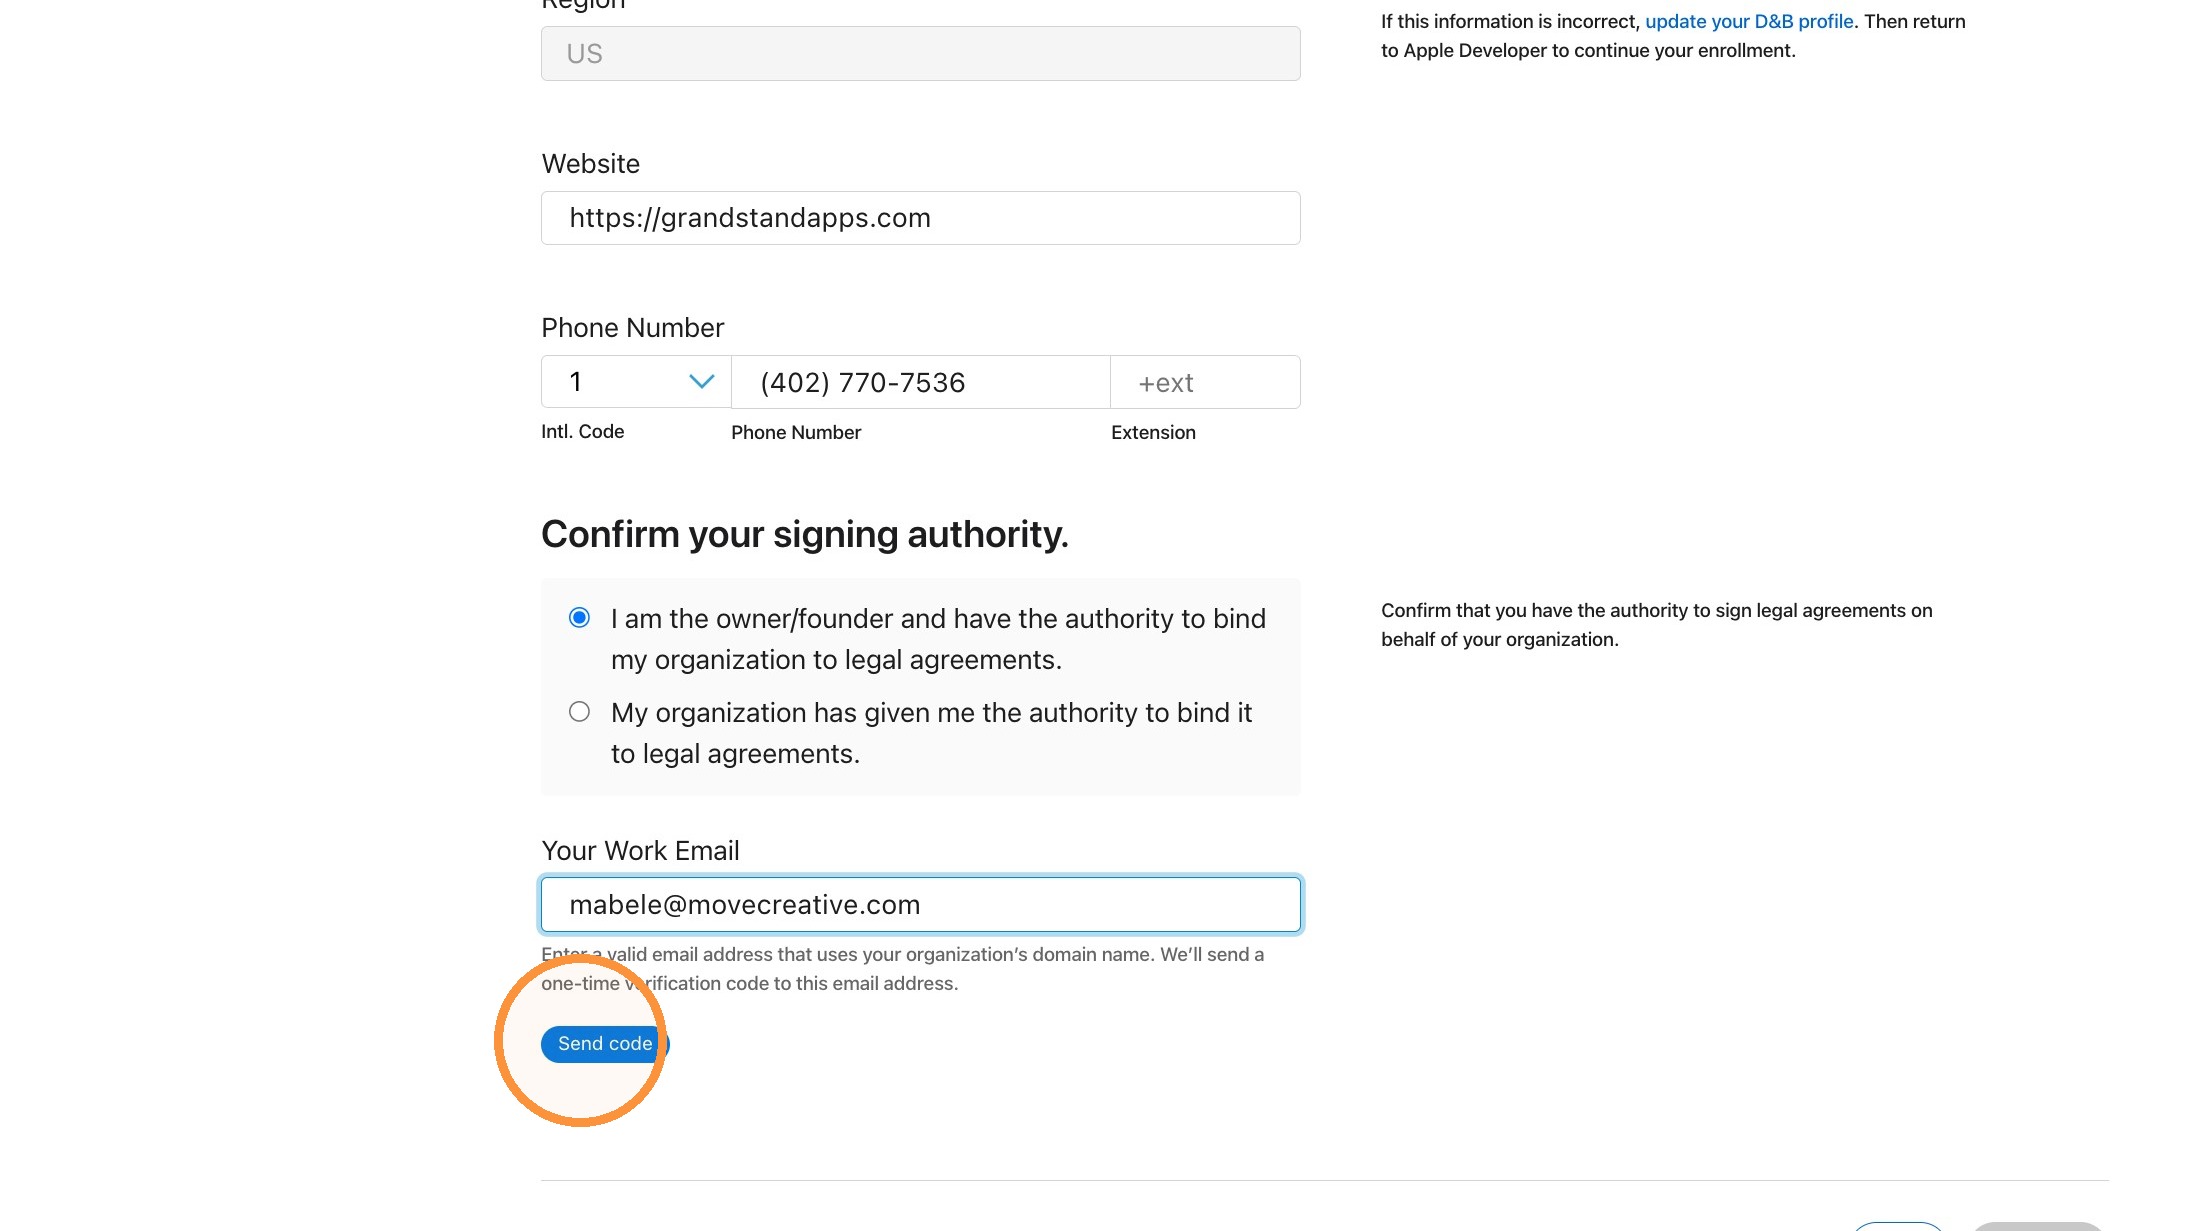
15. Check your email where you should have received a code to enter in the Verification spot now visible on the page.
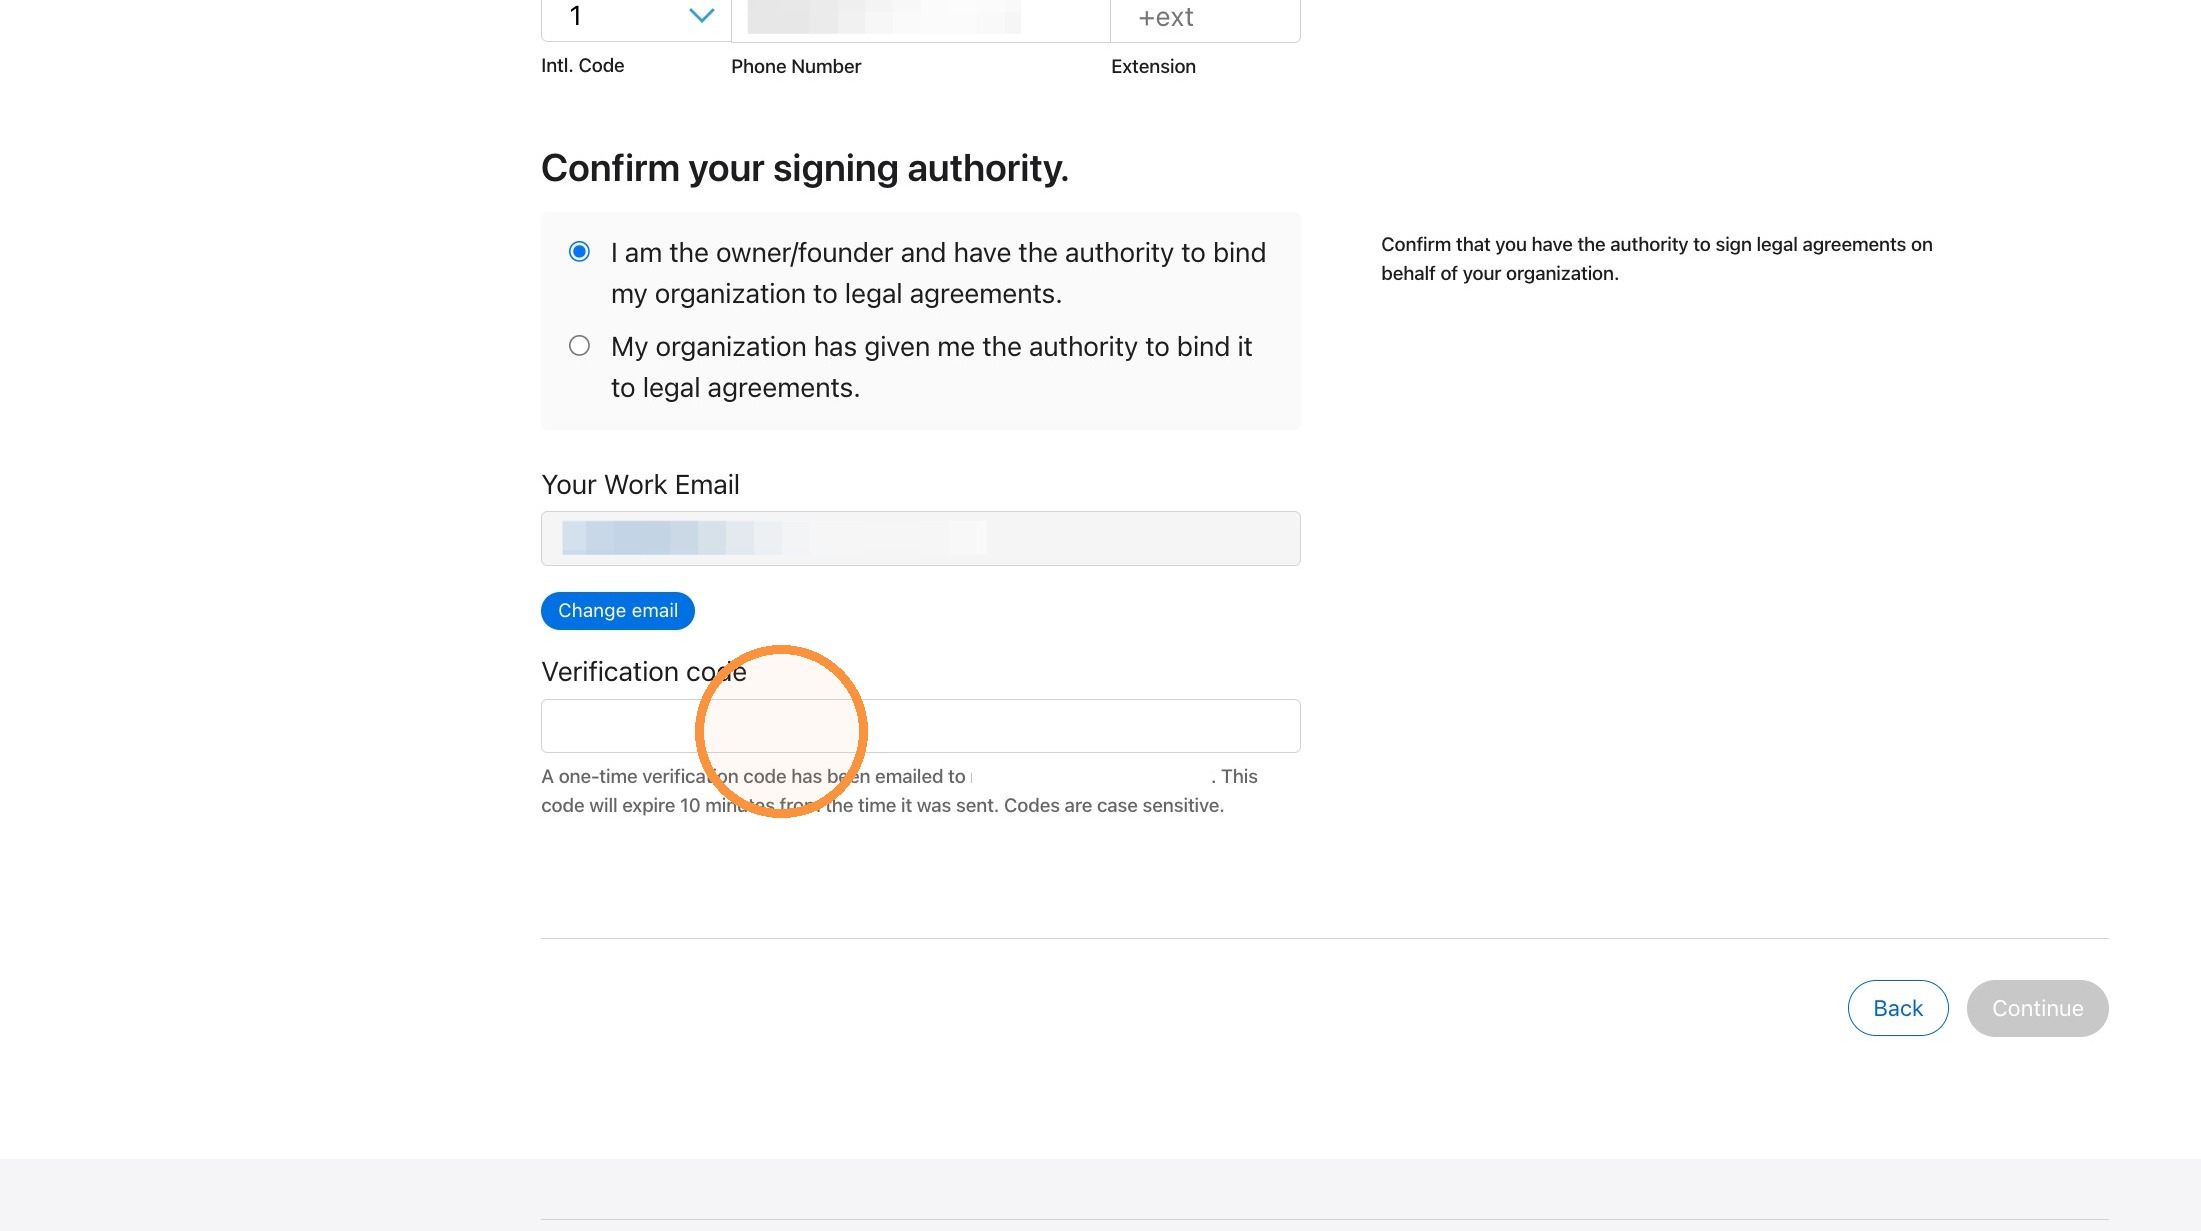
16. Click "Continue"
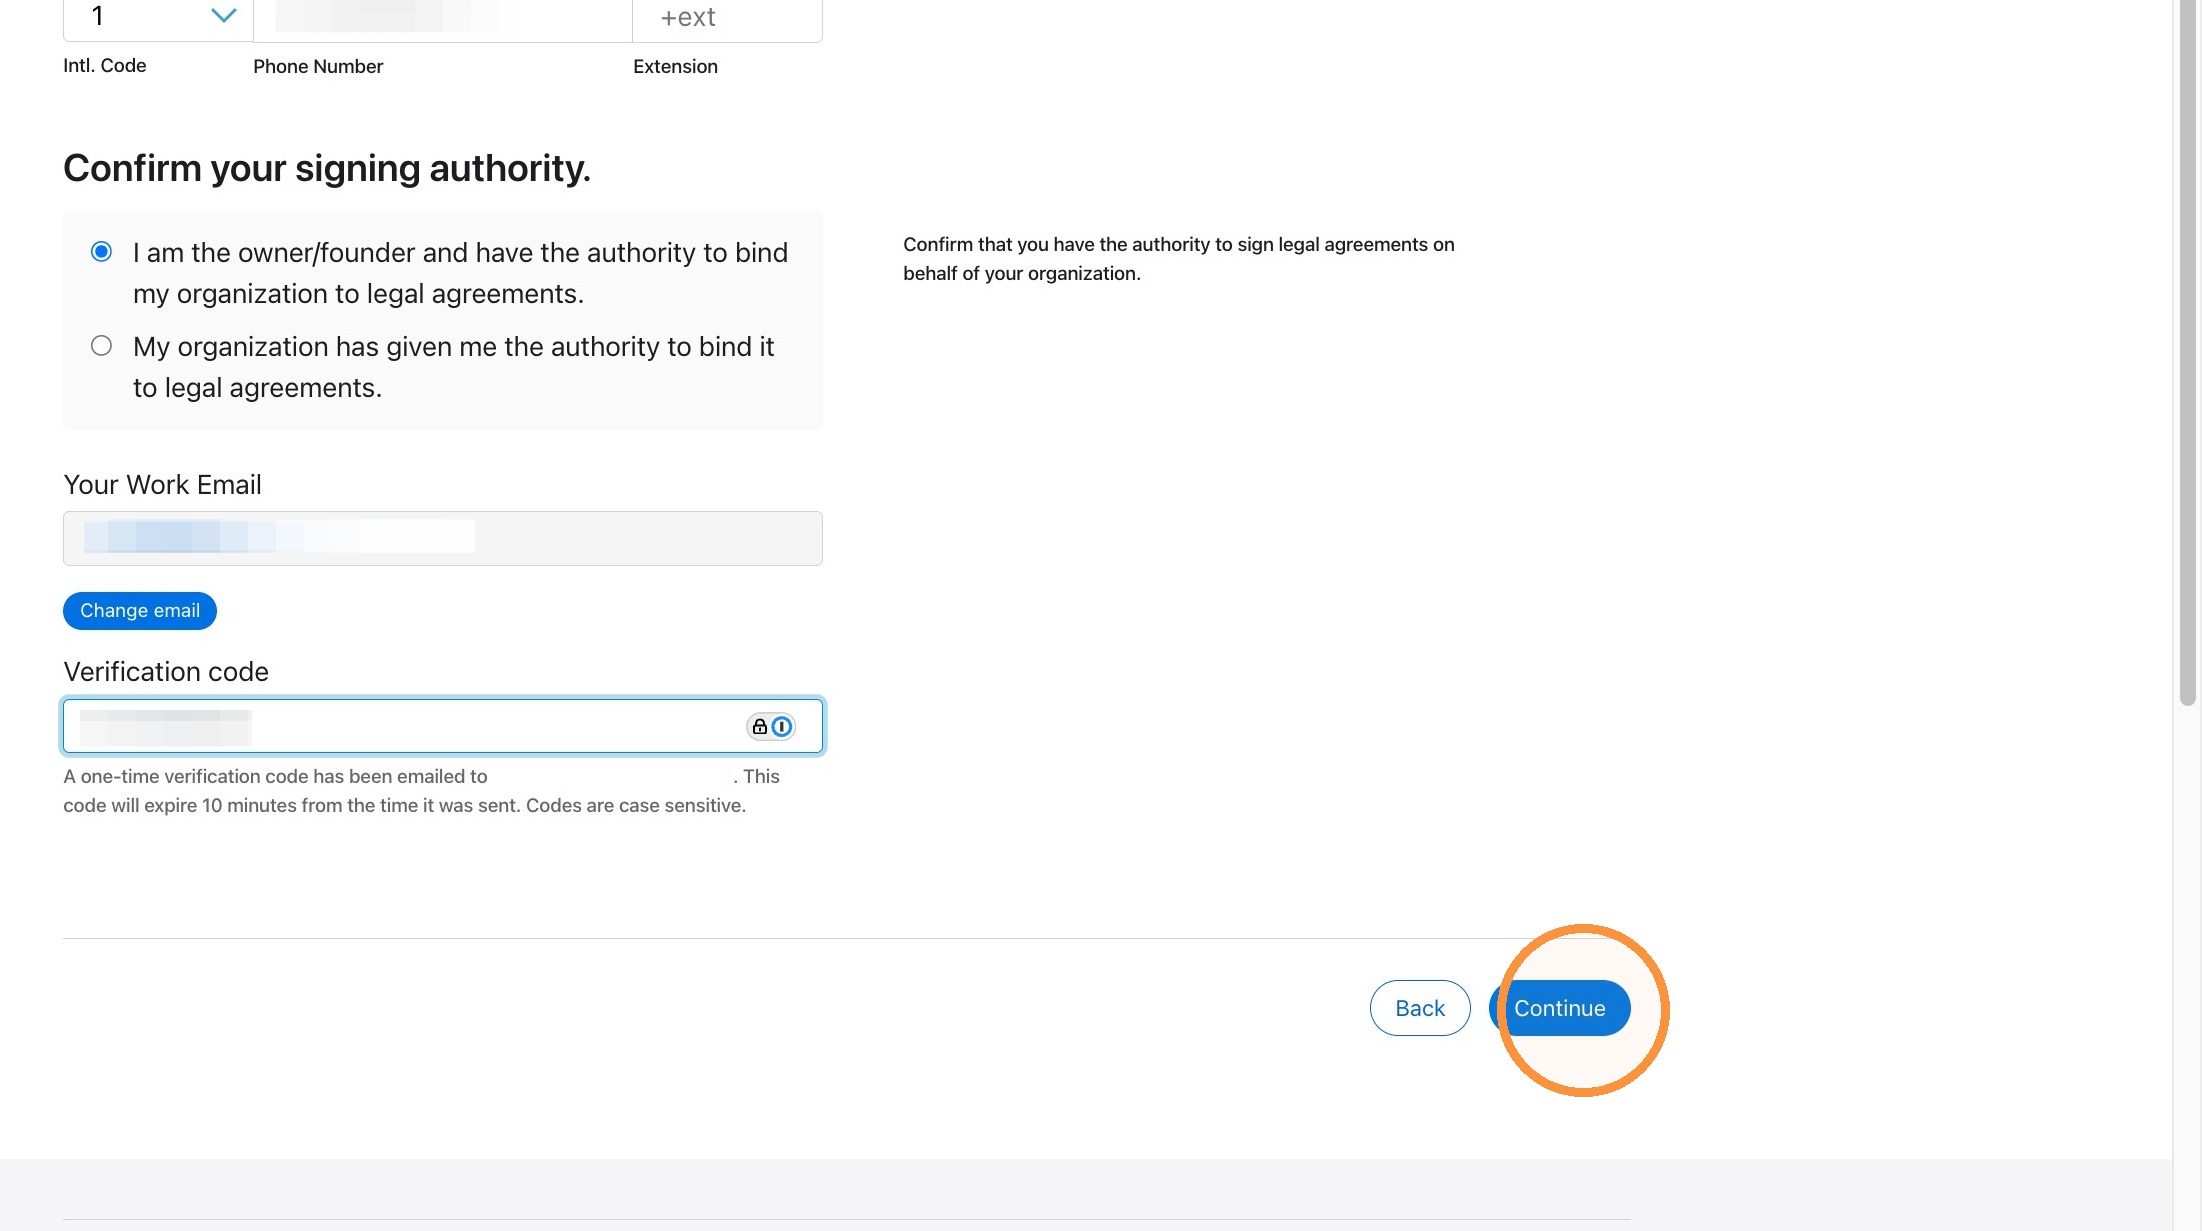
Submission and Status
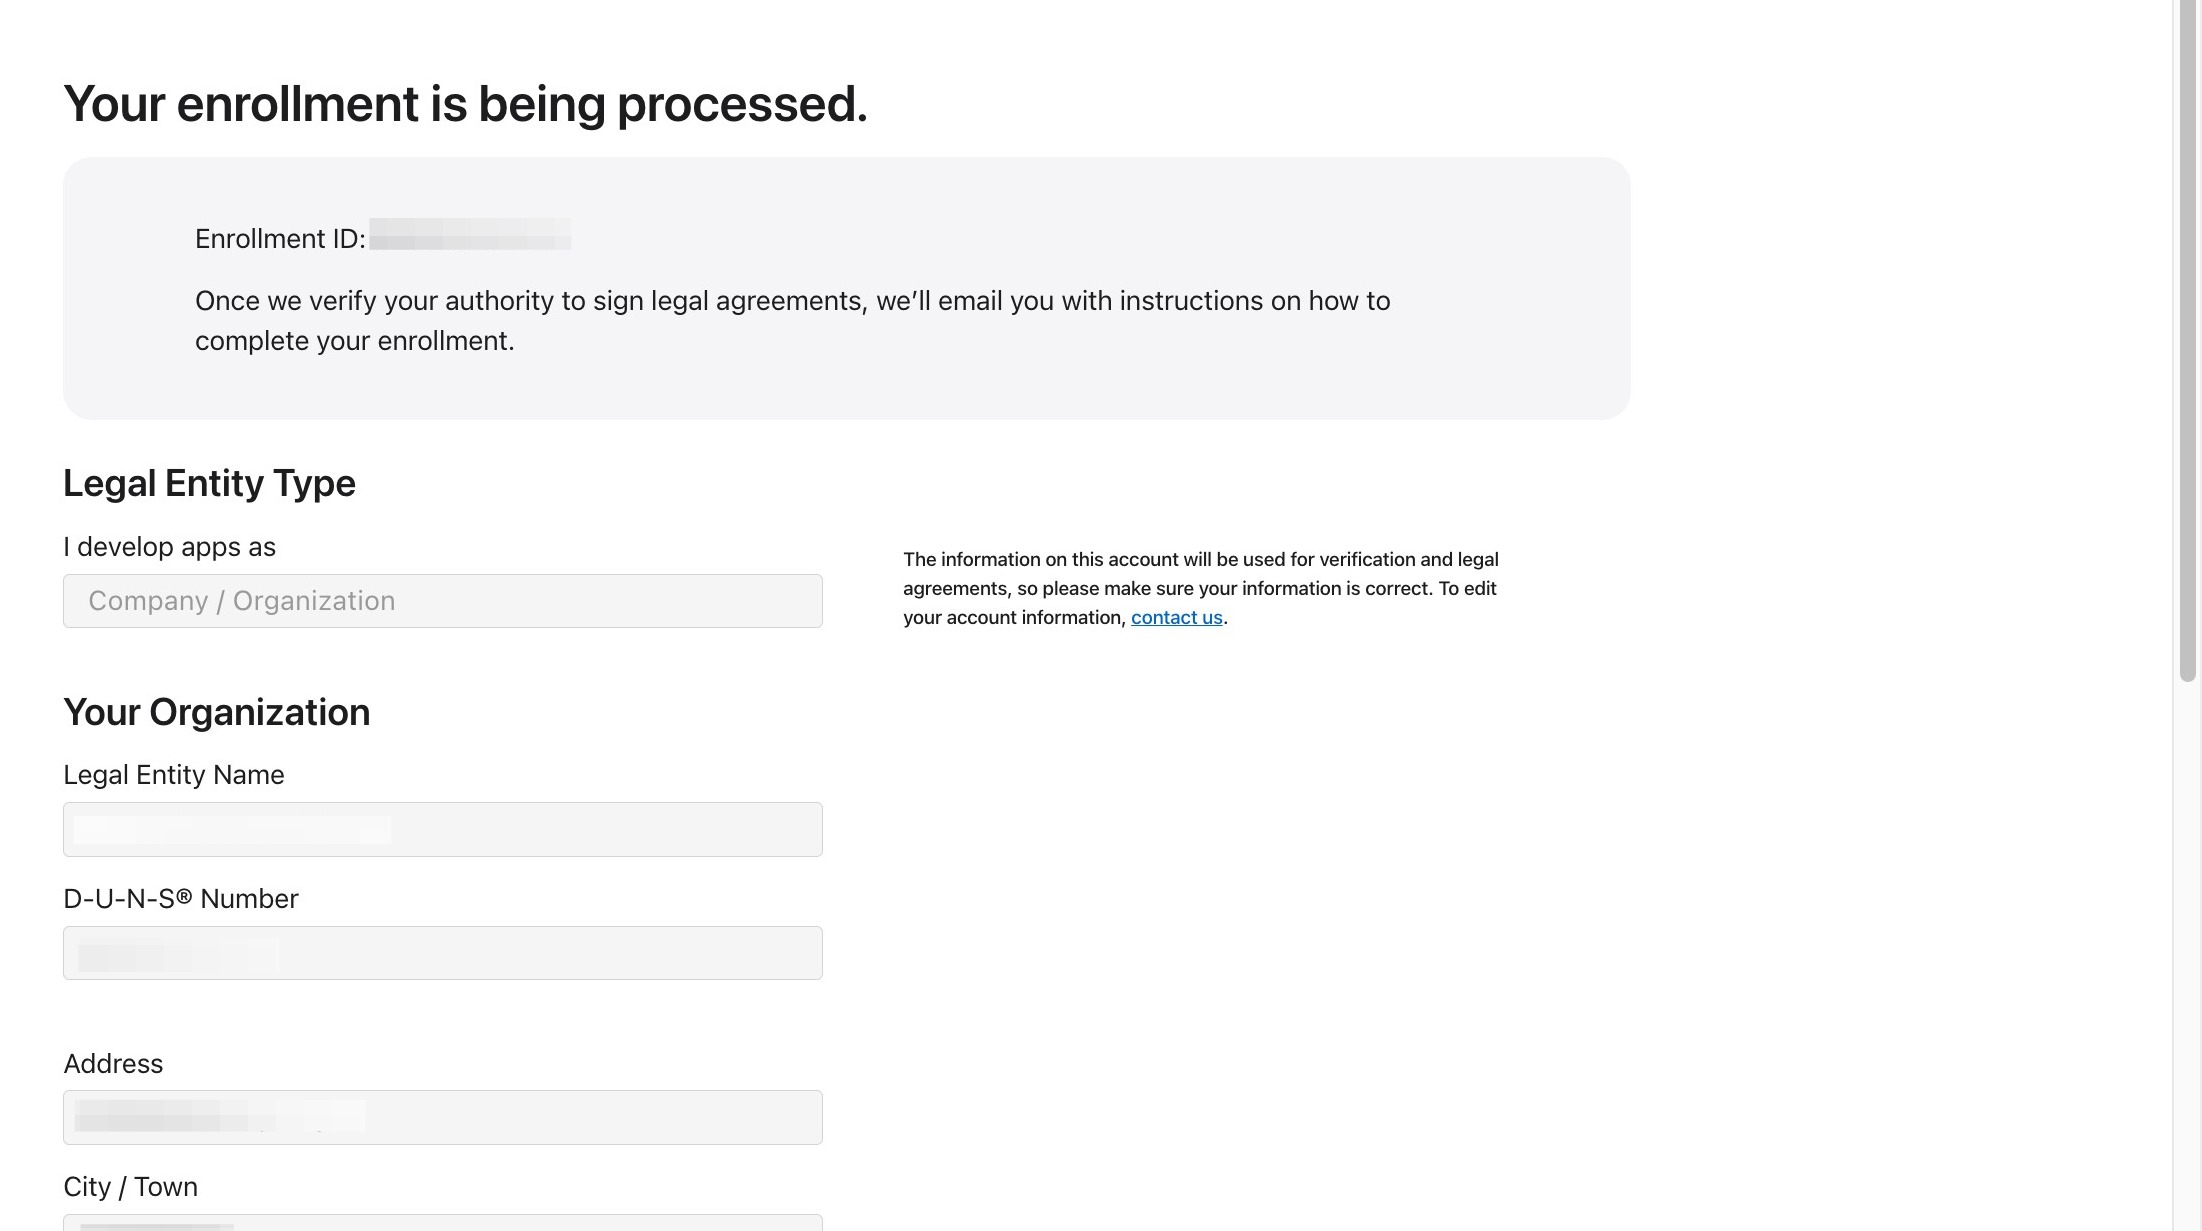
17. You will receive the following page that has info about your registration and your Enrollment ID. Make note of this ID for the future if you need to contact Apple.
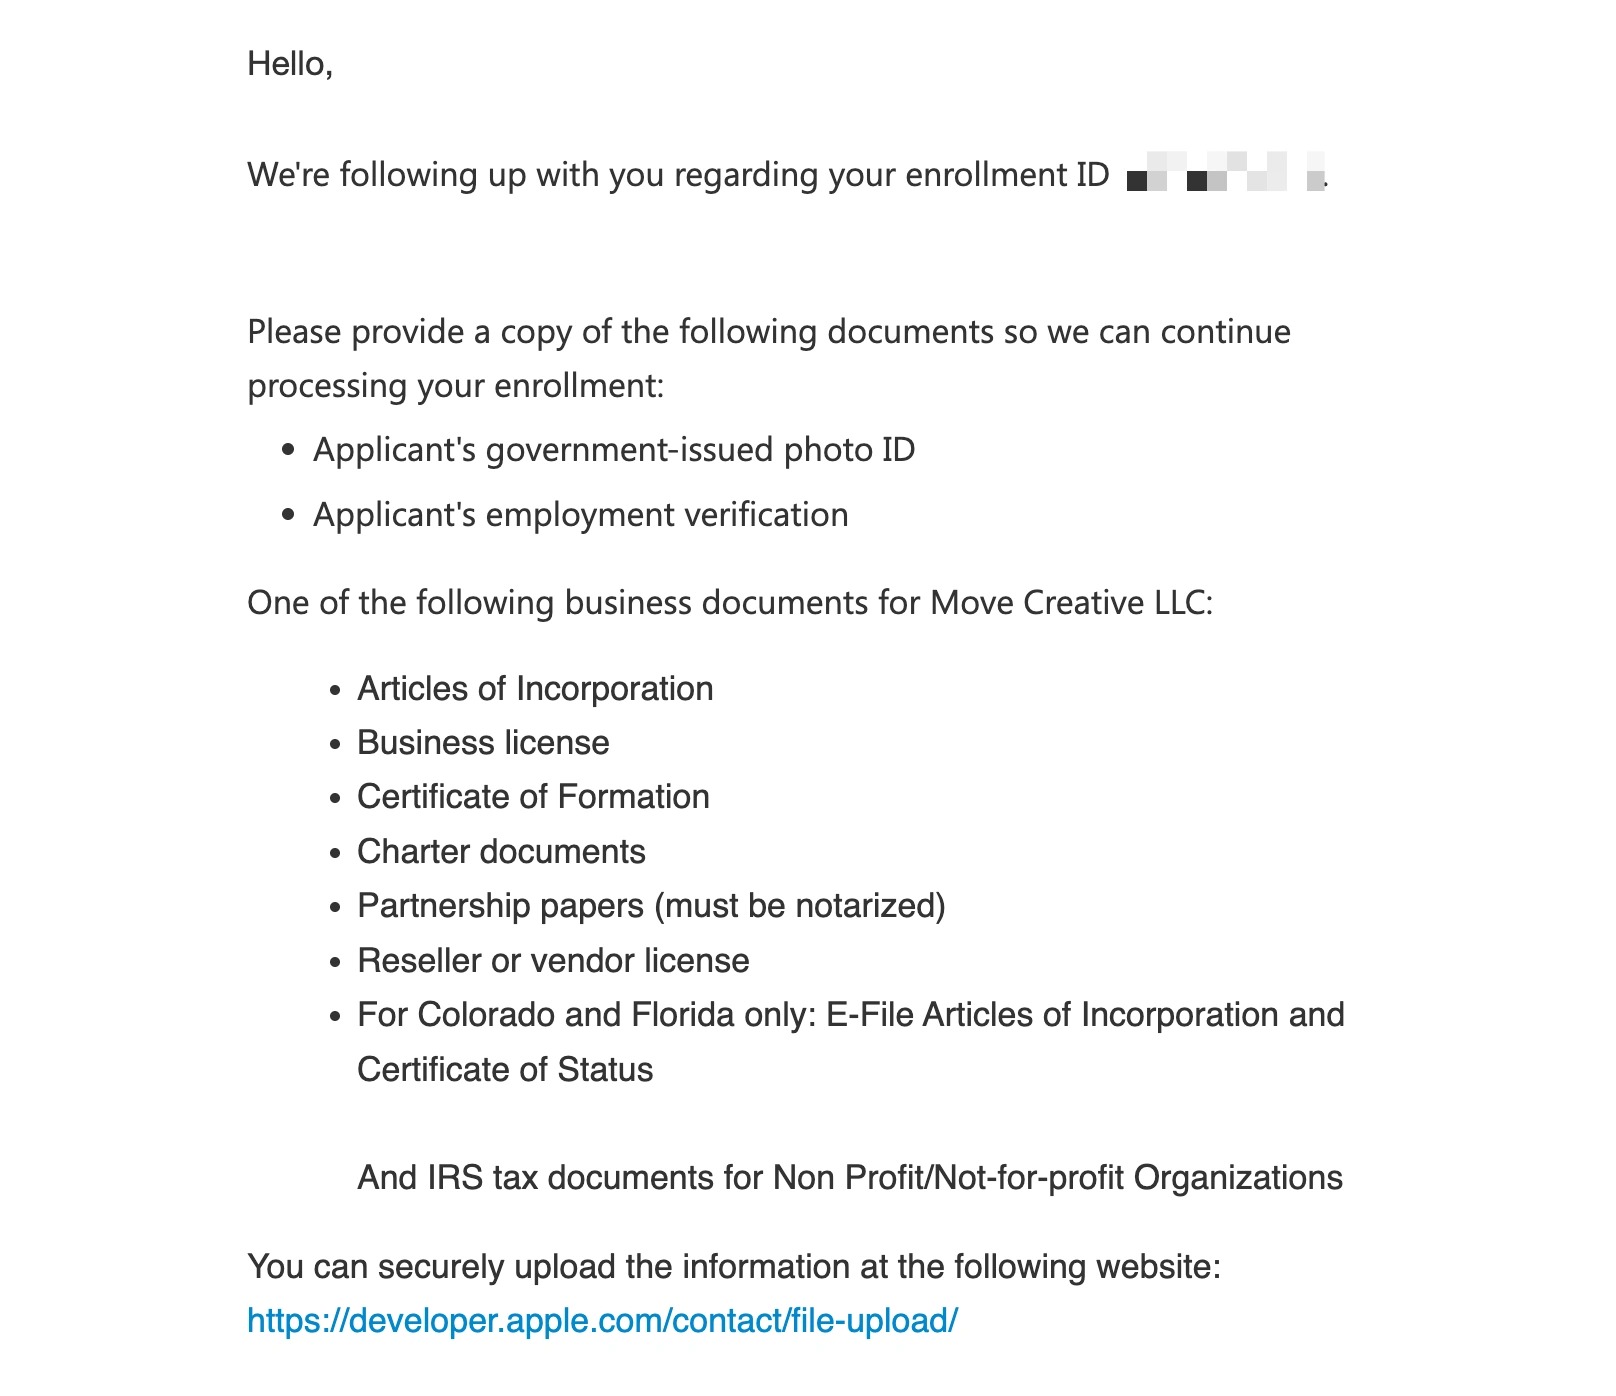
18. Check your email. If they are not able to verify your identity, you will receive a message like this one.
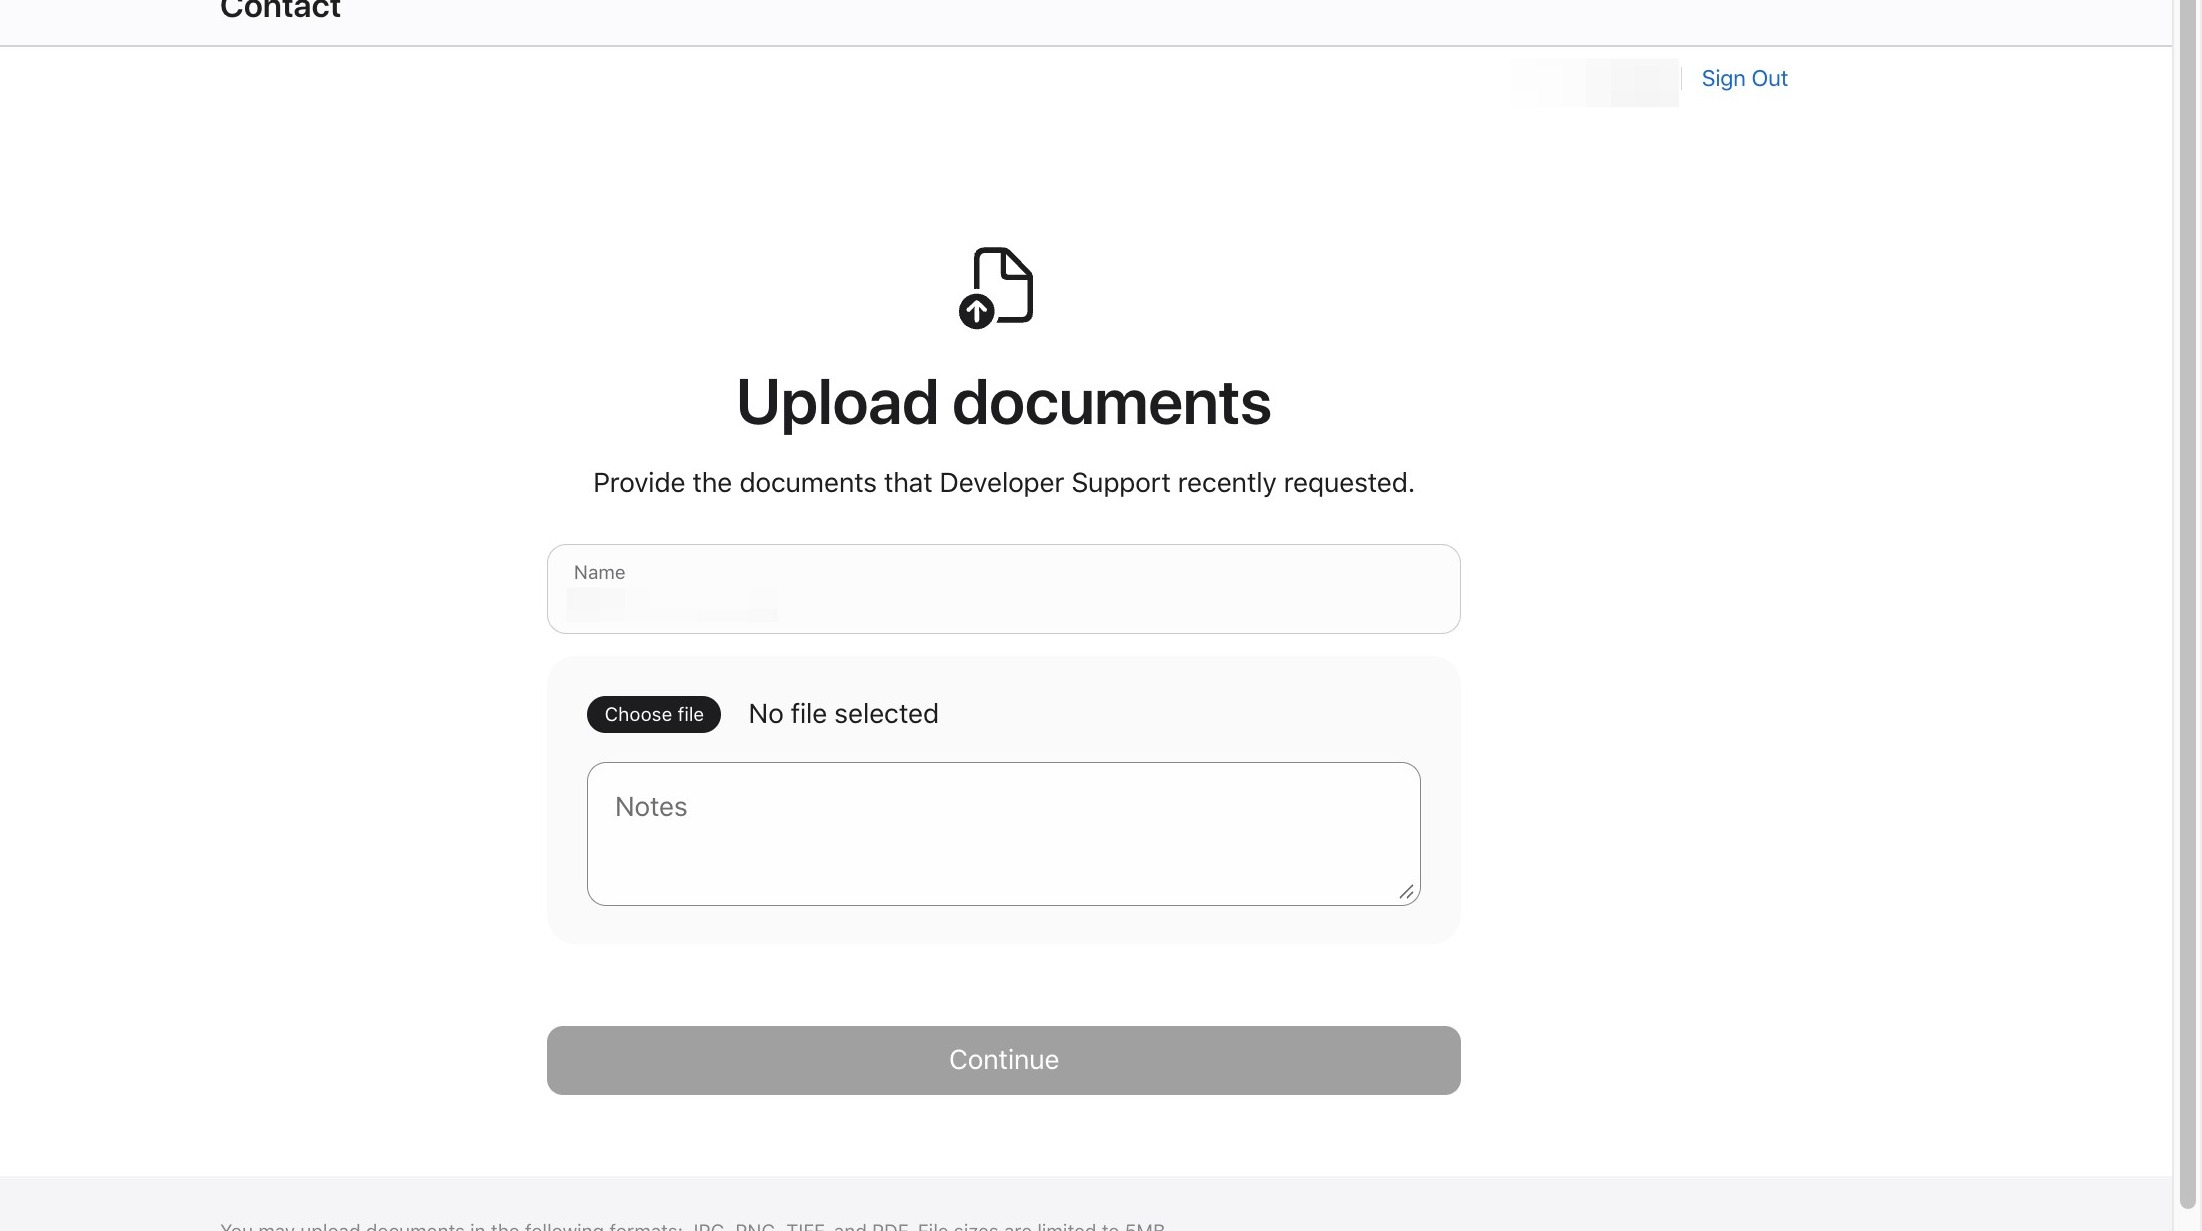
19. Click the link to upload files and you will see the following page. Upload documents to show that you have authority for the organization. You will need to upload a personal identification with photo (driver's license, passport, etc) AND employment verification (id with photo, W2, etc). The upload page looks like the one below (you will log into the site with your Apple ID)
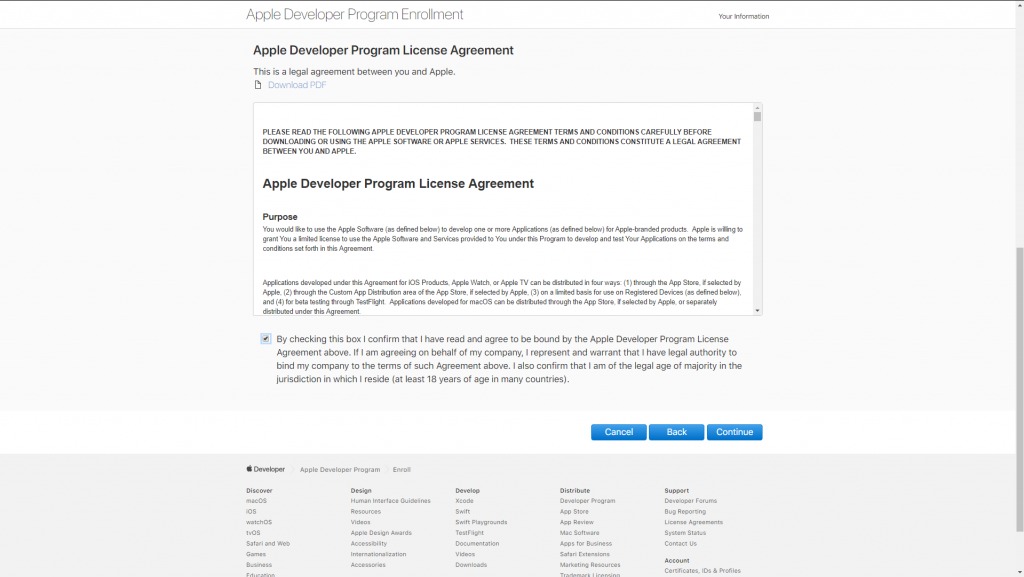
20. Once you receive the approval email, sign in and resume enrollment. Follow Apple’s next email. Use the same Apple Account you used to enroll. You will be asked to review the agreement and accept it.
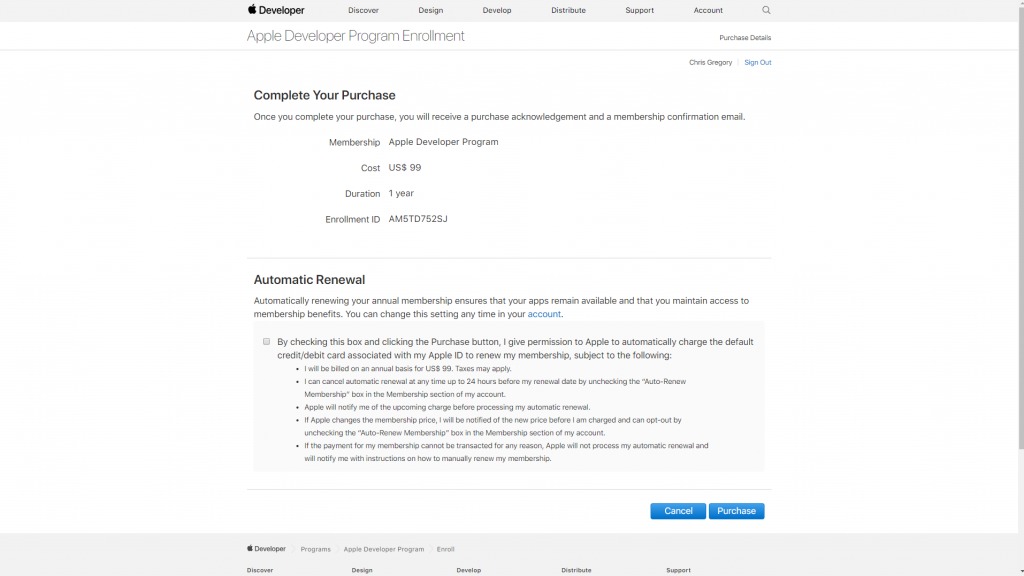
21. Pay for your Enrollment. You will need to purchase after receiving your approvals. You can also set up automatic renewal at this time, if not, every year 30 days before the end of the annual period to renew & purchase again.
Tip: You should receive your approval and completion within 24 hours. At that time, follow the final step of adding Grandstand to your account!
Add Grandstand As an Admin on the Account
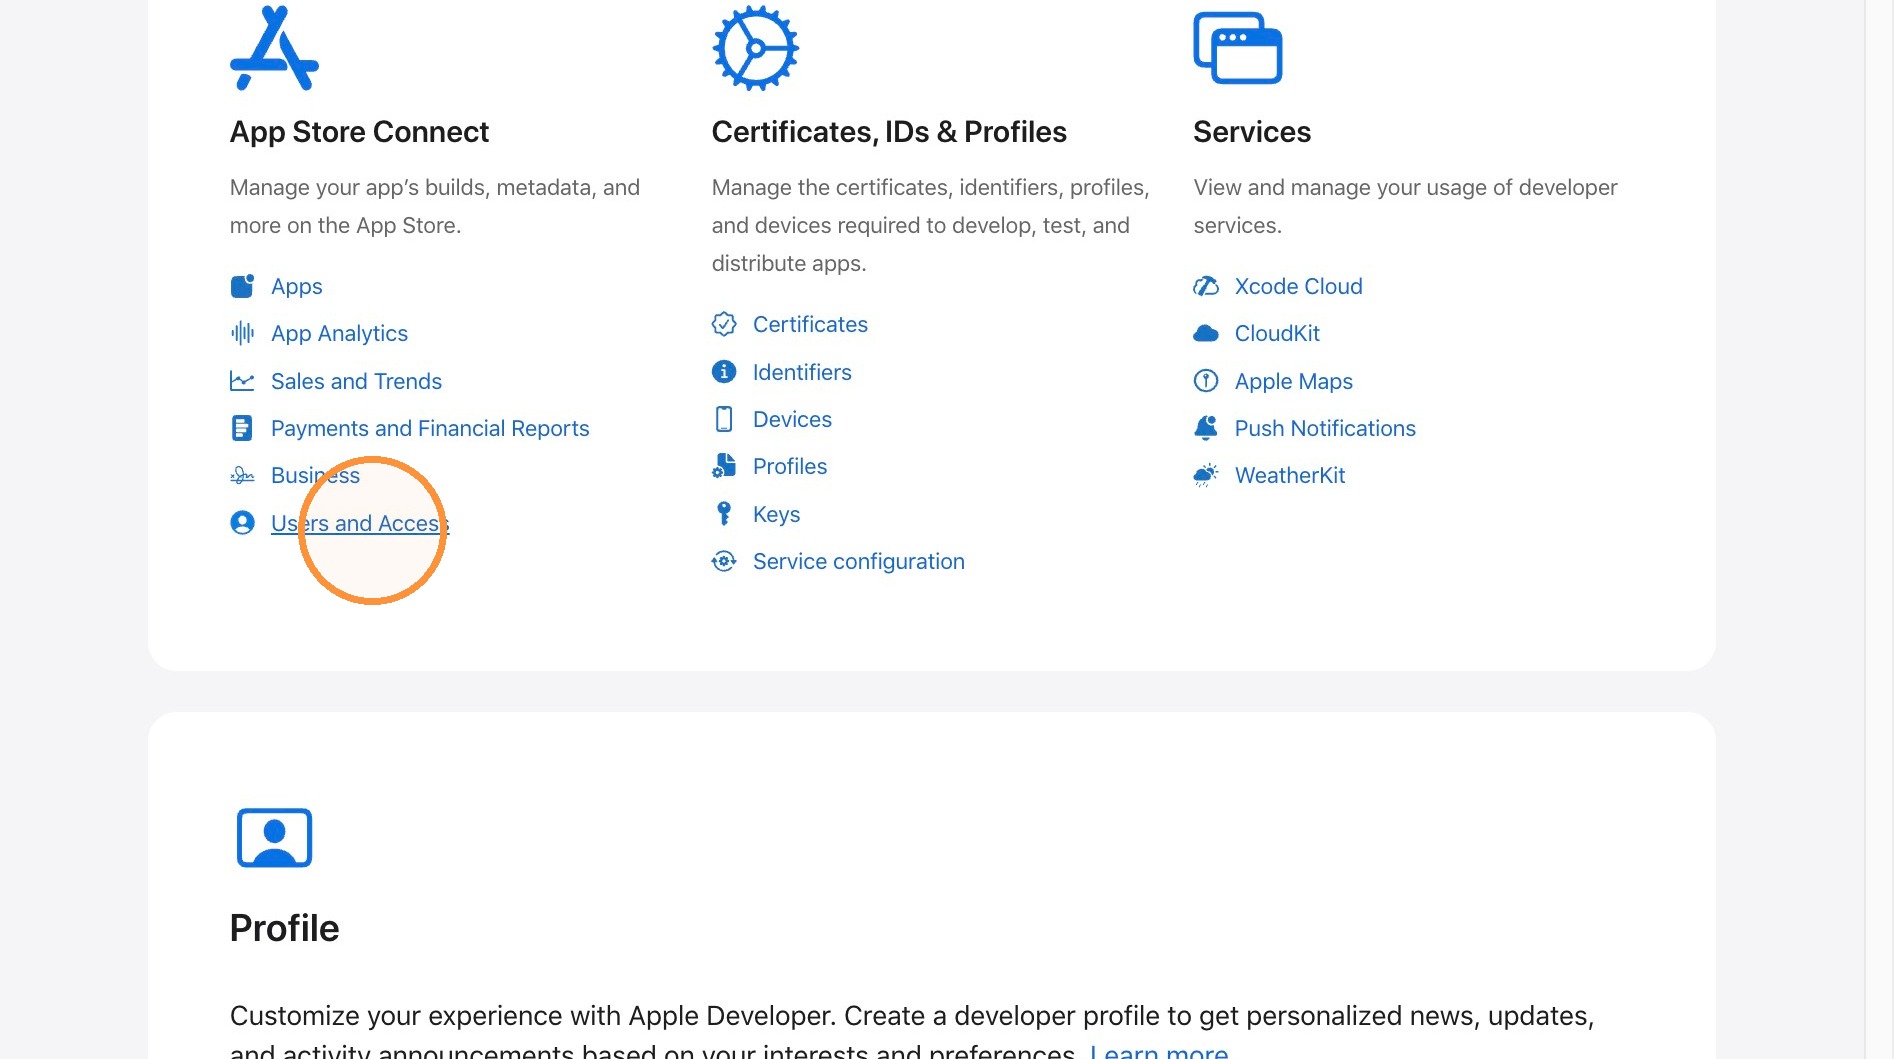
22. Login to https://developer.apple.com. Click "Users and Access"
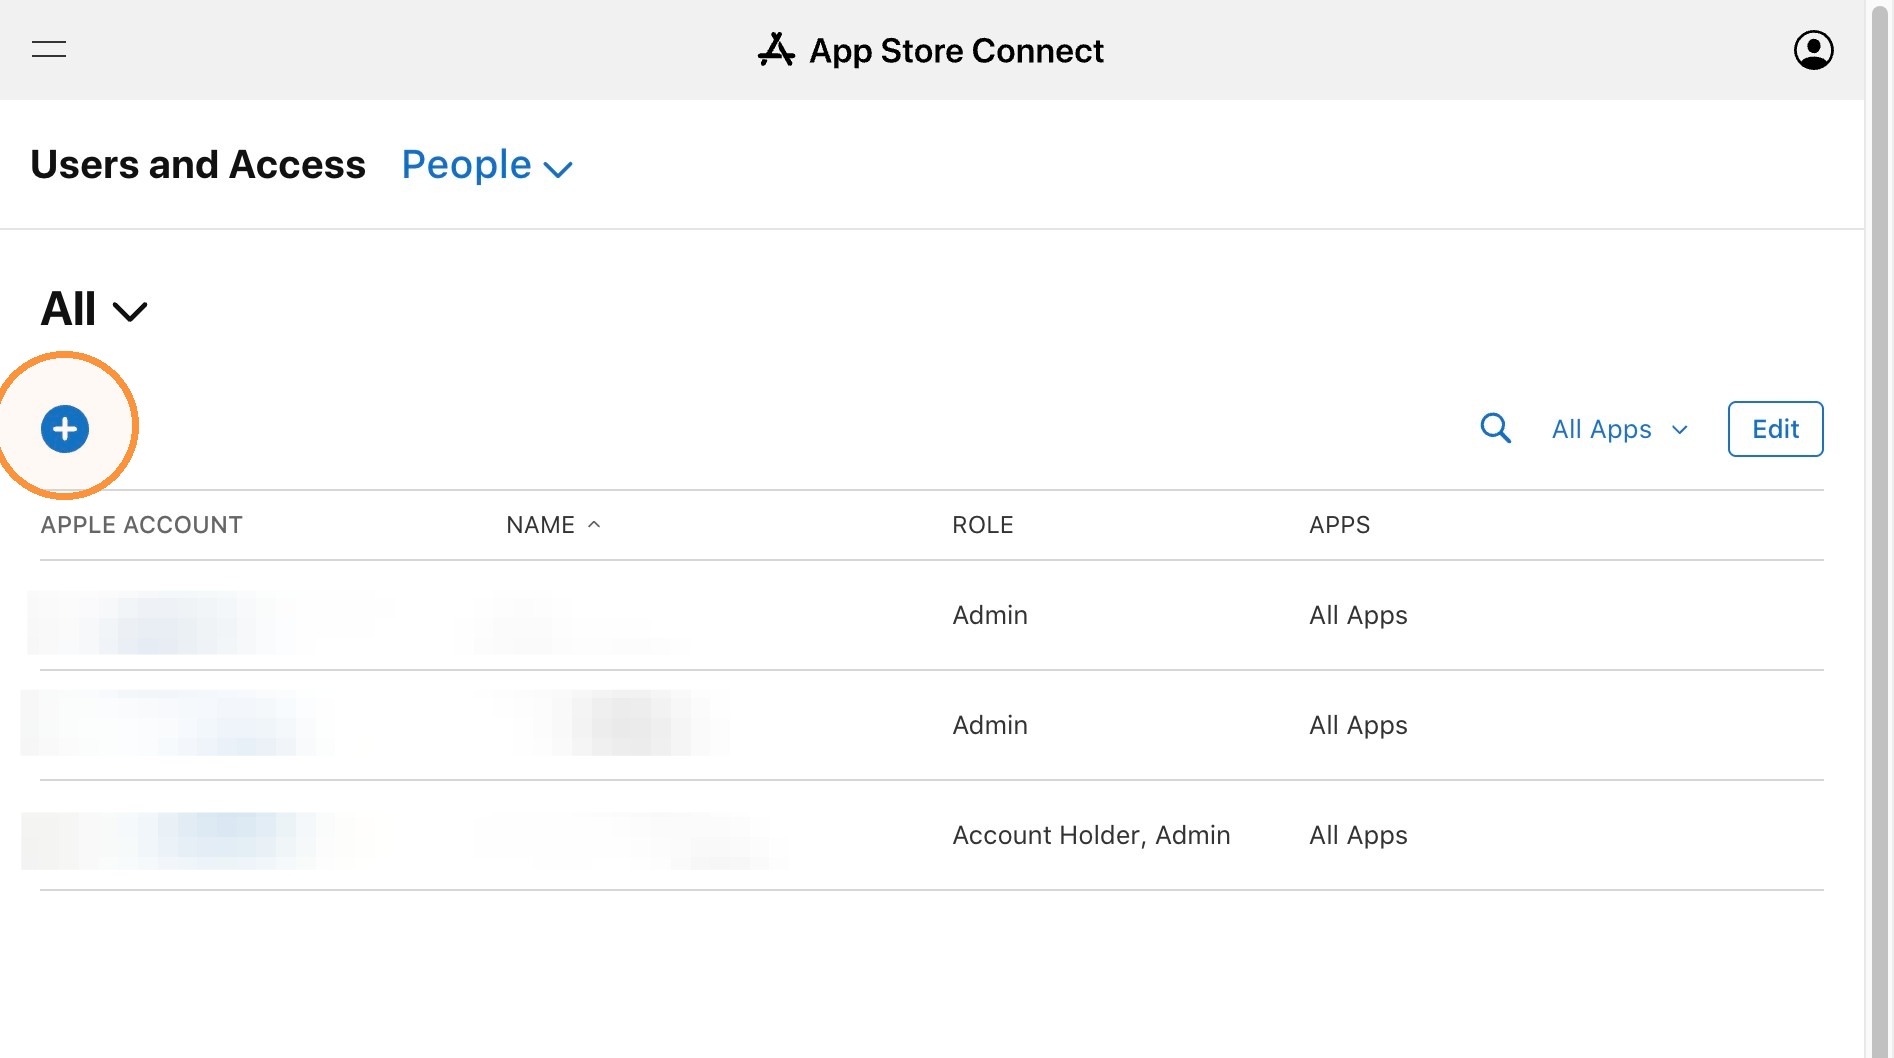
23. Click the plus (+) sign to add a new person to the account.
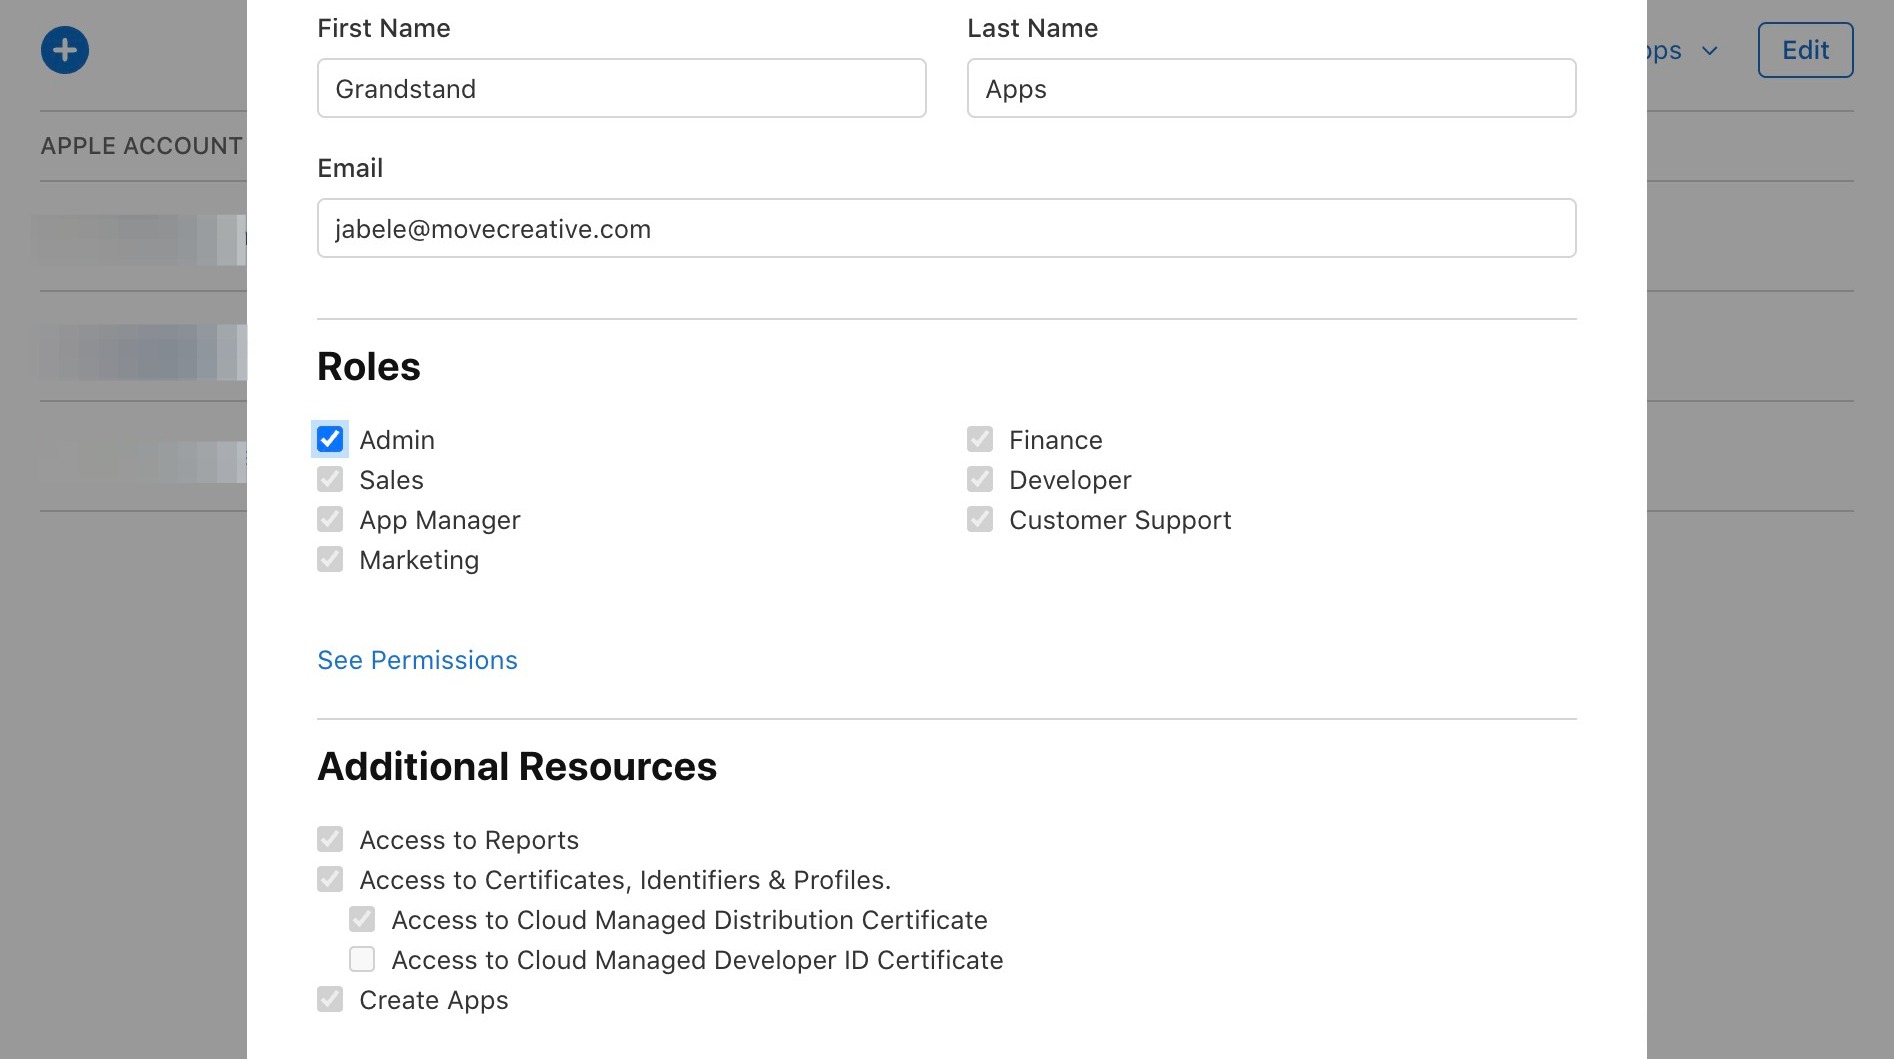
24. Fill out the info for the new user:
First Name: Grandstand
Last Name: Apps
Email: jabele@movecreative.com
Click the box next to Admin
Click "Next"
Tip: An invite will be delivered to Grandstand for the account. Once we accept it, we will be able to submit your app for you!
Apple, Account, Publishing