This guide provides step-by-step instructions on how to create an event on the Grandstand Admin. It covers everything from adding event details to selecting categories, dates, times, locations, and more. It also mentions the option to batch upload events from a spreadsheet. If you need to create and manage events on the Grandstand Admin, this guide will help you do so efficiently and effectively.
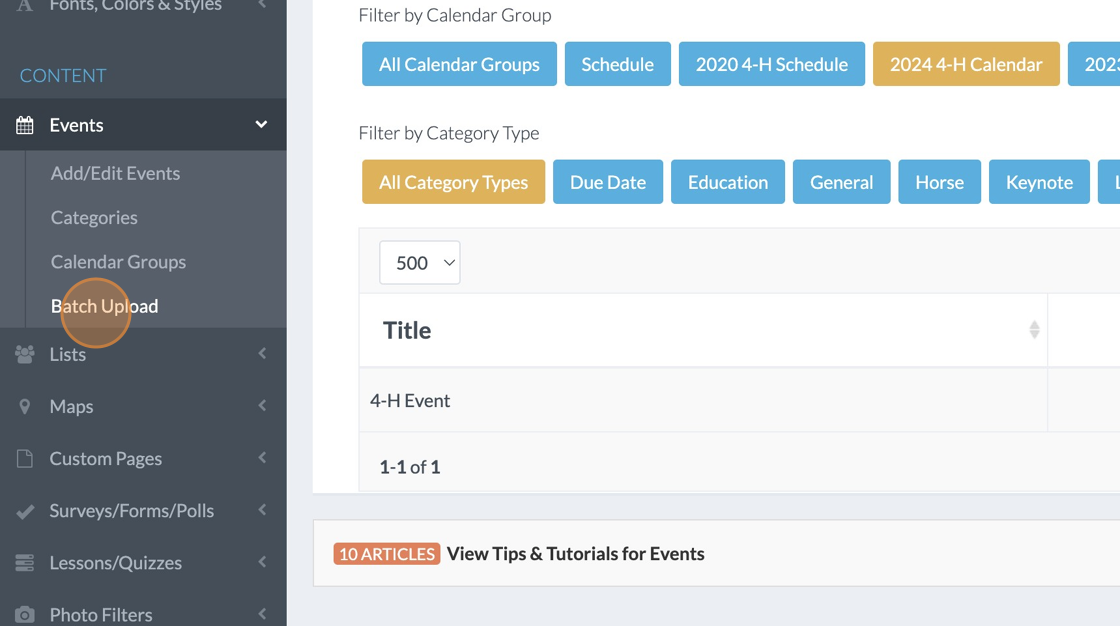
1. Click "Events"
2. Click "Add/Edit Events"

3. Click "2024 4-H Calendar"

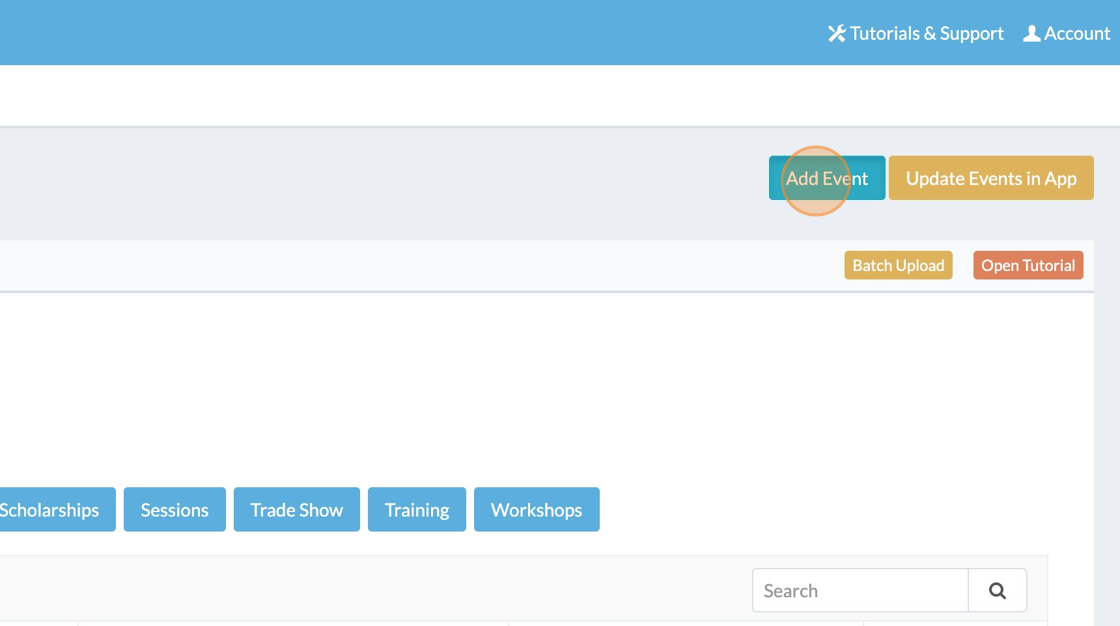
4. Click "Add Event"
5. Click the "Event Title" field.

6. Type the name of the Event. In this example, "4-H Event"
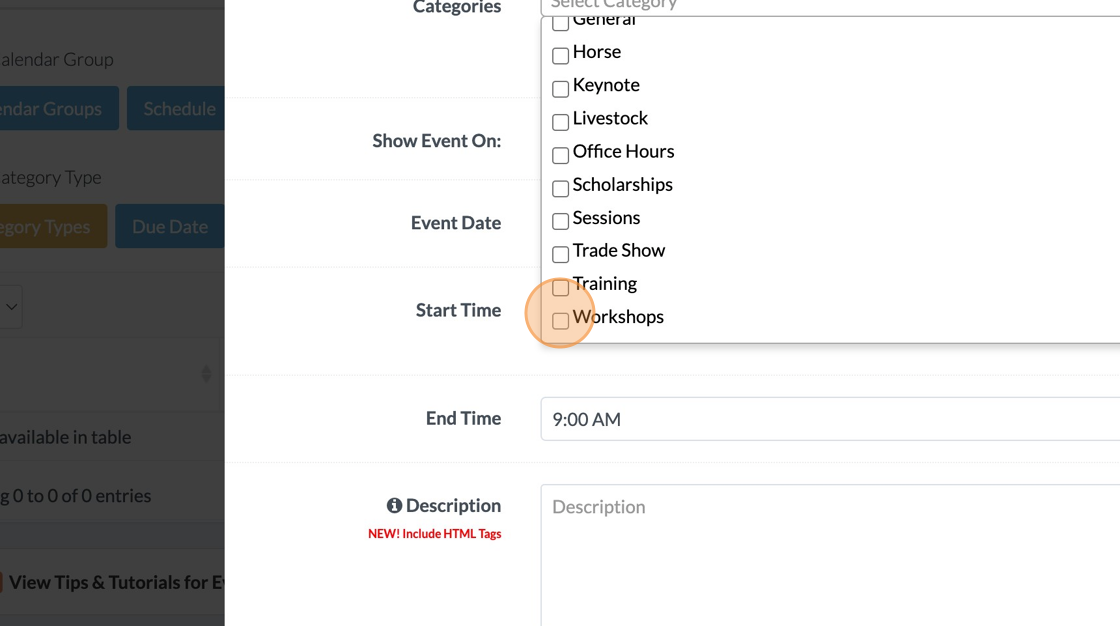
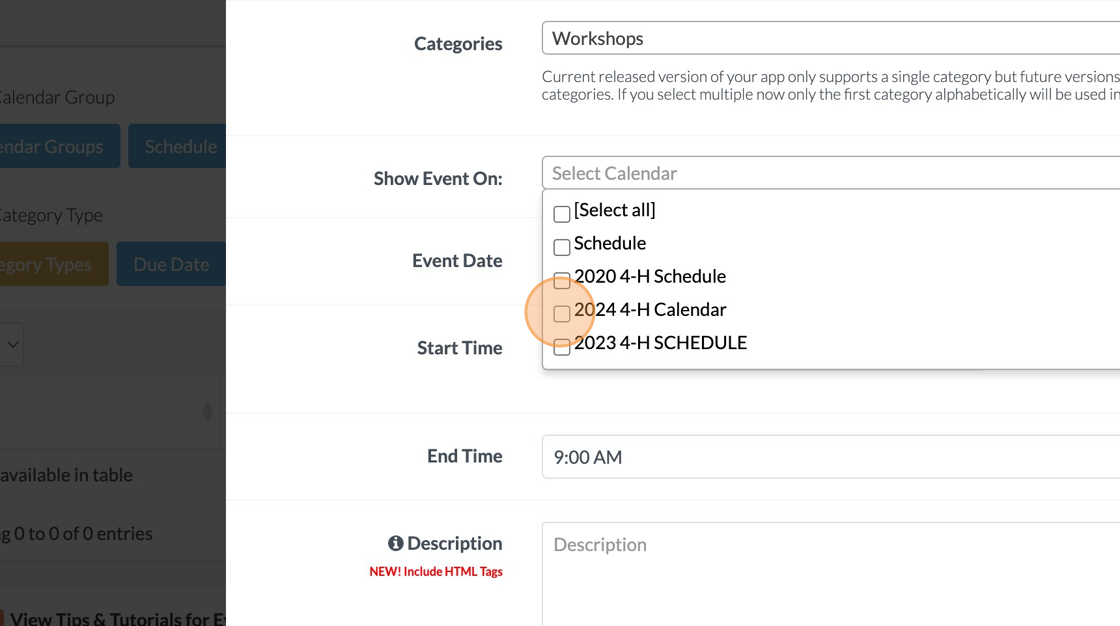
7. Click "Select Category"

8. Click the type of event category. In this case we selected "Workshops."
9. Click "Select Calendar"
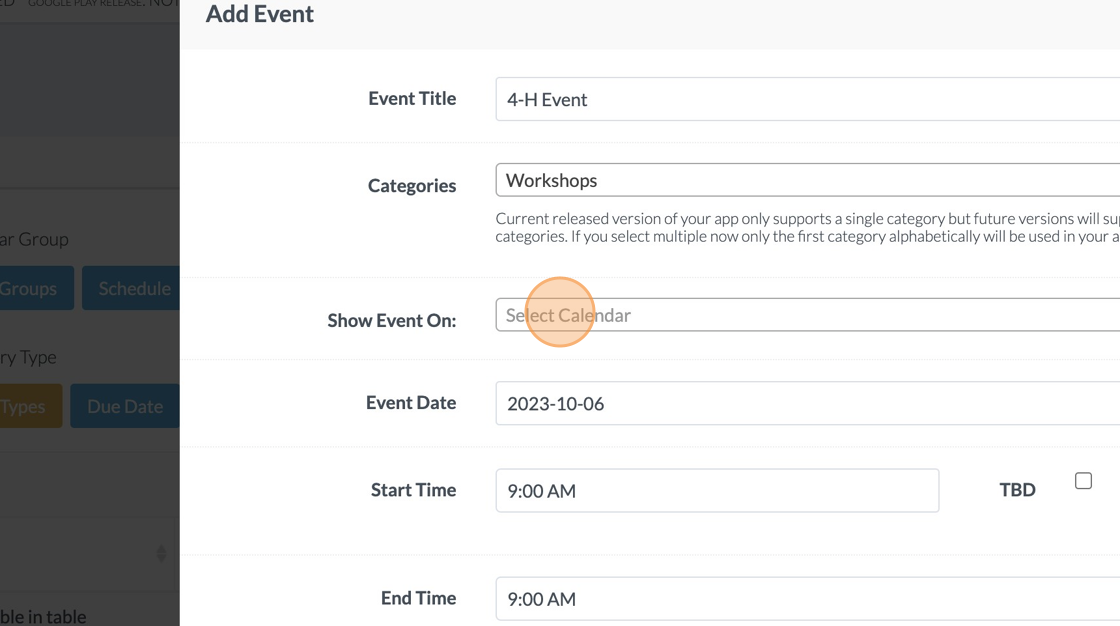
10. Click the calendar(s) to show the event on, in this case "2024 4-H Calendar."
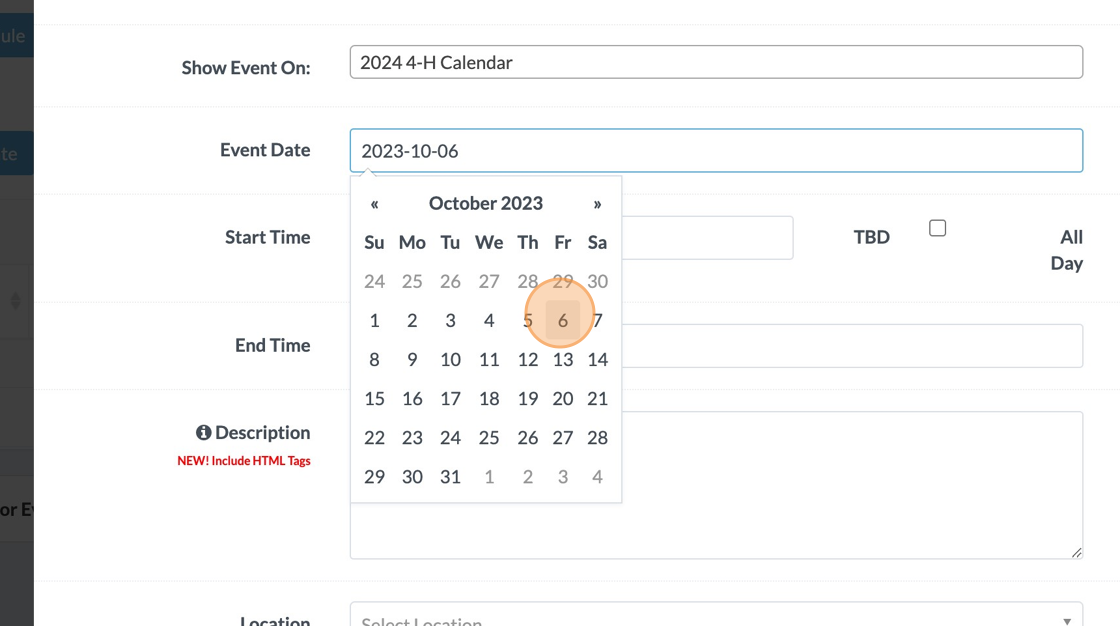
11. Click the "Event Date" field.

12. Click the date for the event.
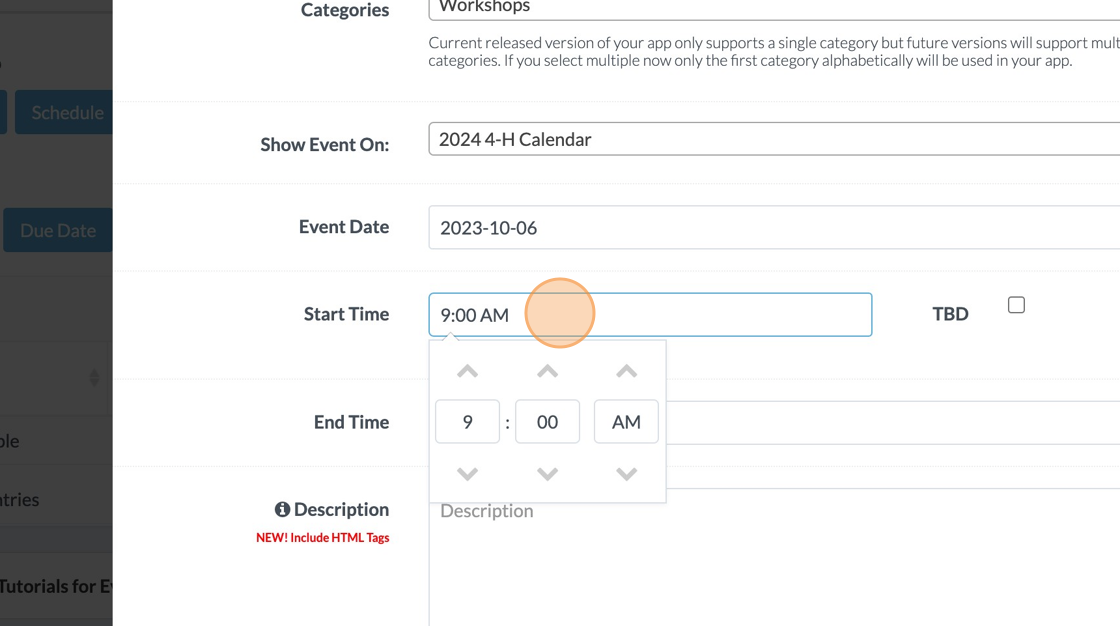
13. Click the "Start Time" field.
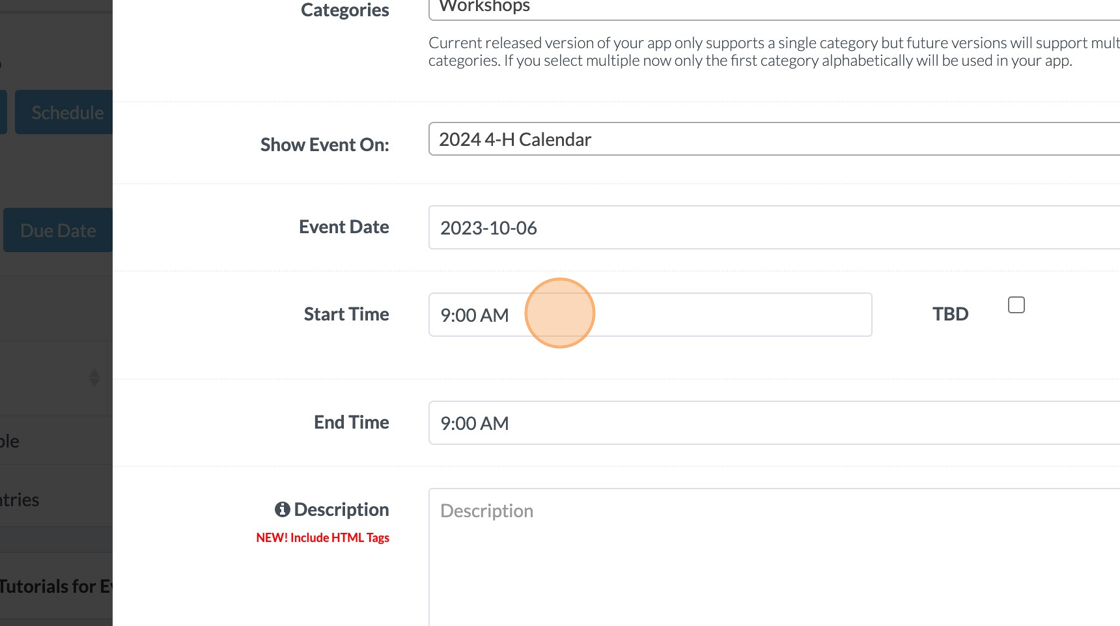
14. Click the "Start Time" field and either enter the time or use the arrows to adjust.
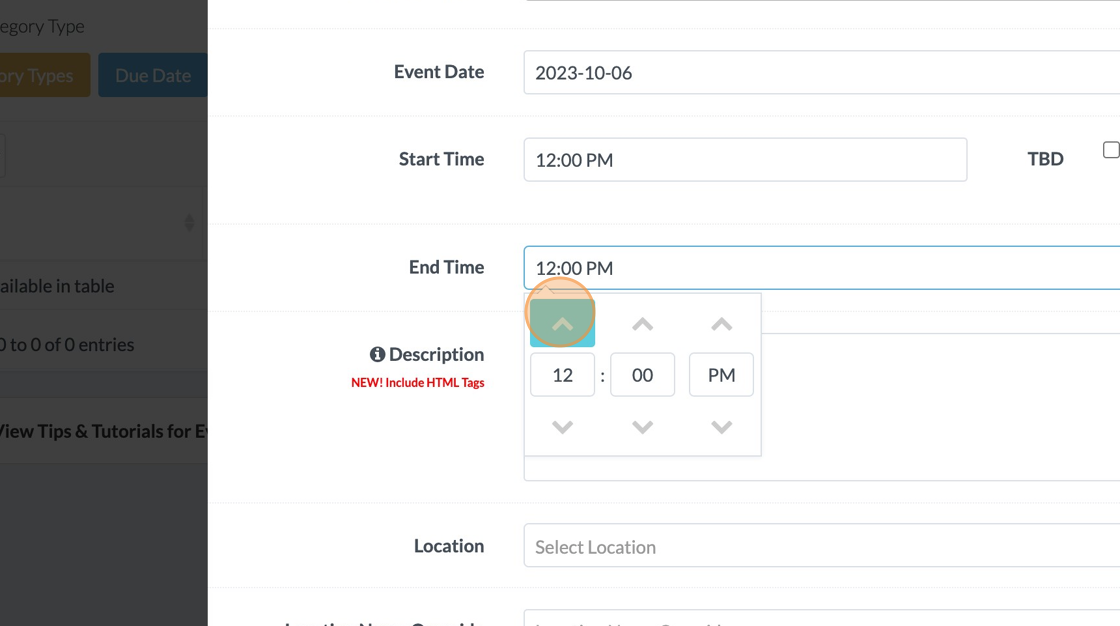
15. Click the "End Time" field.
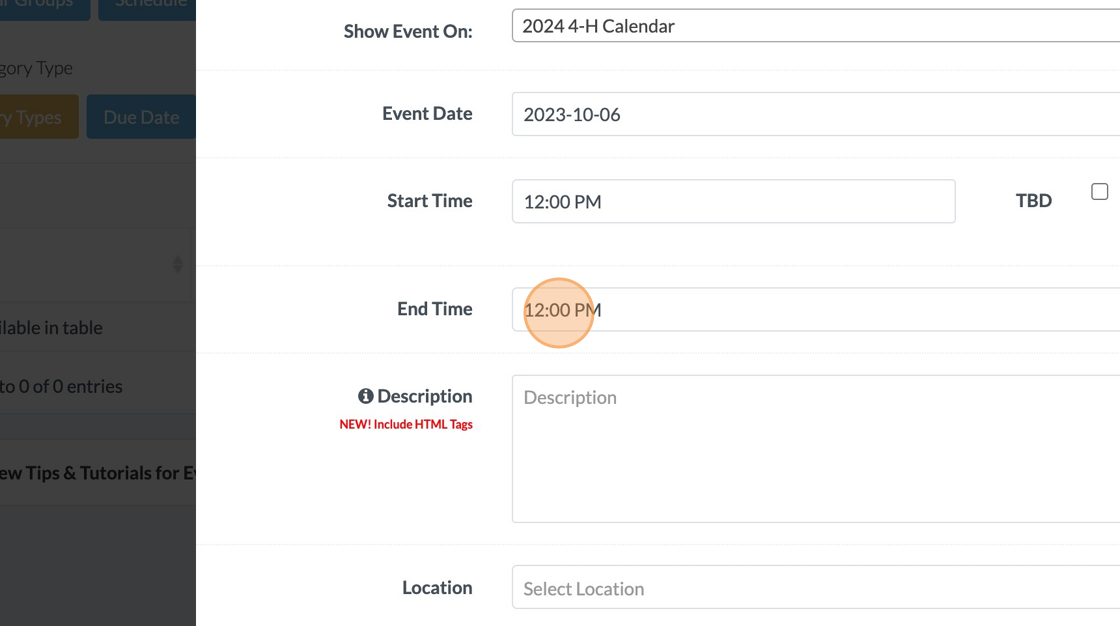
16. Enter the time or use the arrow keys to enter the end time of the event.
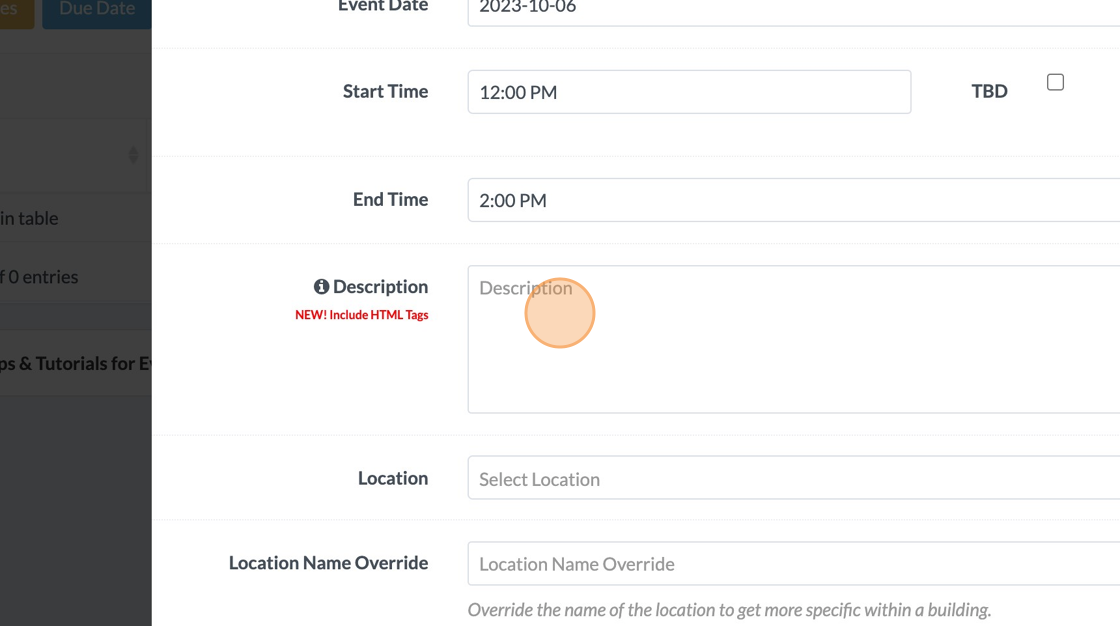
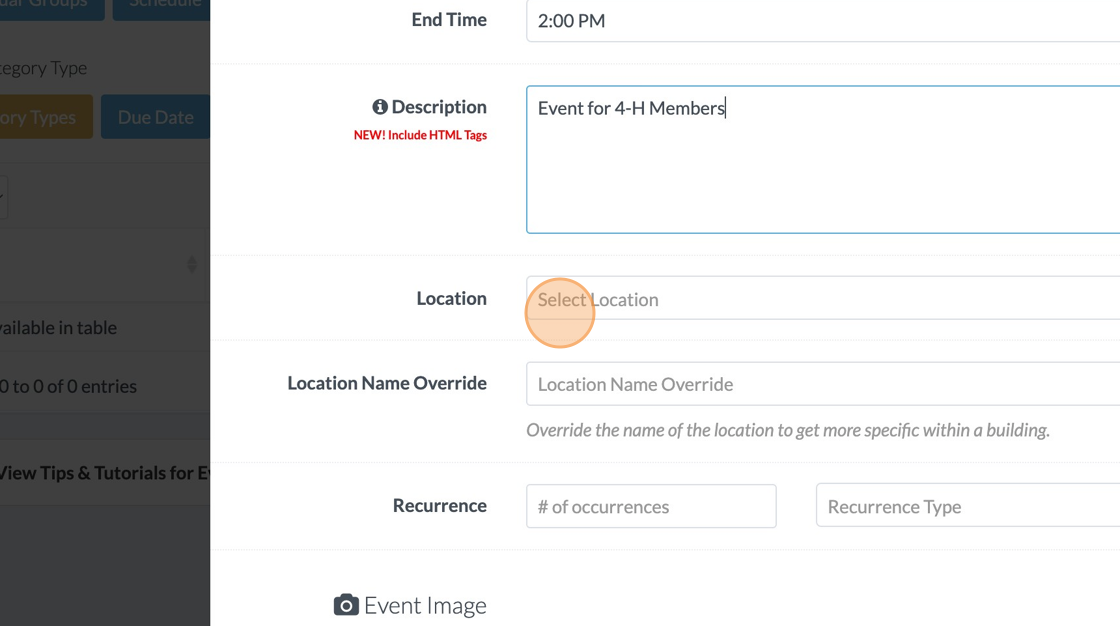
17. Click the "Description" field and enter the description for the event
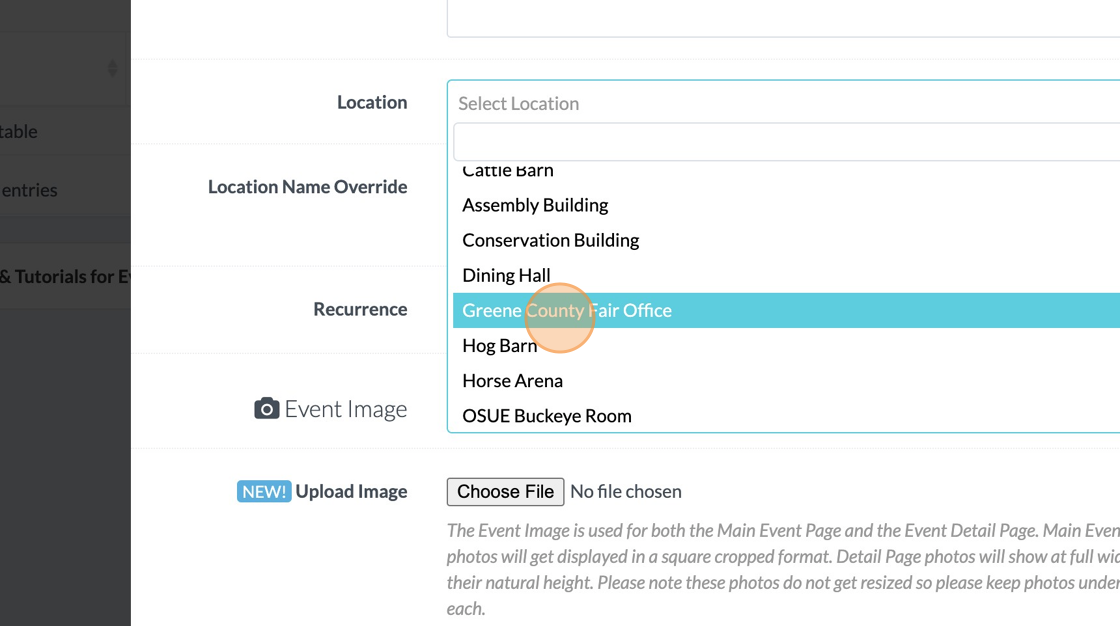
18. Click "Select Location"
19. Select the location from the drop-down menu (location must be on the map already to select it).
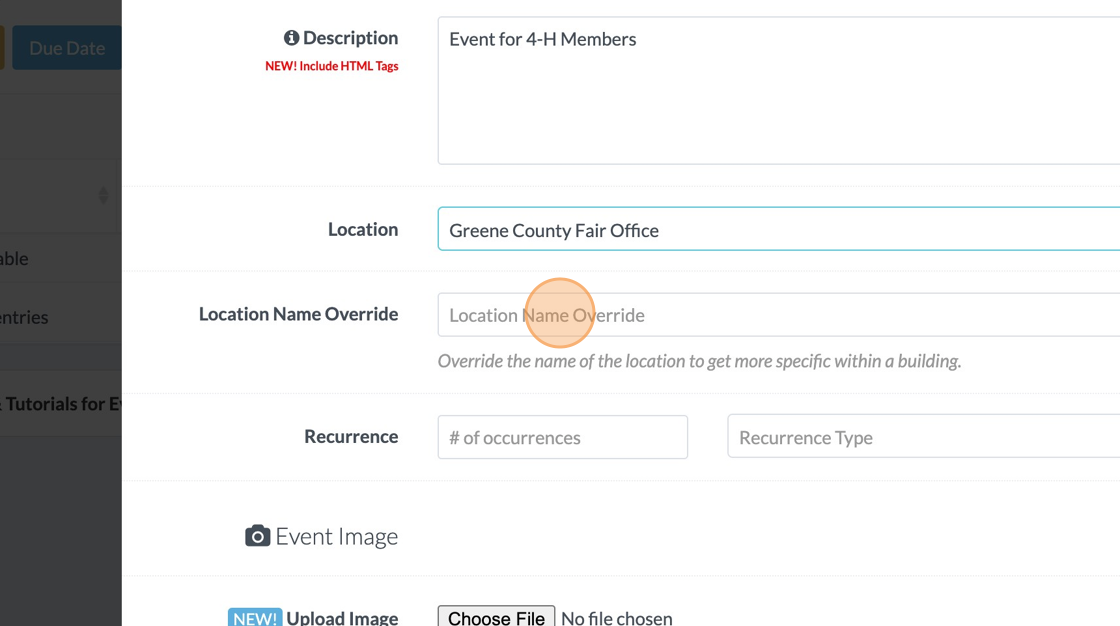
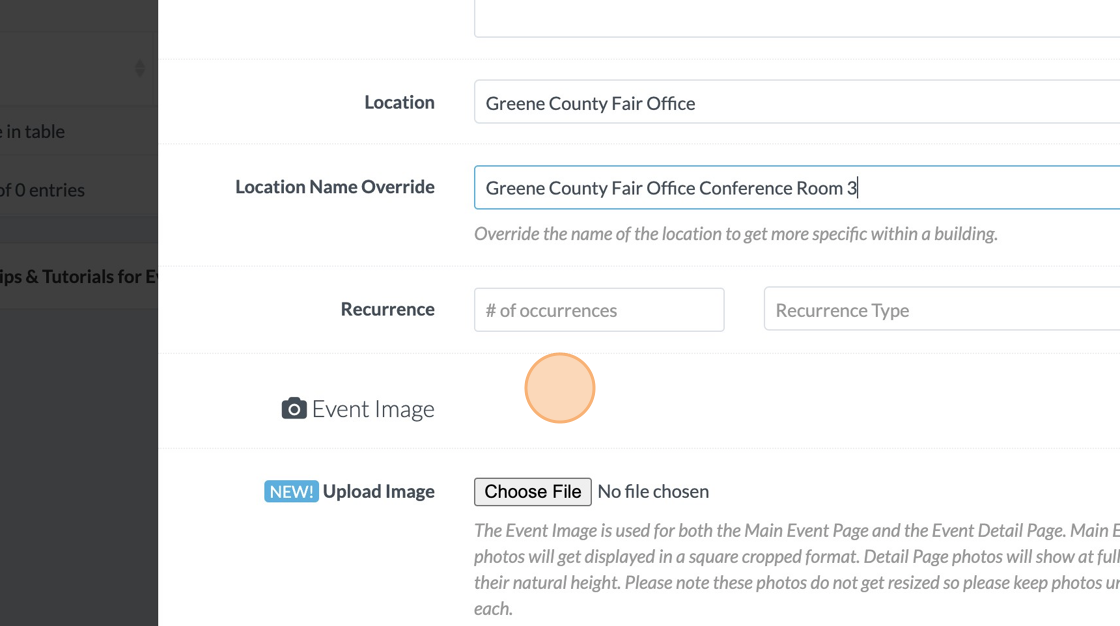
20. If the location is in a specific place at that location (like a room in a building), click the "Location Name Override" field. and enter the specific name of the location.
21. If you would like to show an image on the schedule for the event, click on choose file next to "Upload Image."
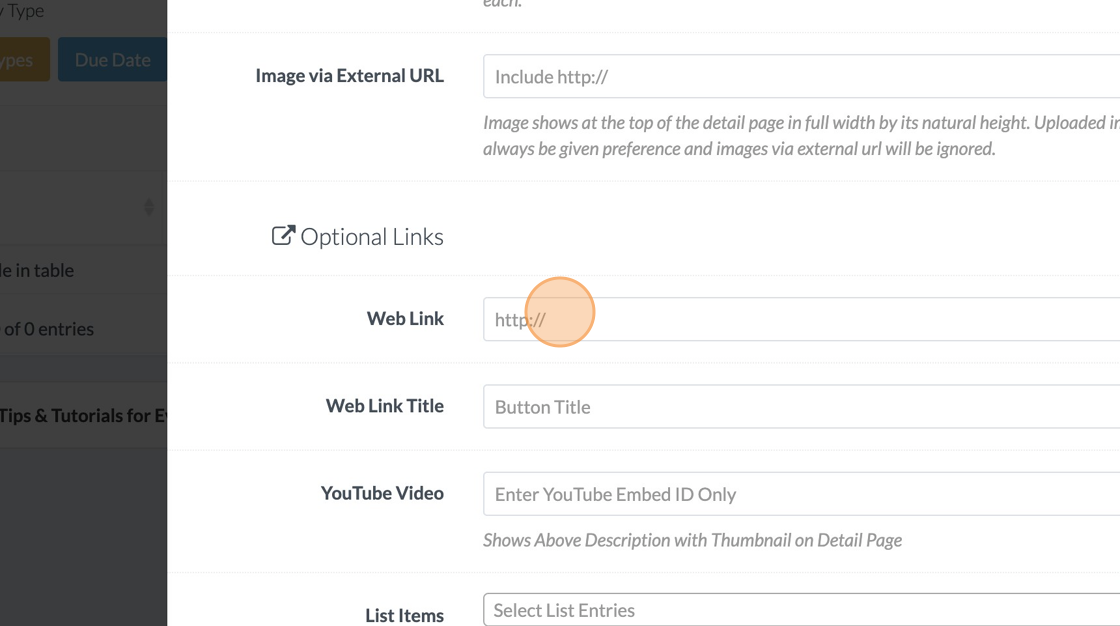
22. To add a weblink button to the schedule detail page, enter the website link, including the https:// in "Web Link."
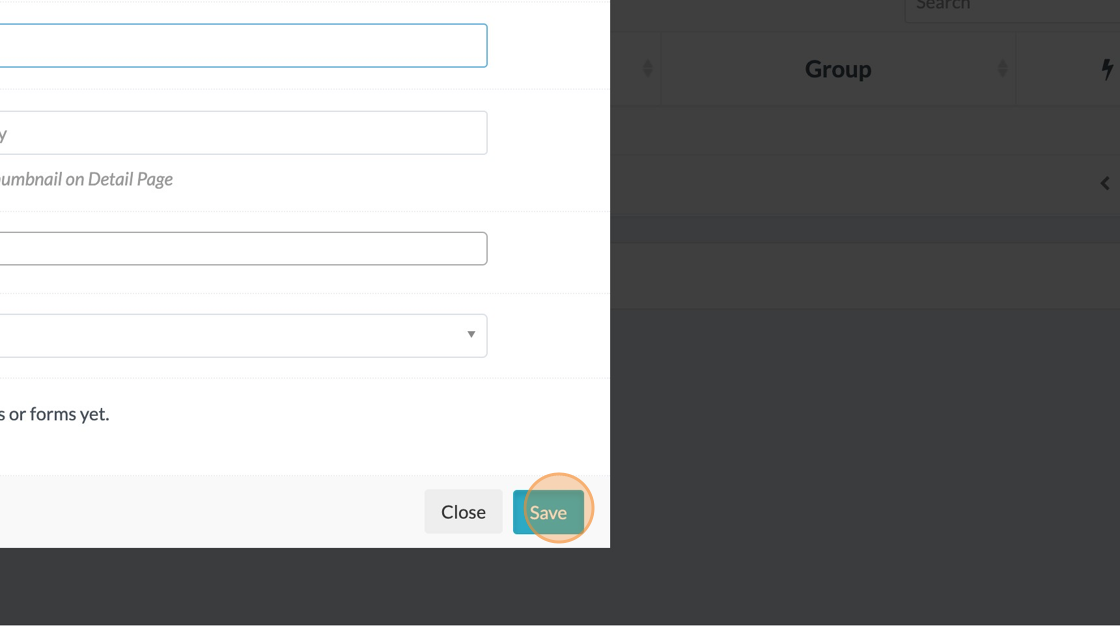
23. Click "Save"
24. We can also Batch Upload your events if you have them in a spreadsheet, just send me the spreadsheet and we can upload the full list for you. This is the best option if you have more than 15-20 events to enter.